
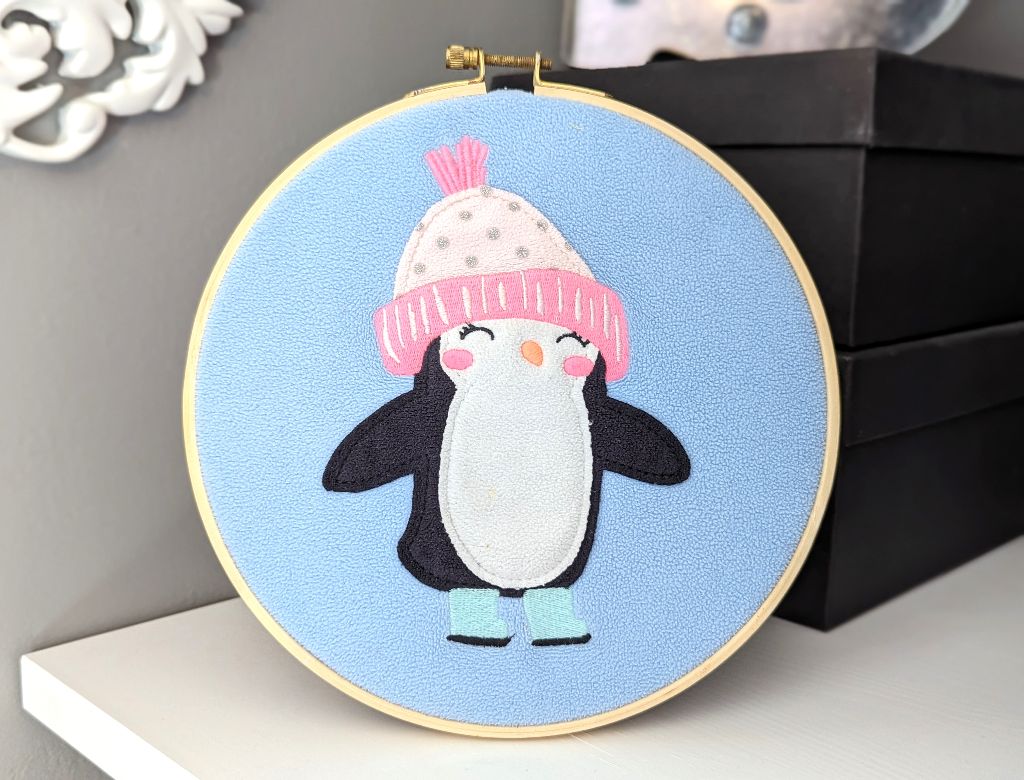
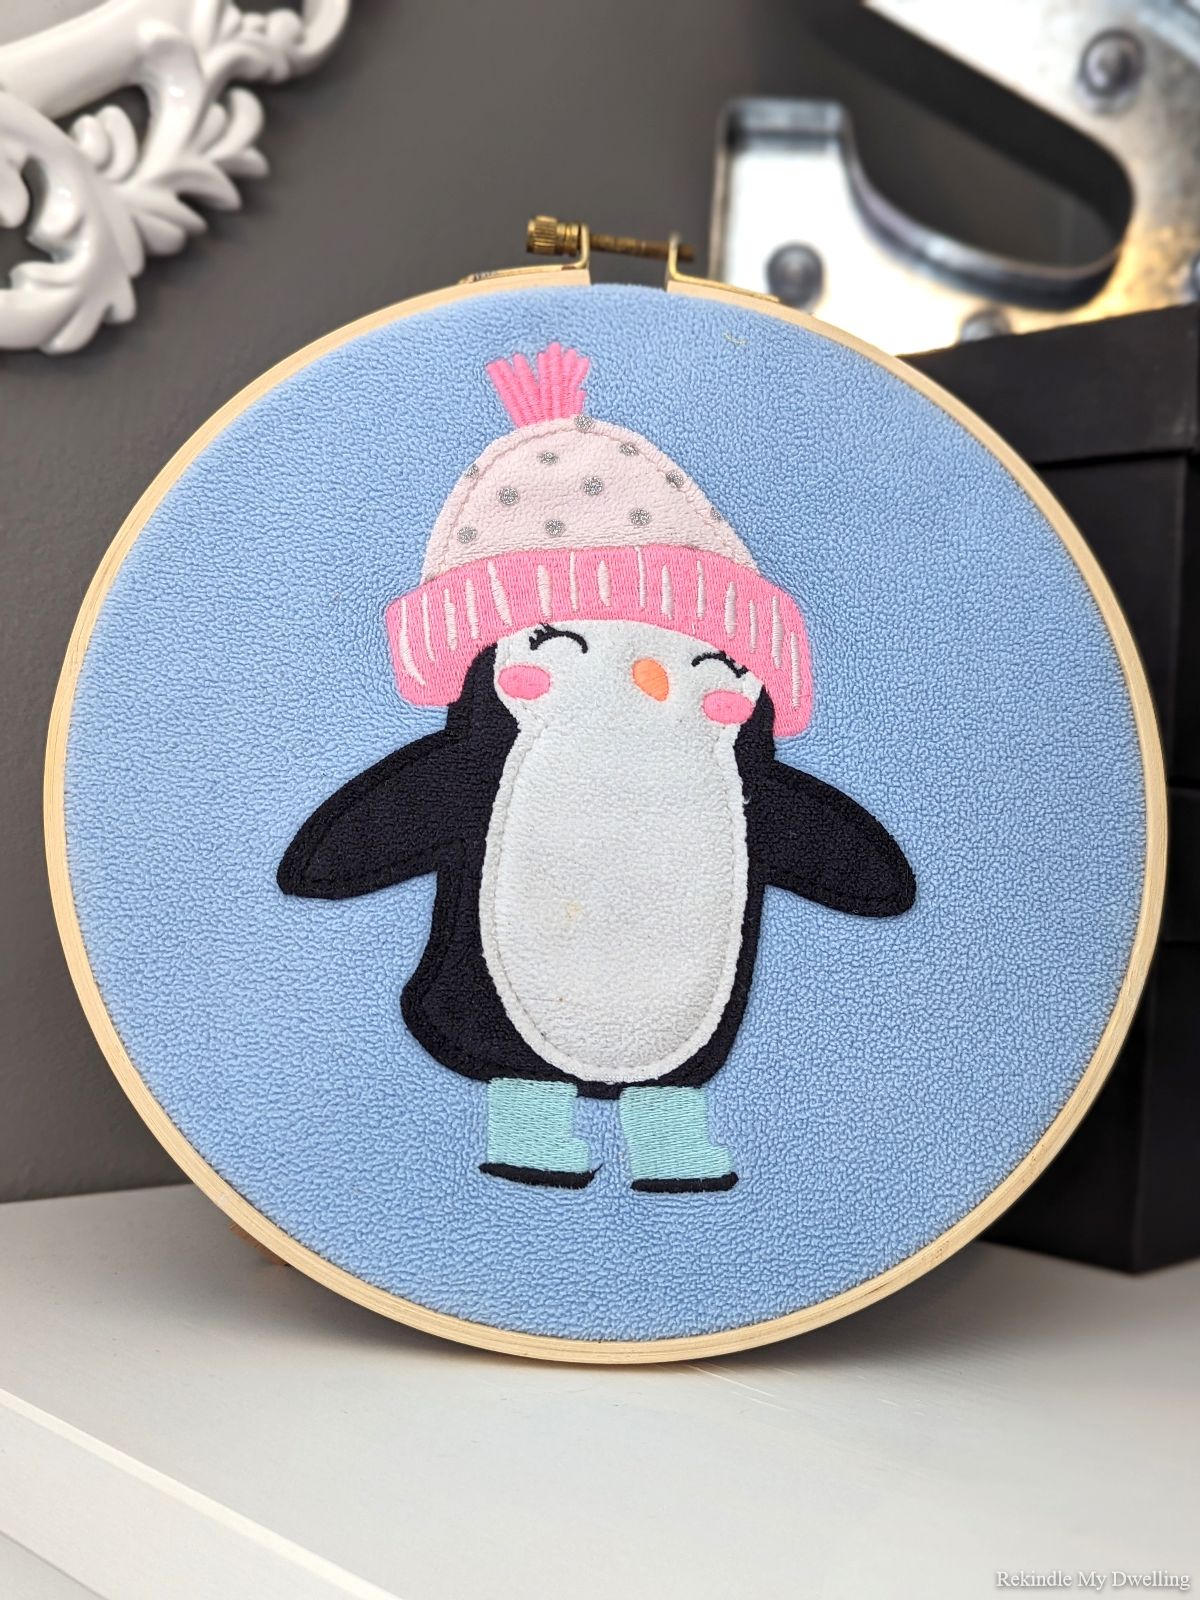
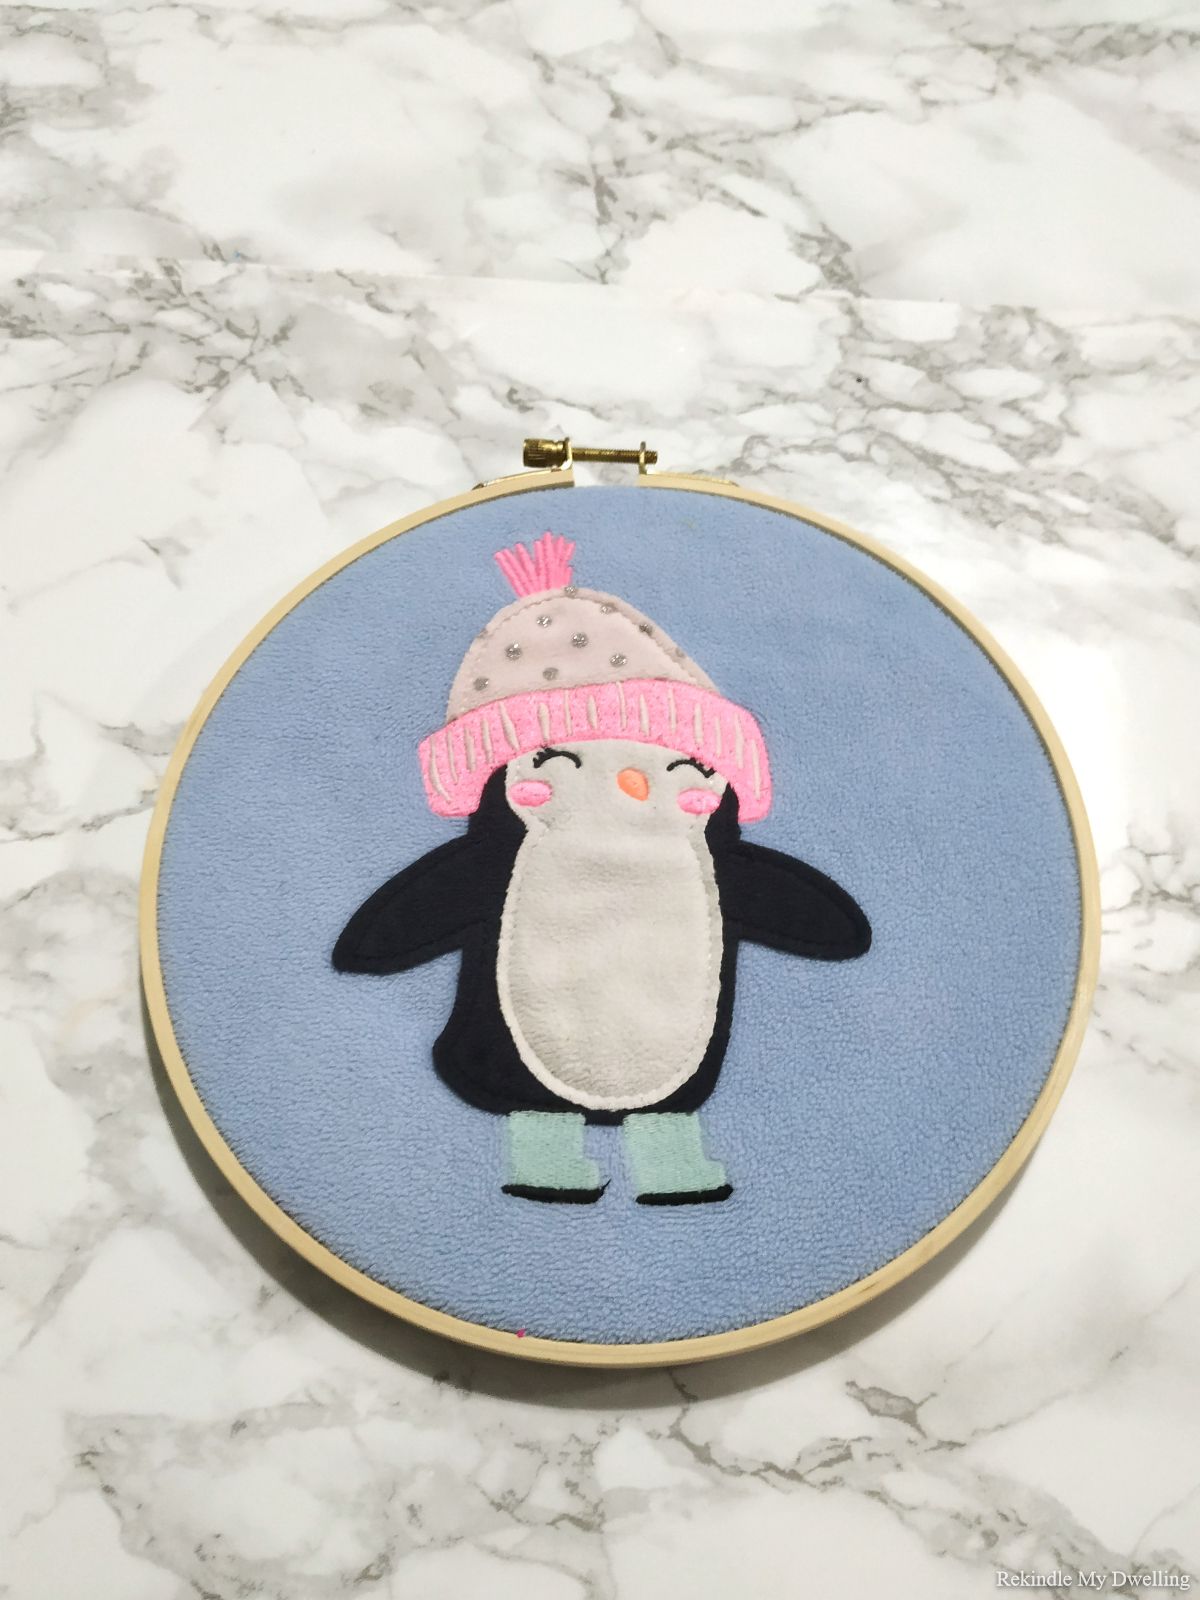
Learn how easy it is to turn an old tshirt or sweater and turn it into upcycled wall art.
Materials Needed
This post contains affiliate links. We may earn a commission at no extra cost to you if you choose to purchase through them. Read our full policy here.
- Embroidery wreath
- Scissors
- Hot glue
- Old tshirt or sweater
How to Make Upcycled Wall Art
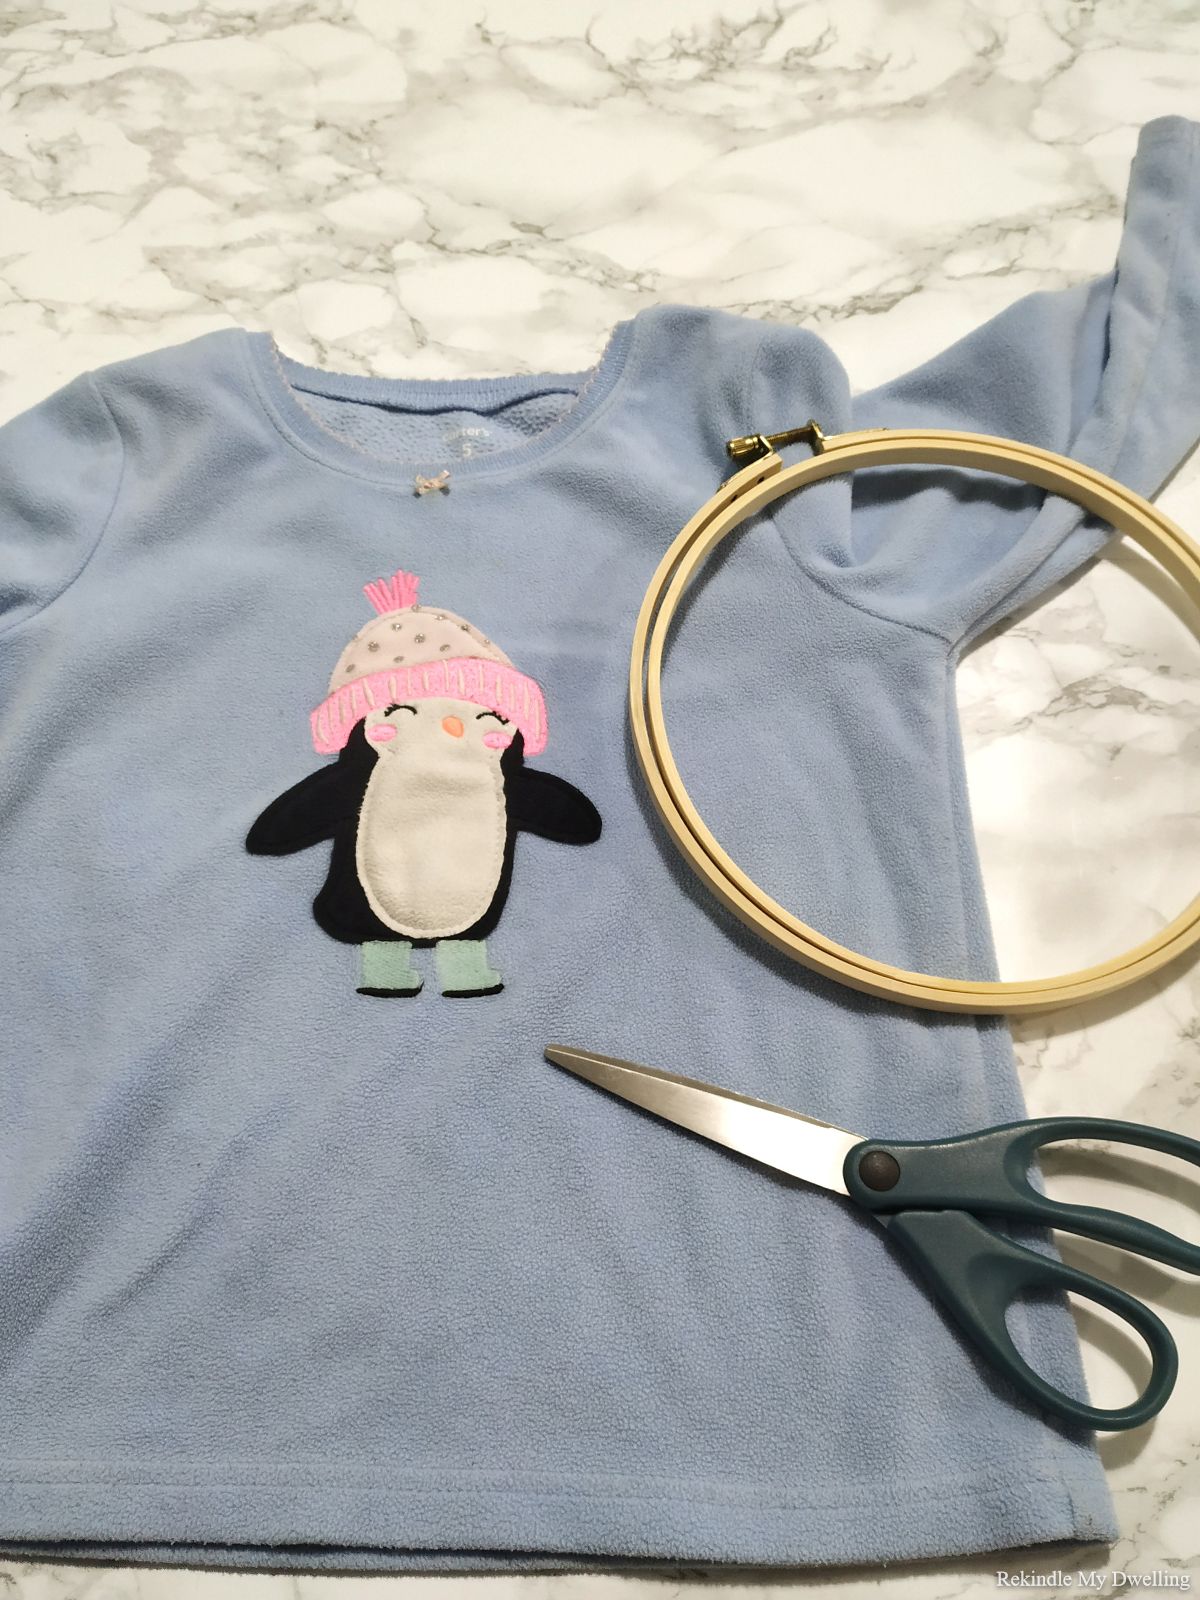
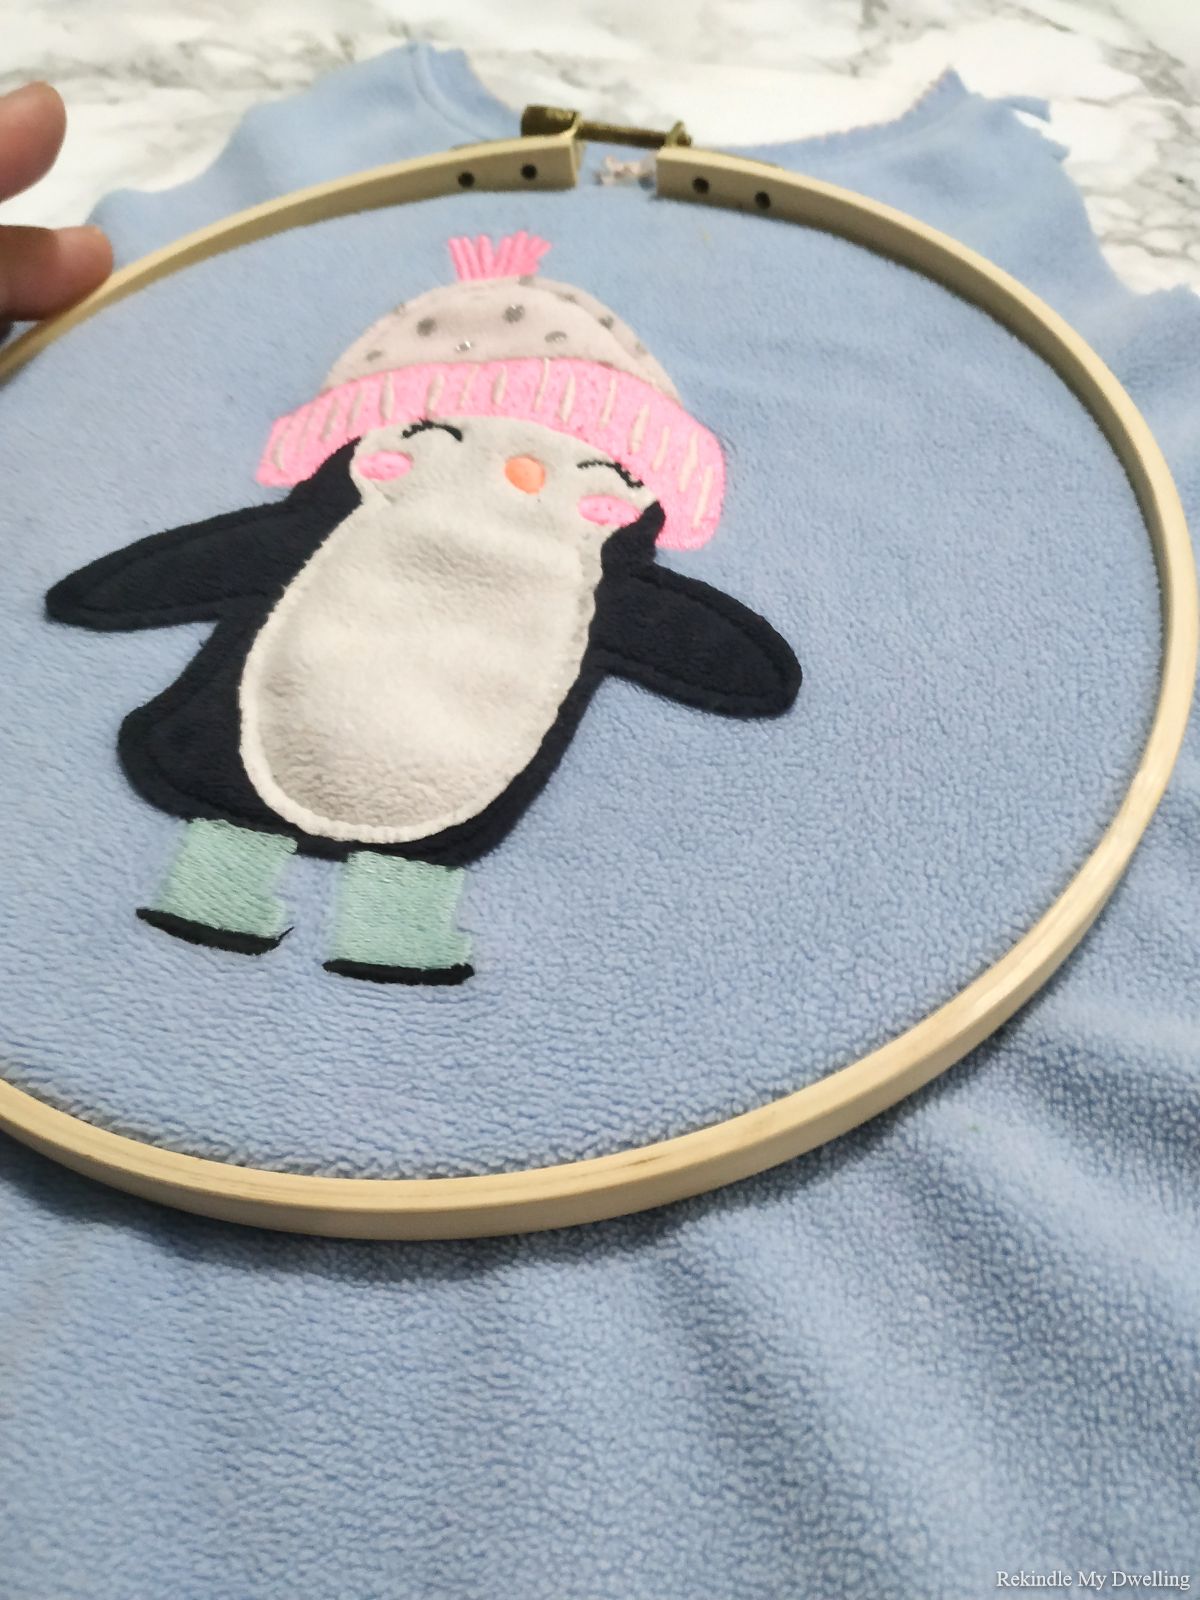
Cut your clothing featuring the image you want to use for your upcycled wall art. Just make sure there is extra fabric that is bigger than the embroidery hoop.
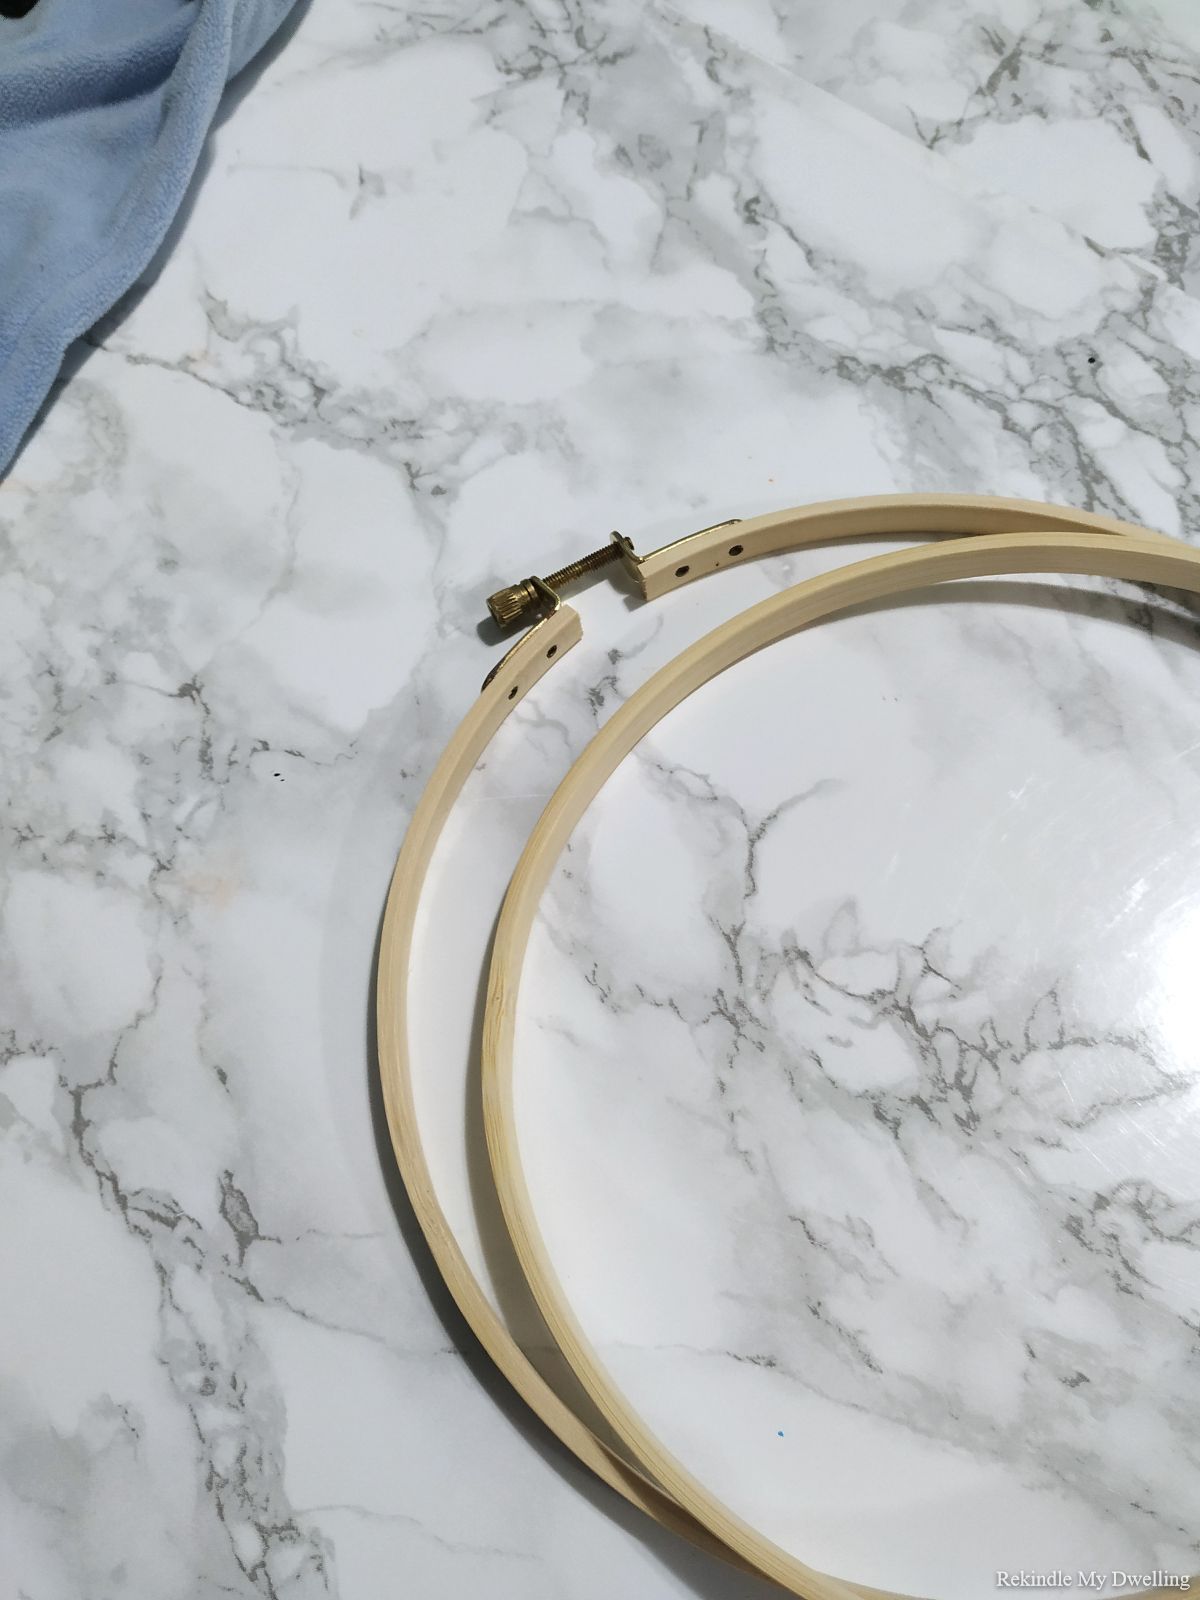
Separate an embroidery hoop into 2 pieces.
Place the smaller piece of the hoop behind your tshirt or sweater. Then place the top of the hoop over the shirt until it fits snugly with the back of the hoop. Tighten the hoop so that it stays in place.
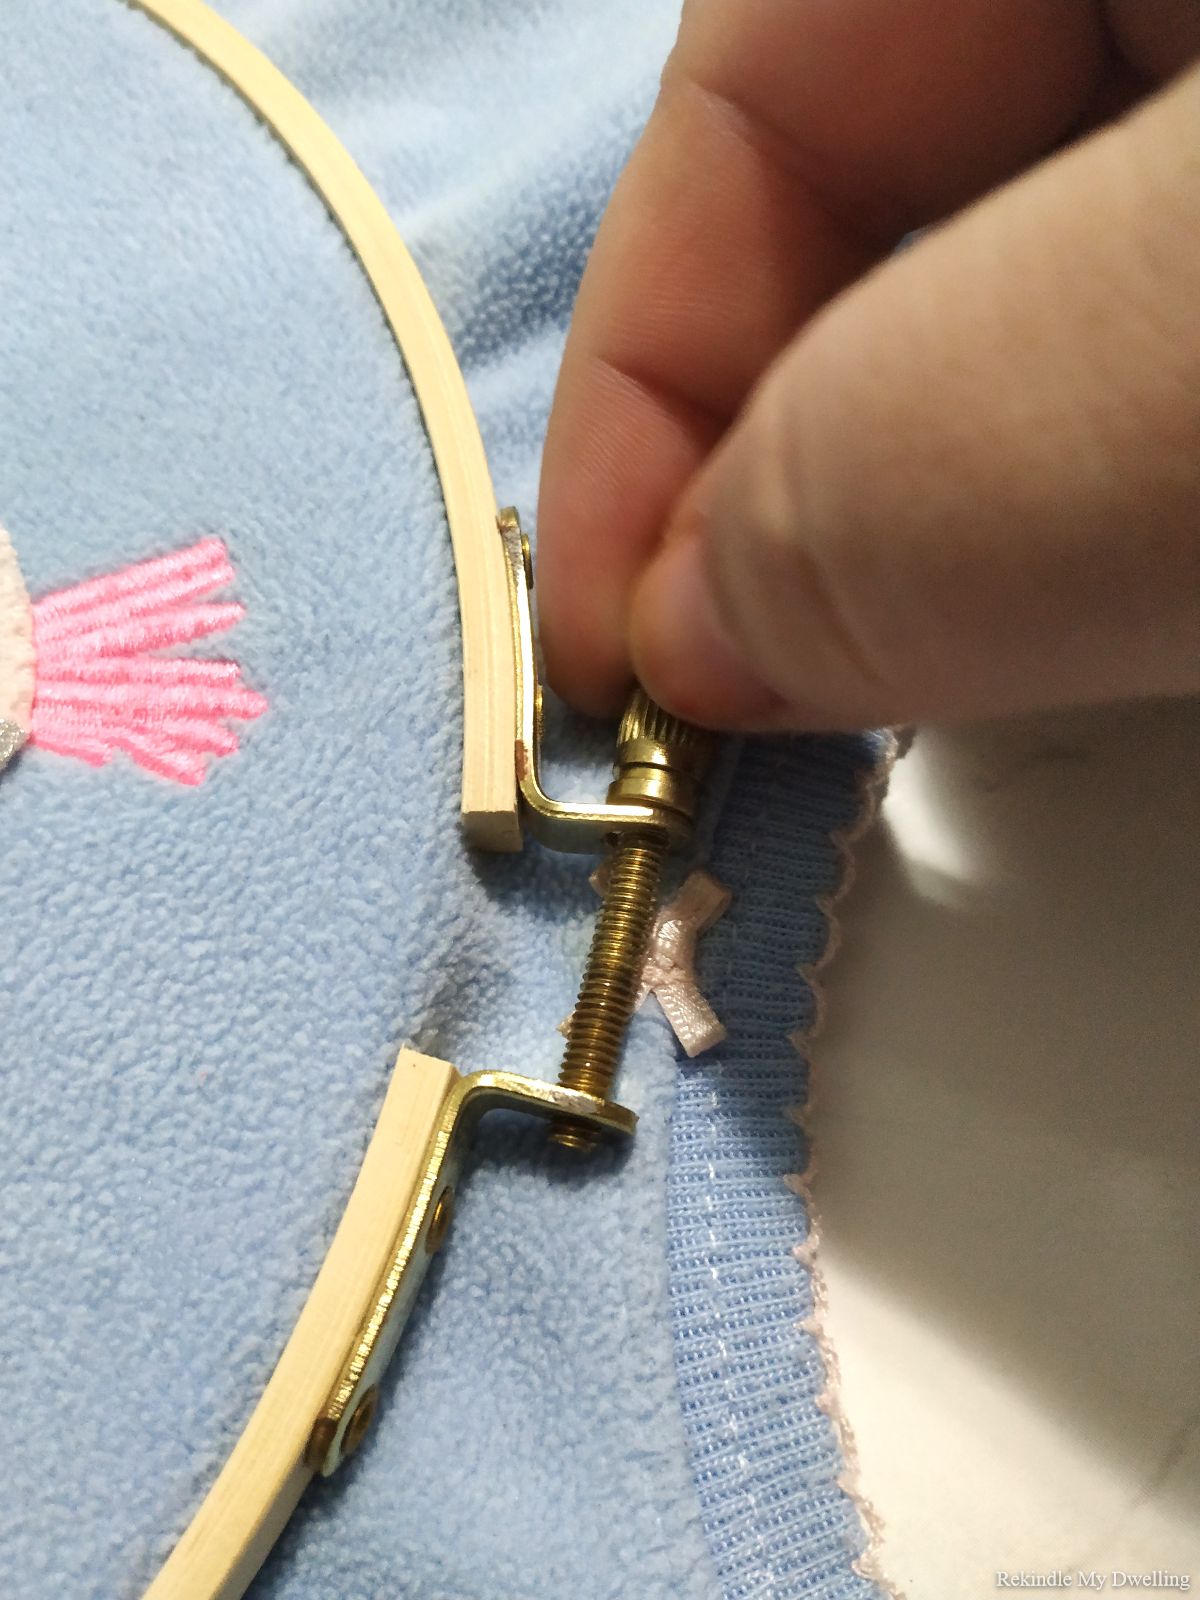
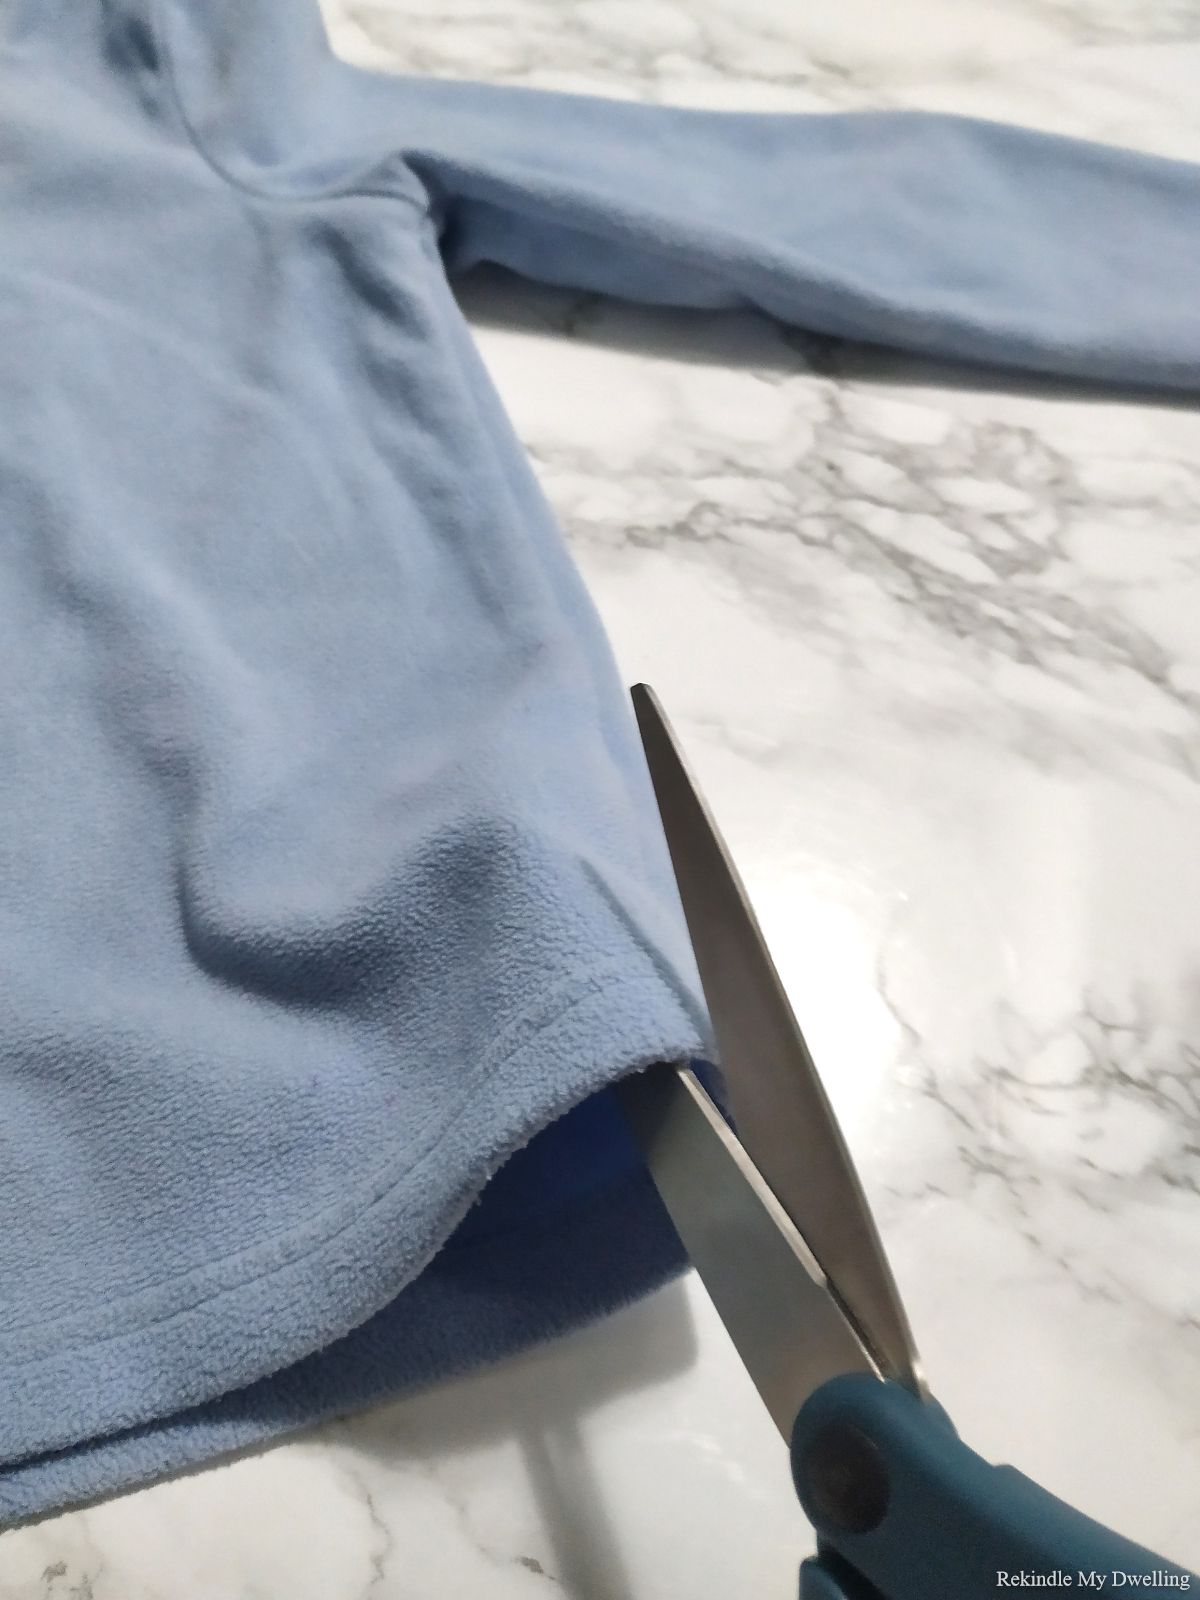
Cut off any excess fabric and fold over the rest as shown. Hot glue or tape the fabric to stay in place.
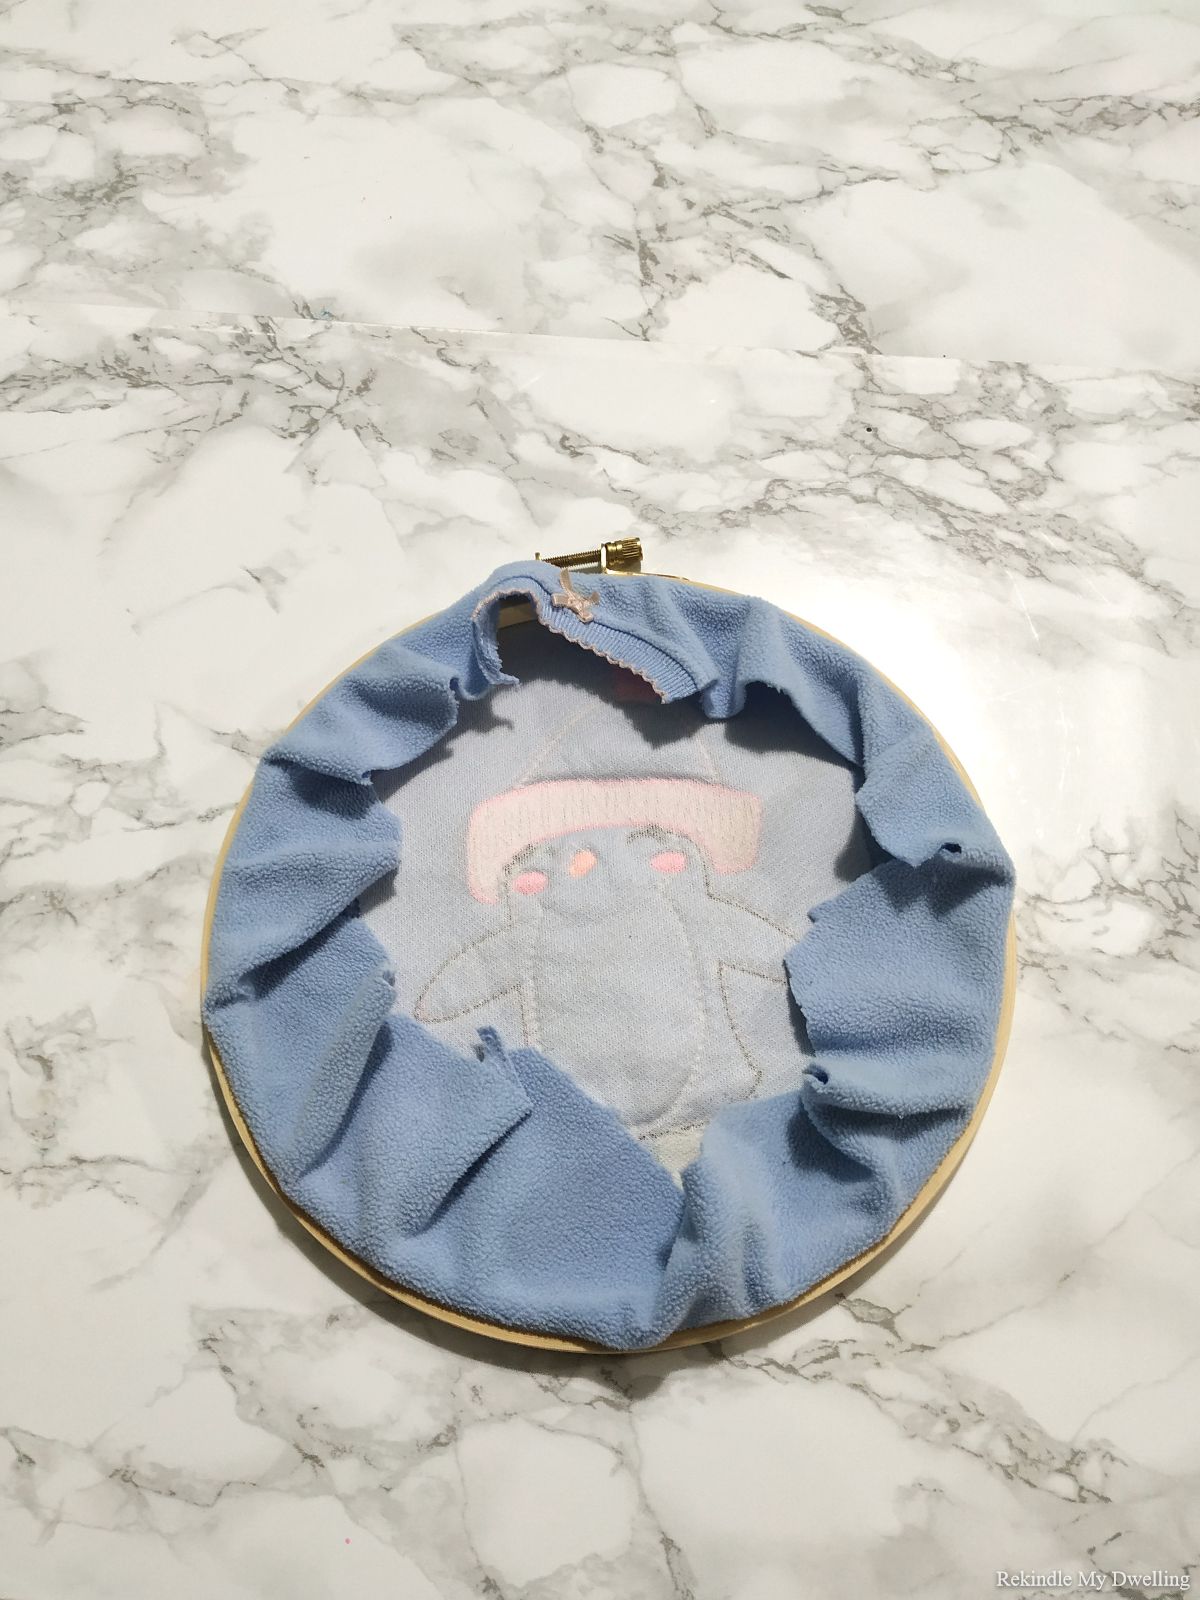
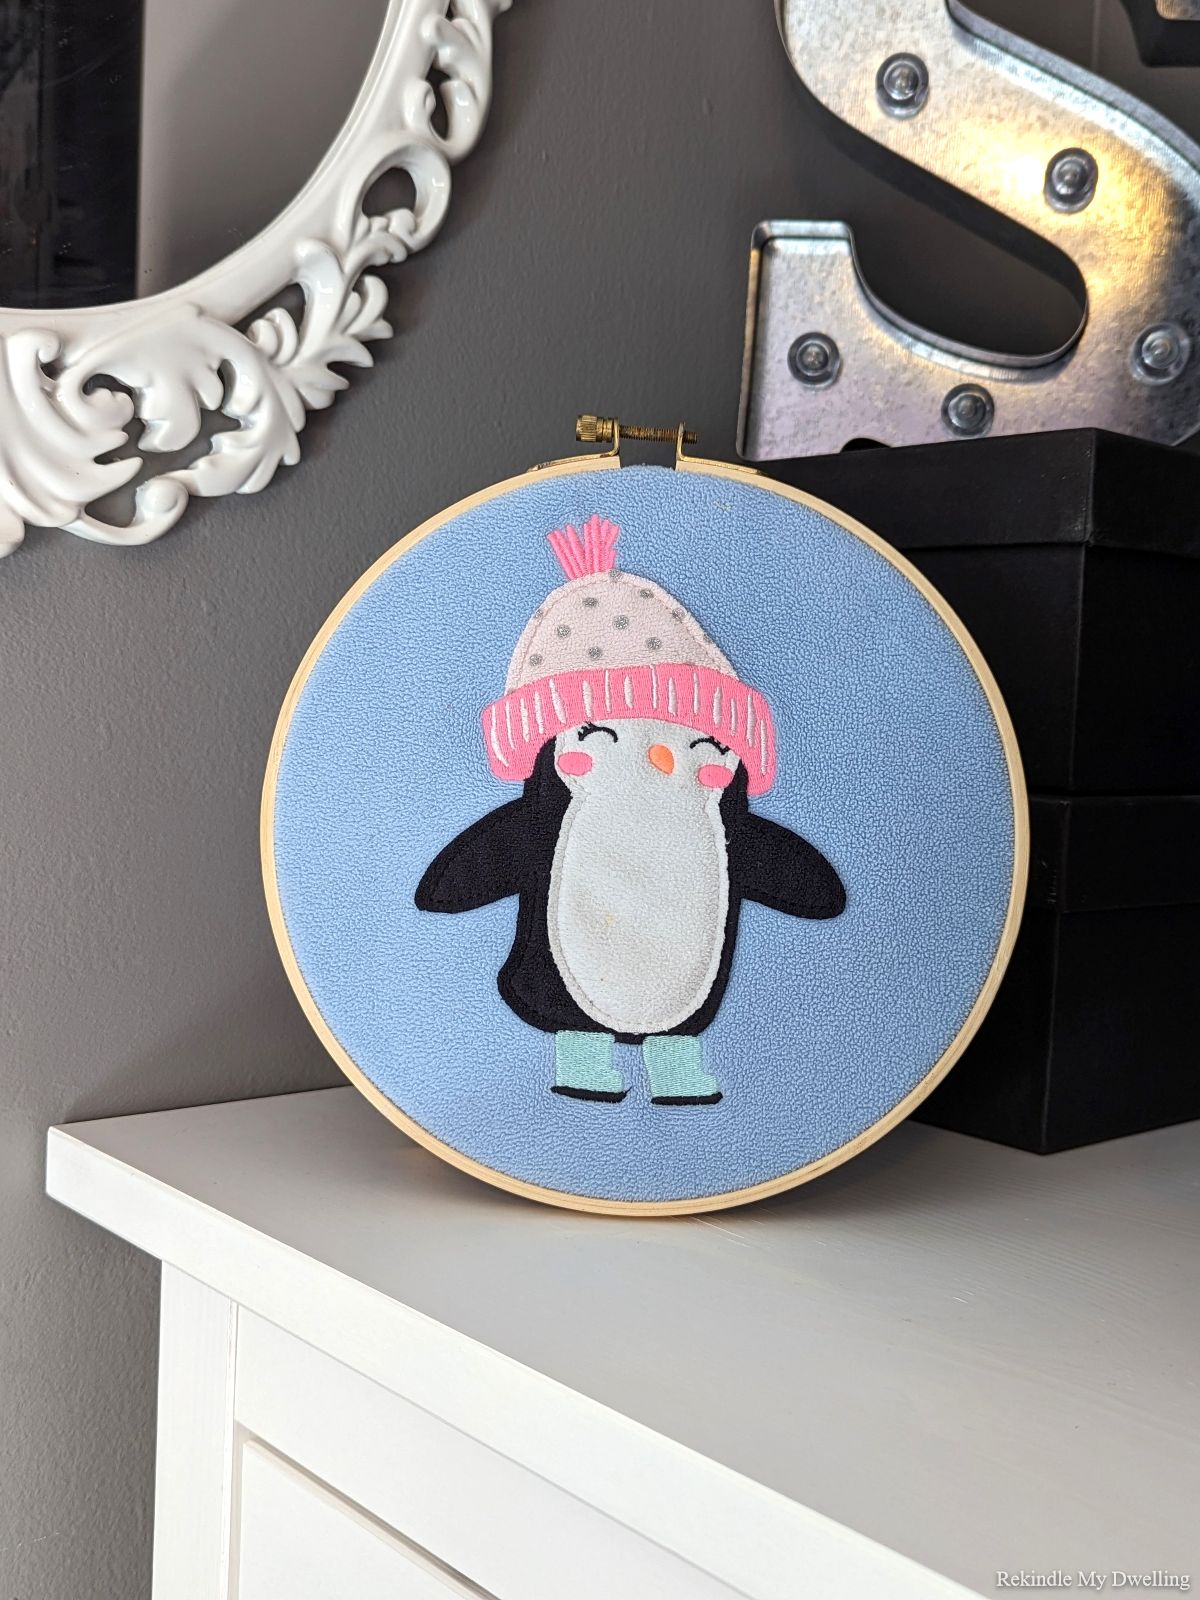
This is a really easy way to use your favorite clothing, that may look a bit worn or is unwearable, and turn it into a fun art project. Keep it even more simple and let your kids do the cutting, tightening and folding. You can skip the hot glue gun and use tape instead.
Just hang up your wall art and you’ve got a sweet personalized decoration.
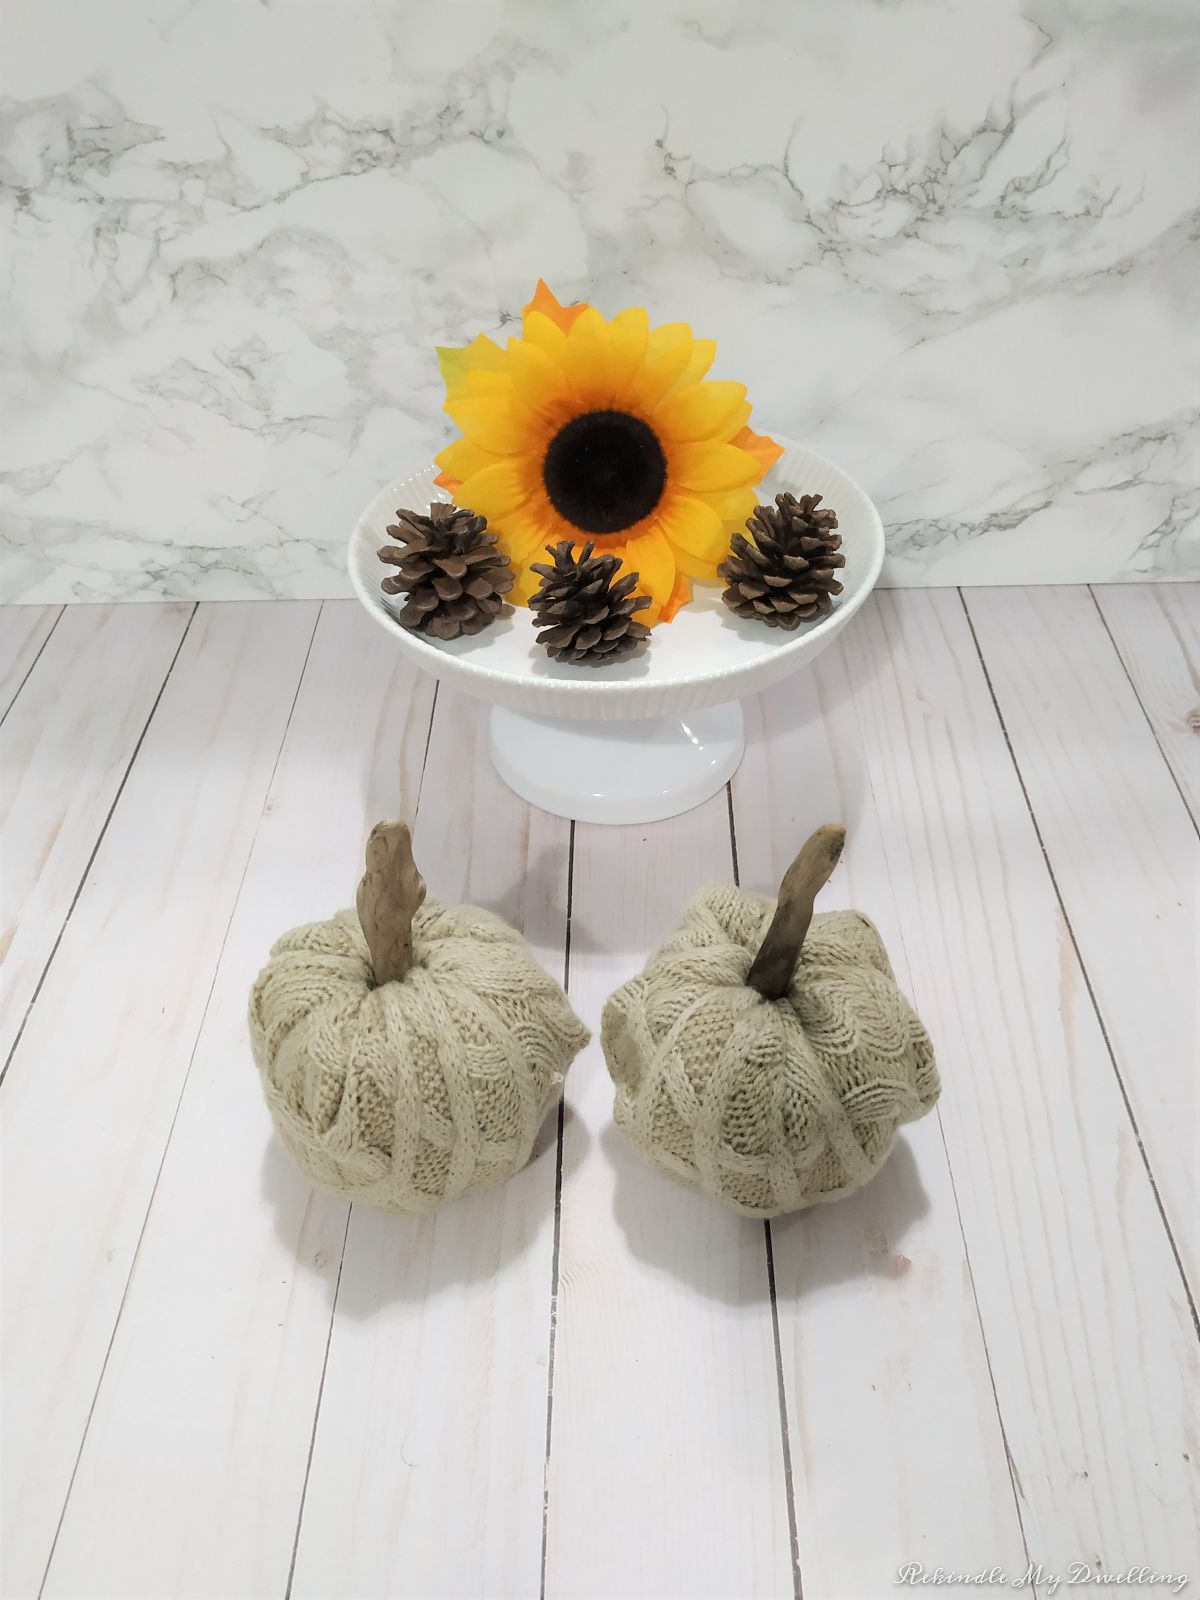
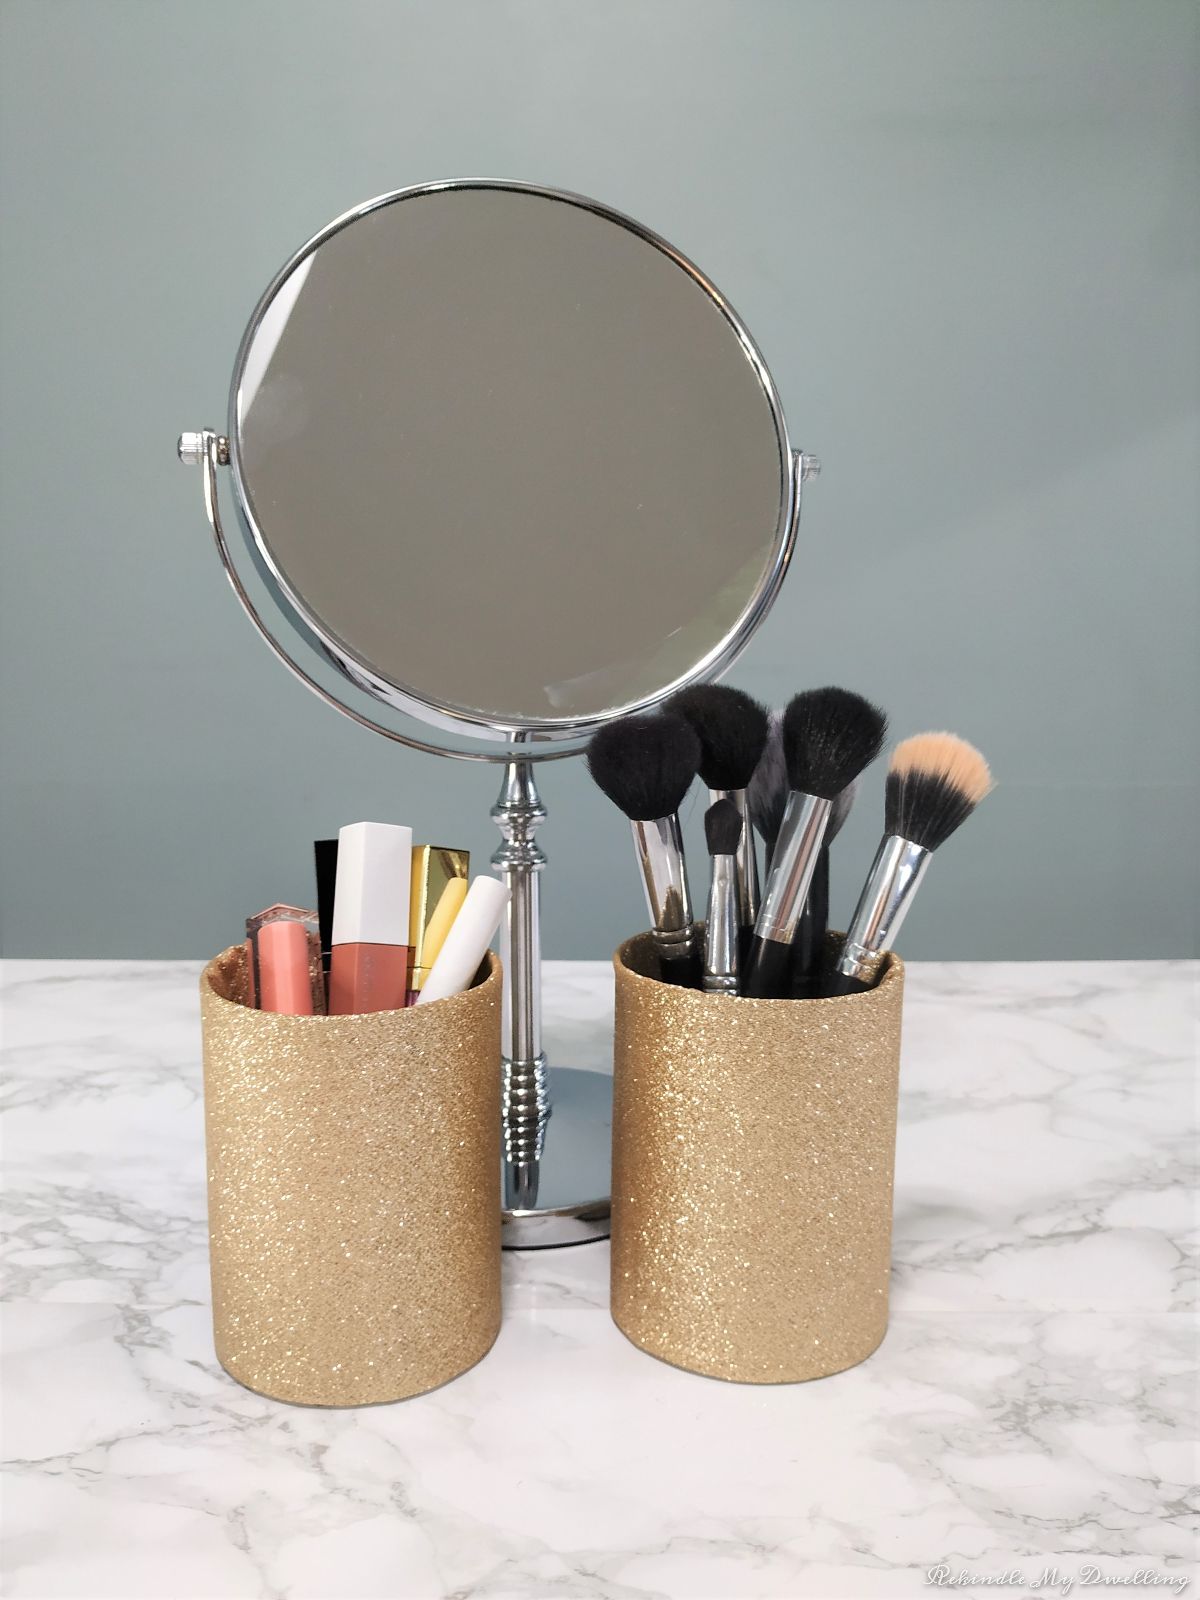
Check out more of our upcycled decor ideas! We previously made these sweater pumpkins, these vases made with lace and these fabric makeup organizers.
Pin for Later!
