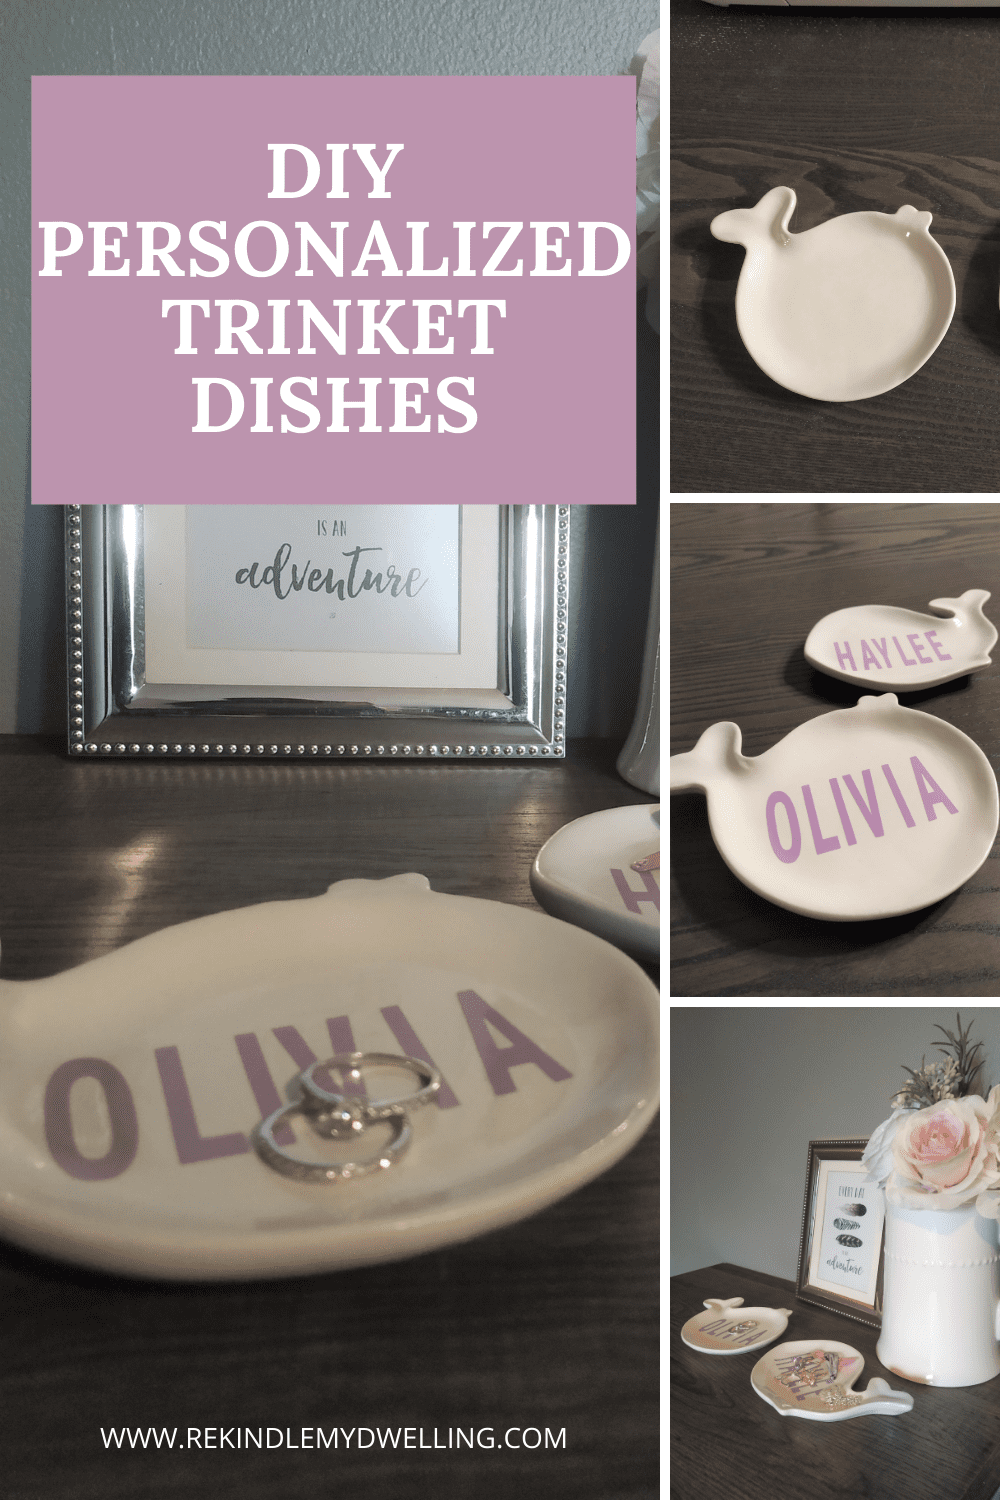
Personalized trinket dishes make a great mother-daughter gift idea. Or keep them for yourself to organize your keys, coins, jewelry or other treasures. Check out how I used my Cricut machine to customize mini plates from the dollar store. They’re the perfect size for your office, shelf, counter or bedside table!

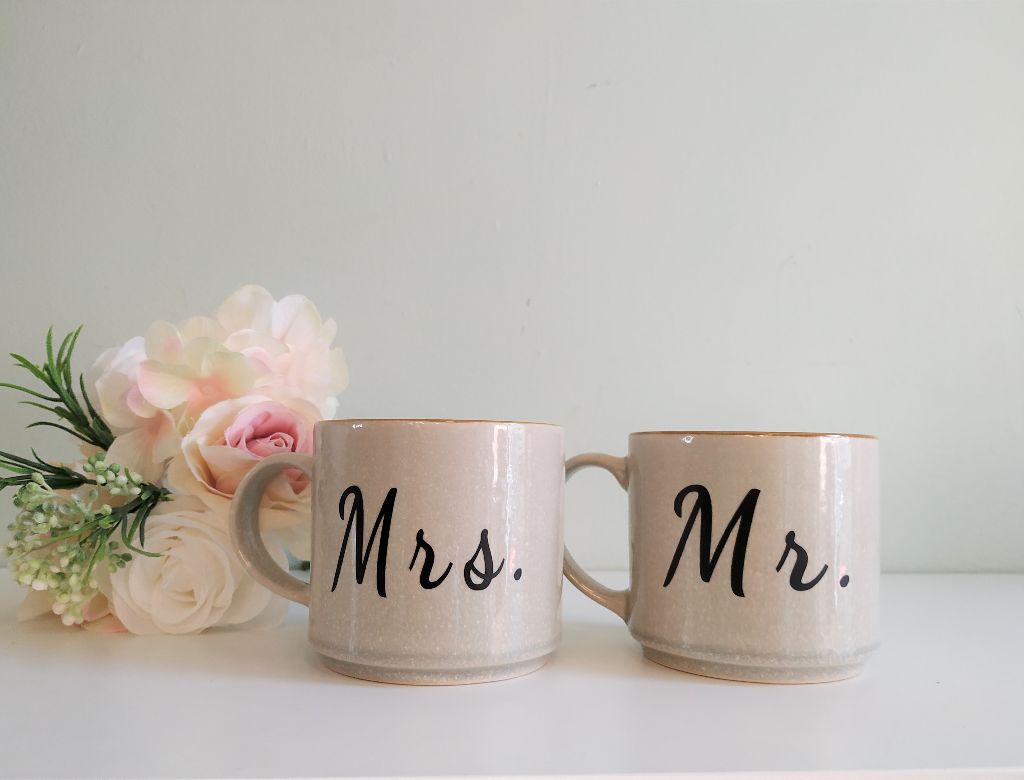
I found these cute whale dishes at the dollar store and I thought they would make the perfect gift for a friend and her daughter, they’re just the right size for trinkets or jewelry. I wanted to add a little extra touch by personalizing the trinket dishes using my Cricut machine. So far I’ve only made these personalized wedding gift mugs using my Cricut but the gift ideas are endless!
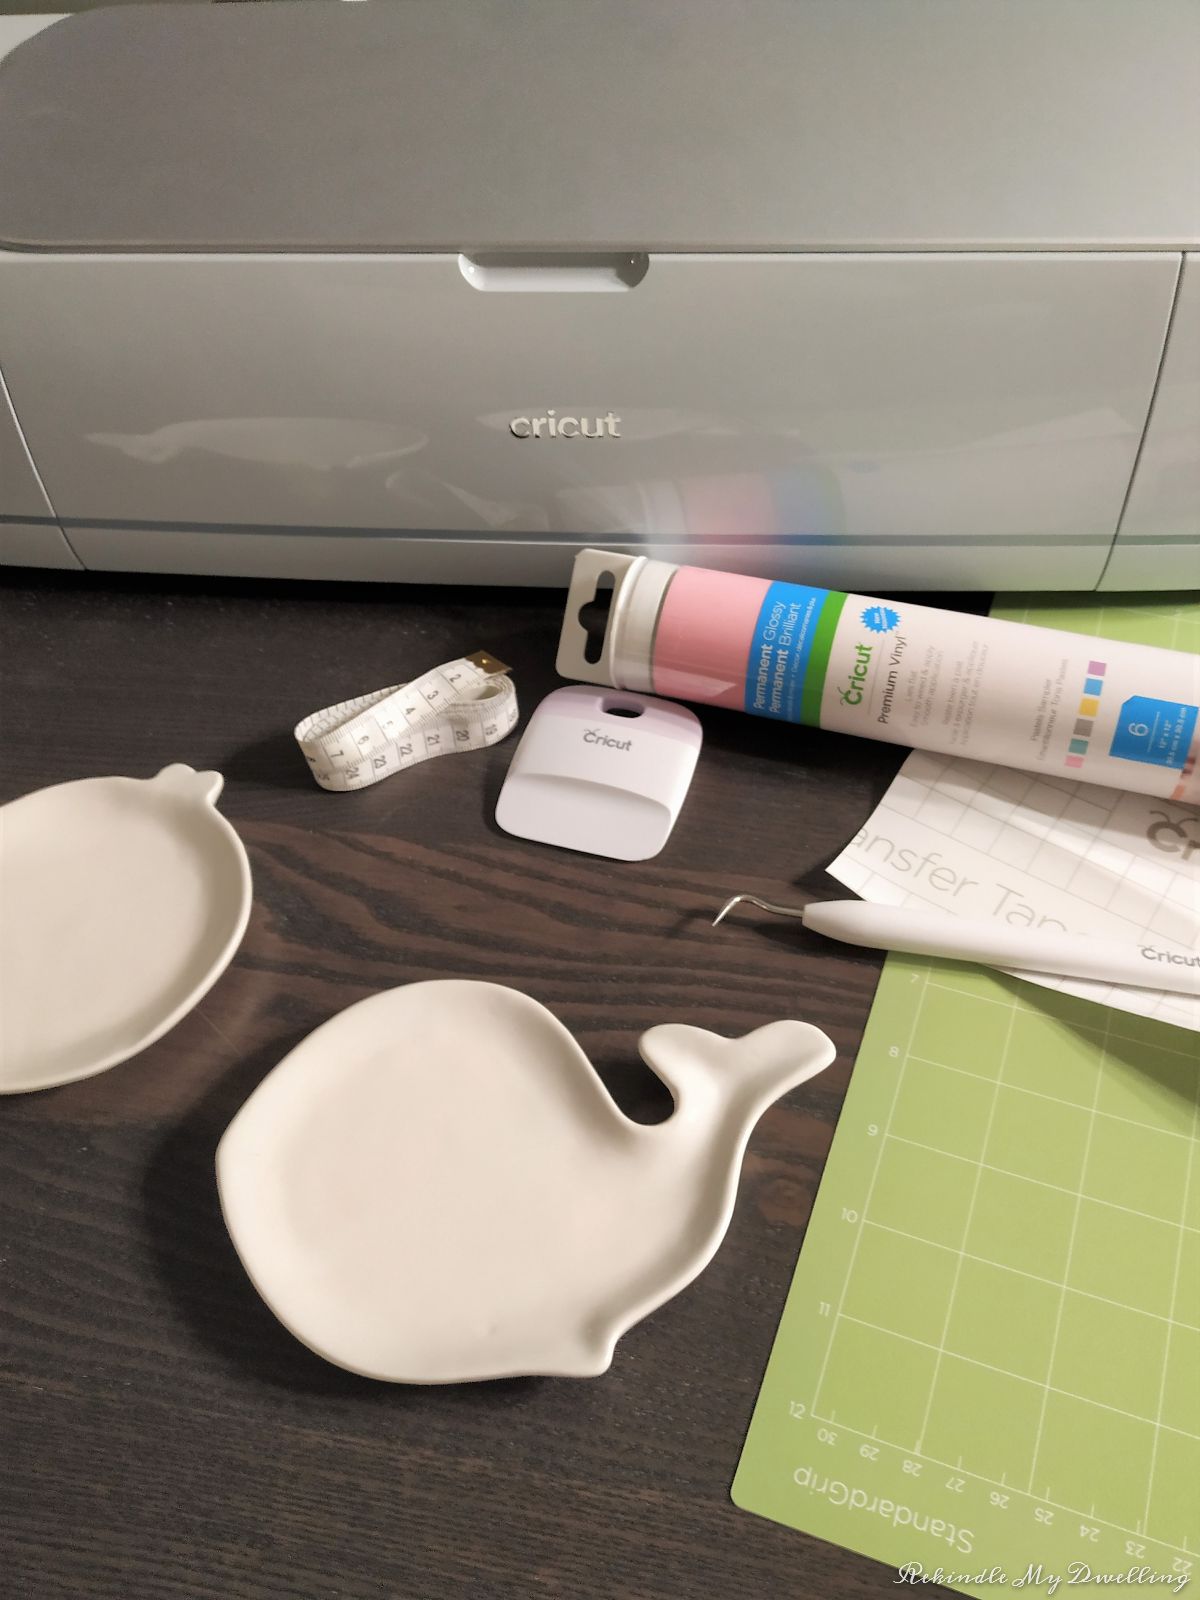
Materials Needed
This post contains affiliate links. We may earn a commission at no extra cost to you if you choose to purchase through them. Read our full policy here.
- Small blank dishes (I got mine from Dollar Tree)
- Cricut machine
- Cricut cutting mat
- Premium vinyl, Brights sampler in permanent glossy
- Transfer tape
- Measuring tape
- Weeding tool and scraper
Personalized Trinket Dishes using the Cricut Maker
Start by measuring your trinket dishes.

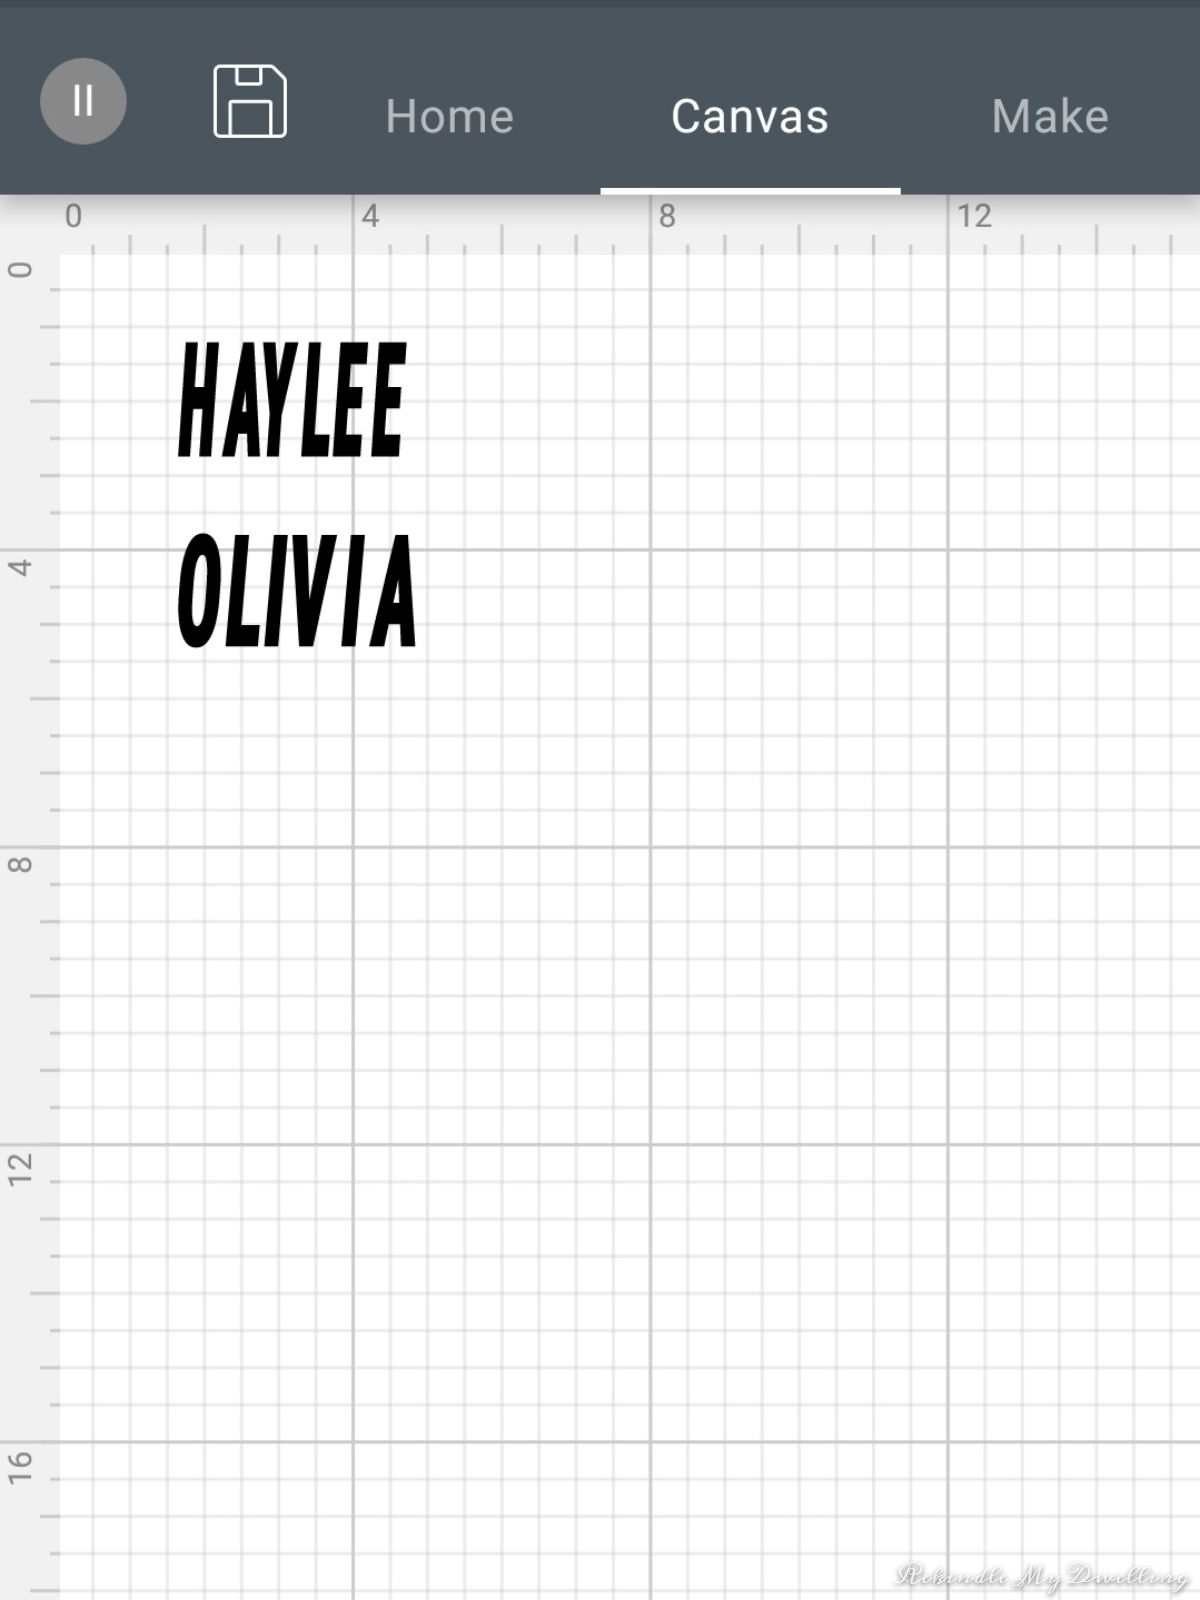
Next, open Cricut Design Space app and start a new project. Insert the font option and choose your font. Enter your names and adjust the size to fit your trinket dishes.
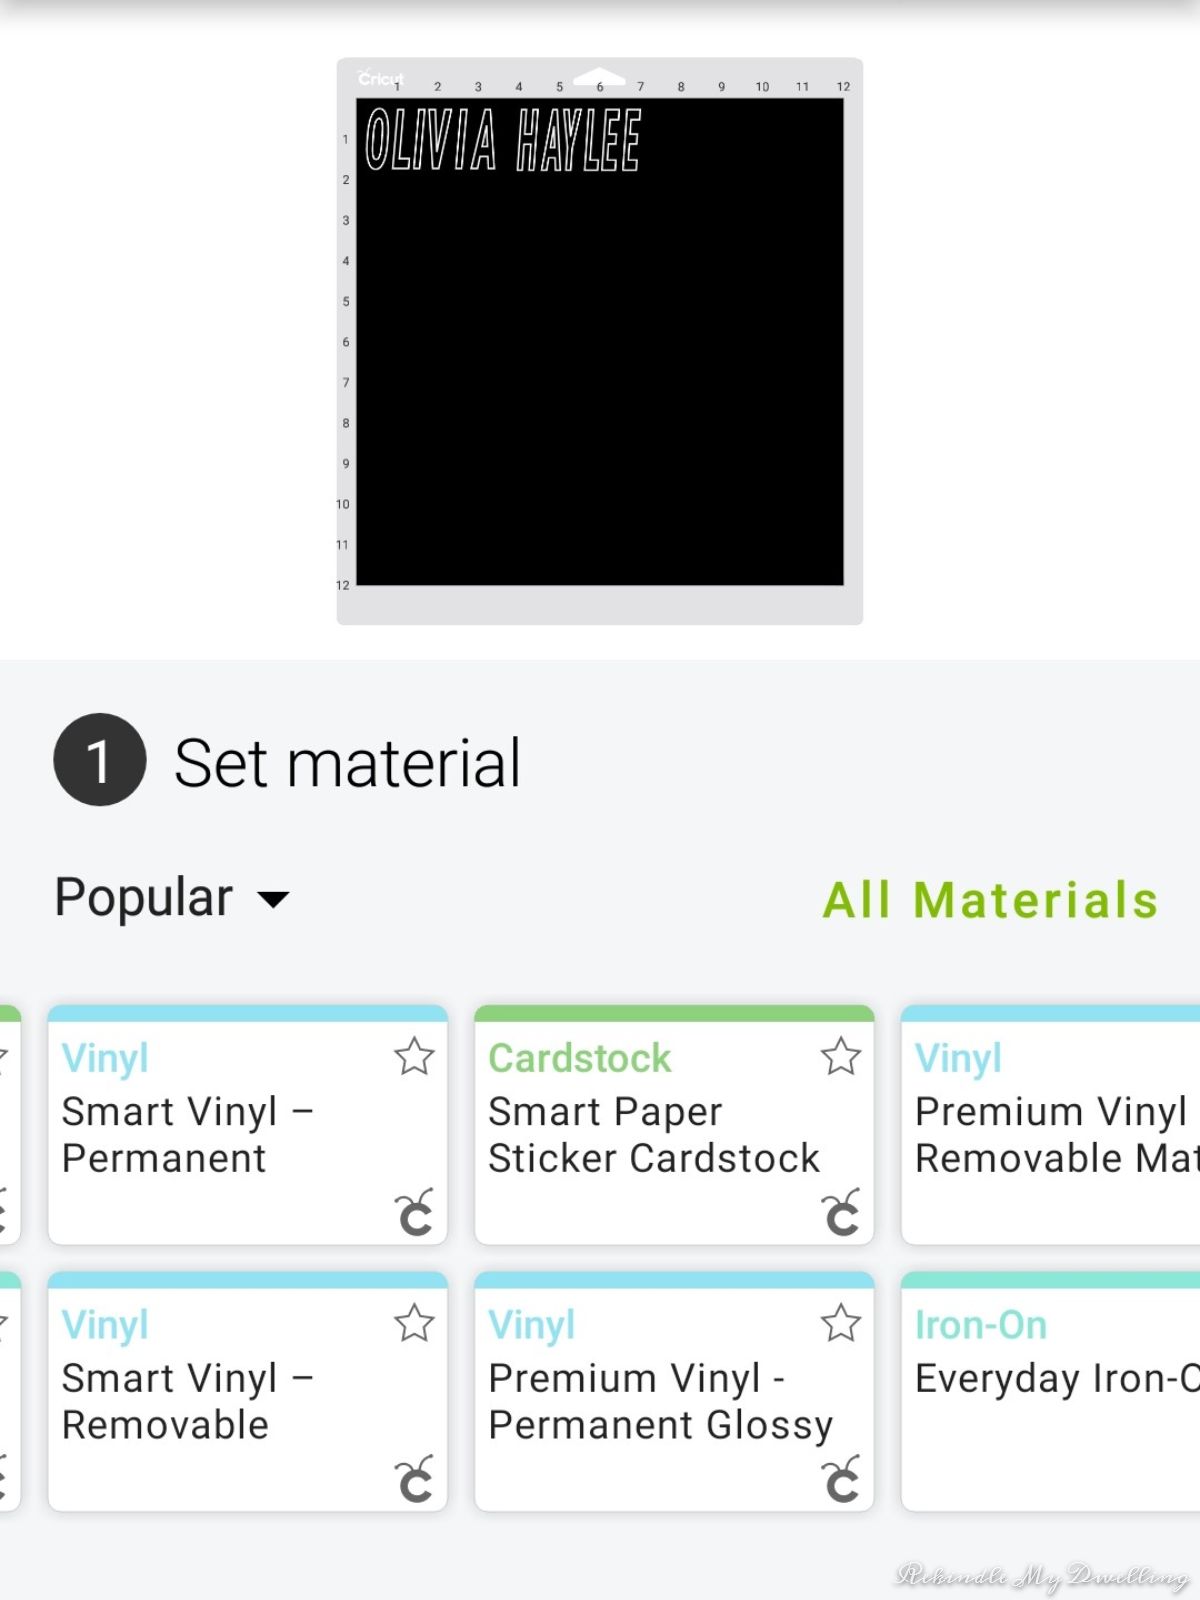
Next go to “Make it” and select with mat option (If you’re using Smart vinyl you will not need to use a mat). Then select your material. I used permanent glossy from the Brights sampler.
Connect to your Cricut machine and load your Cricut mat when prompted.

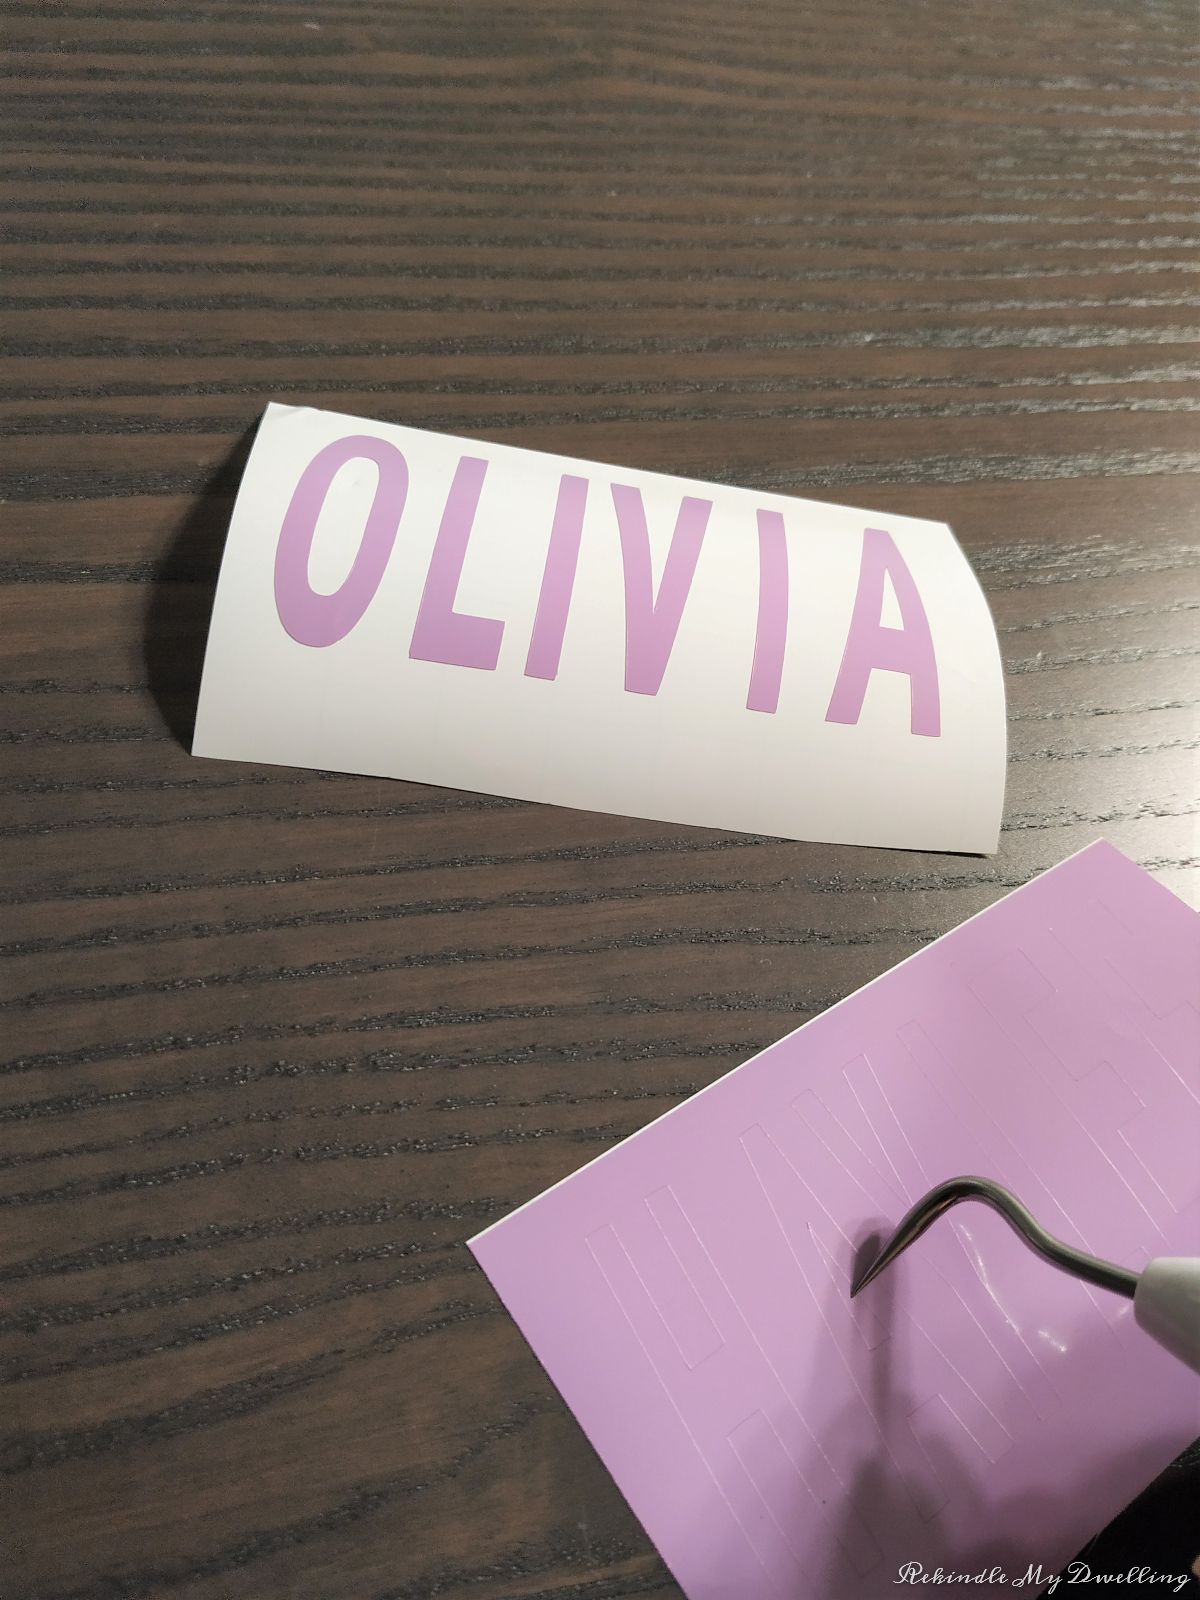
Once the names are cut, unload the machine and cut out the vinyl. Weed the excess vinyl around the cut letters.

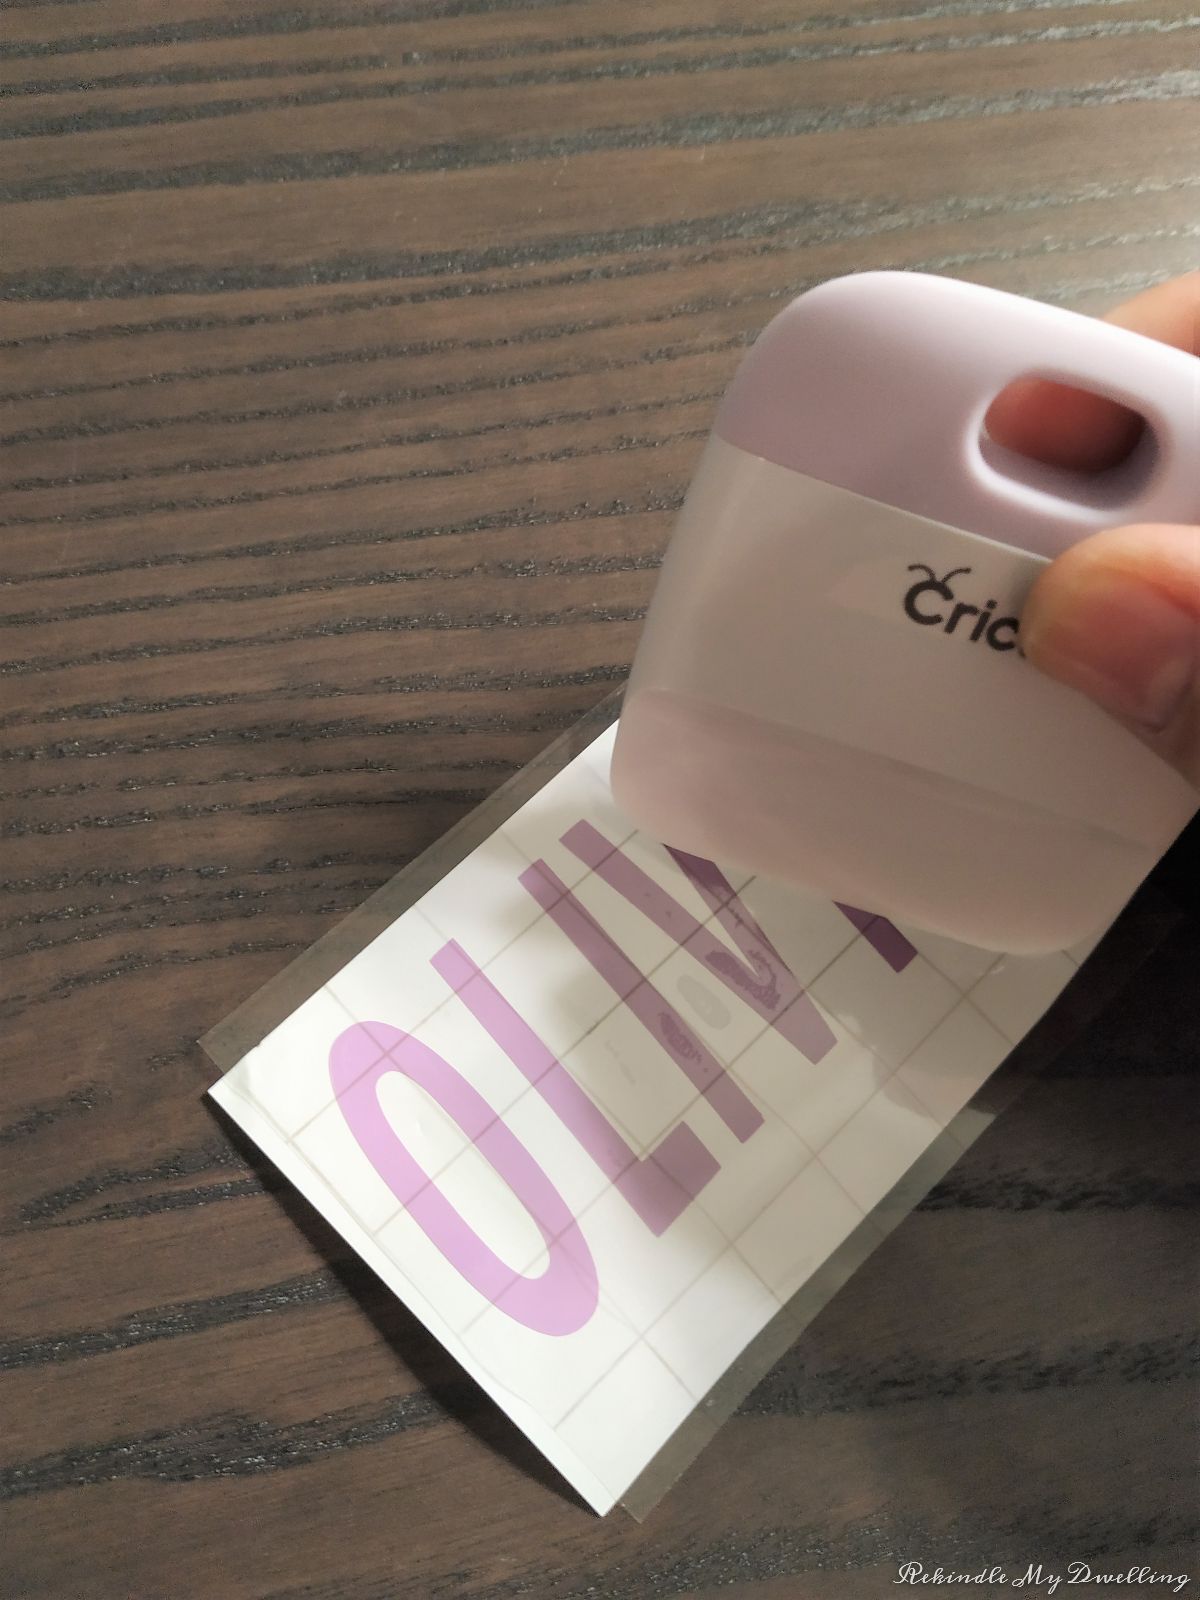
Cut a piece of transfer tape and place it over the names. Peel away from the backing.
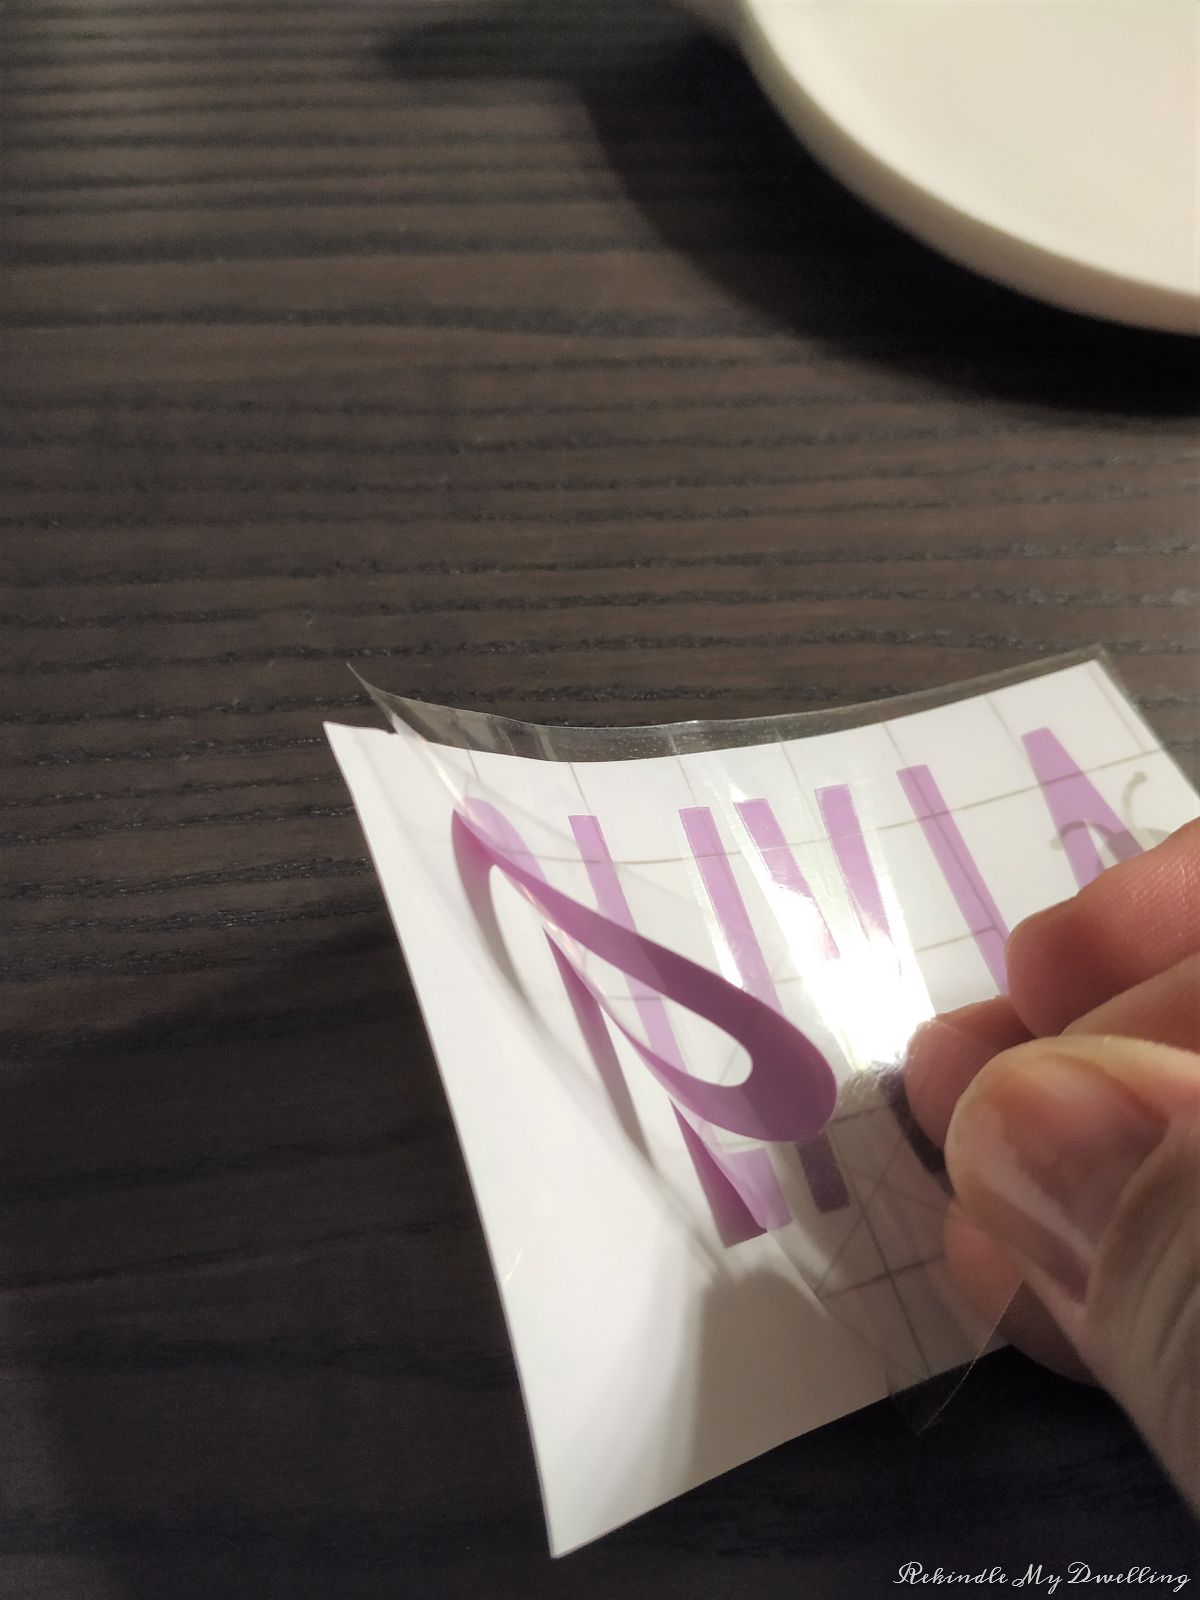
Next position the transfer tape with a name over a trinket dish, pressing down and carefully peeling the transfer tape so that the name is left on the dish.
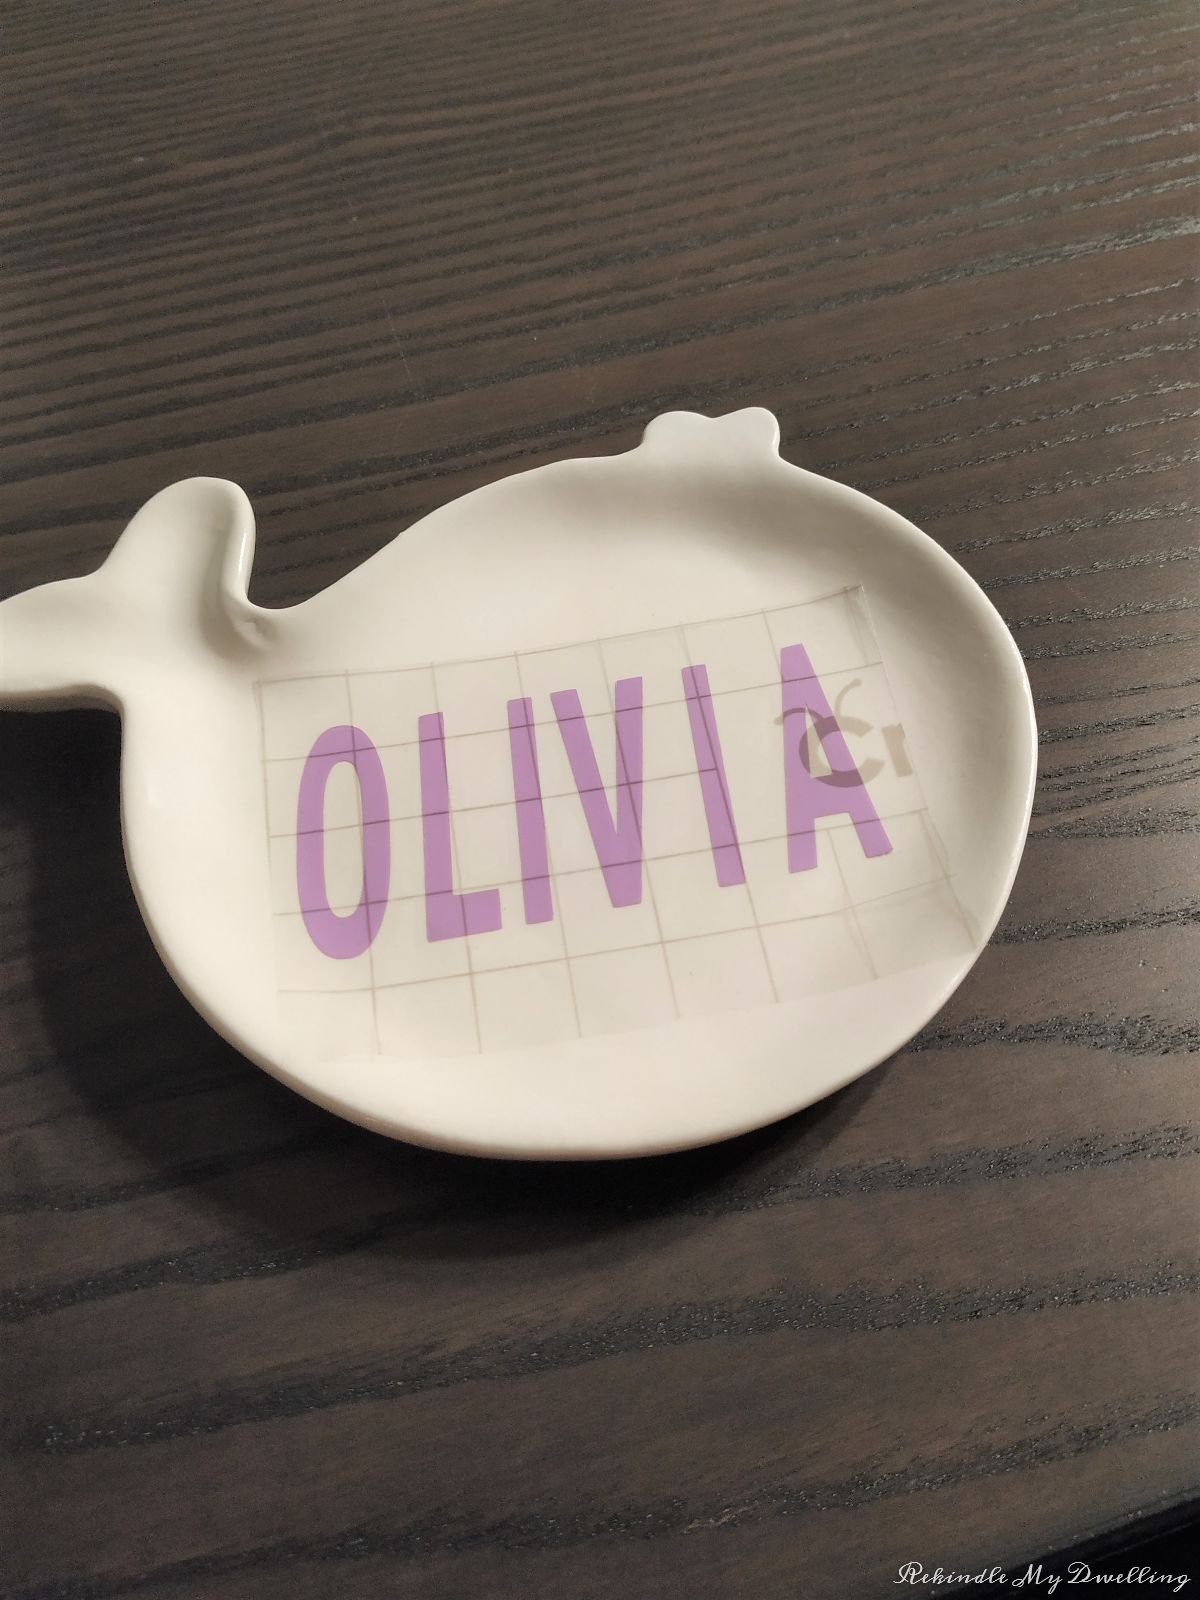

Add the name to the second trinket dish.
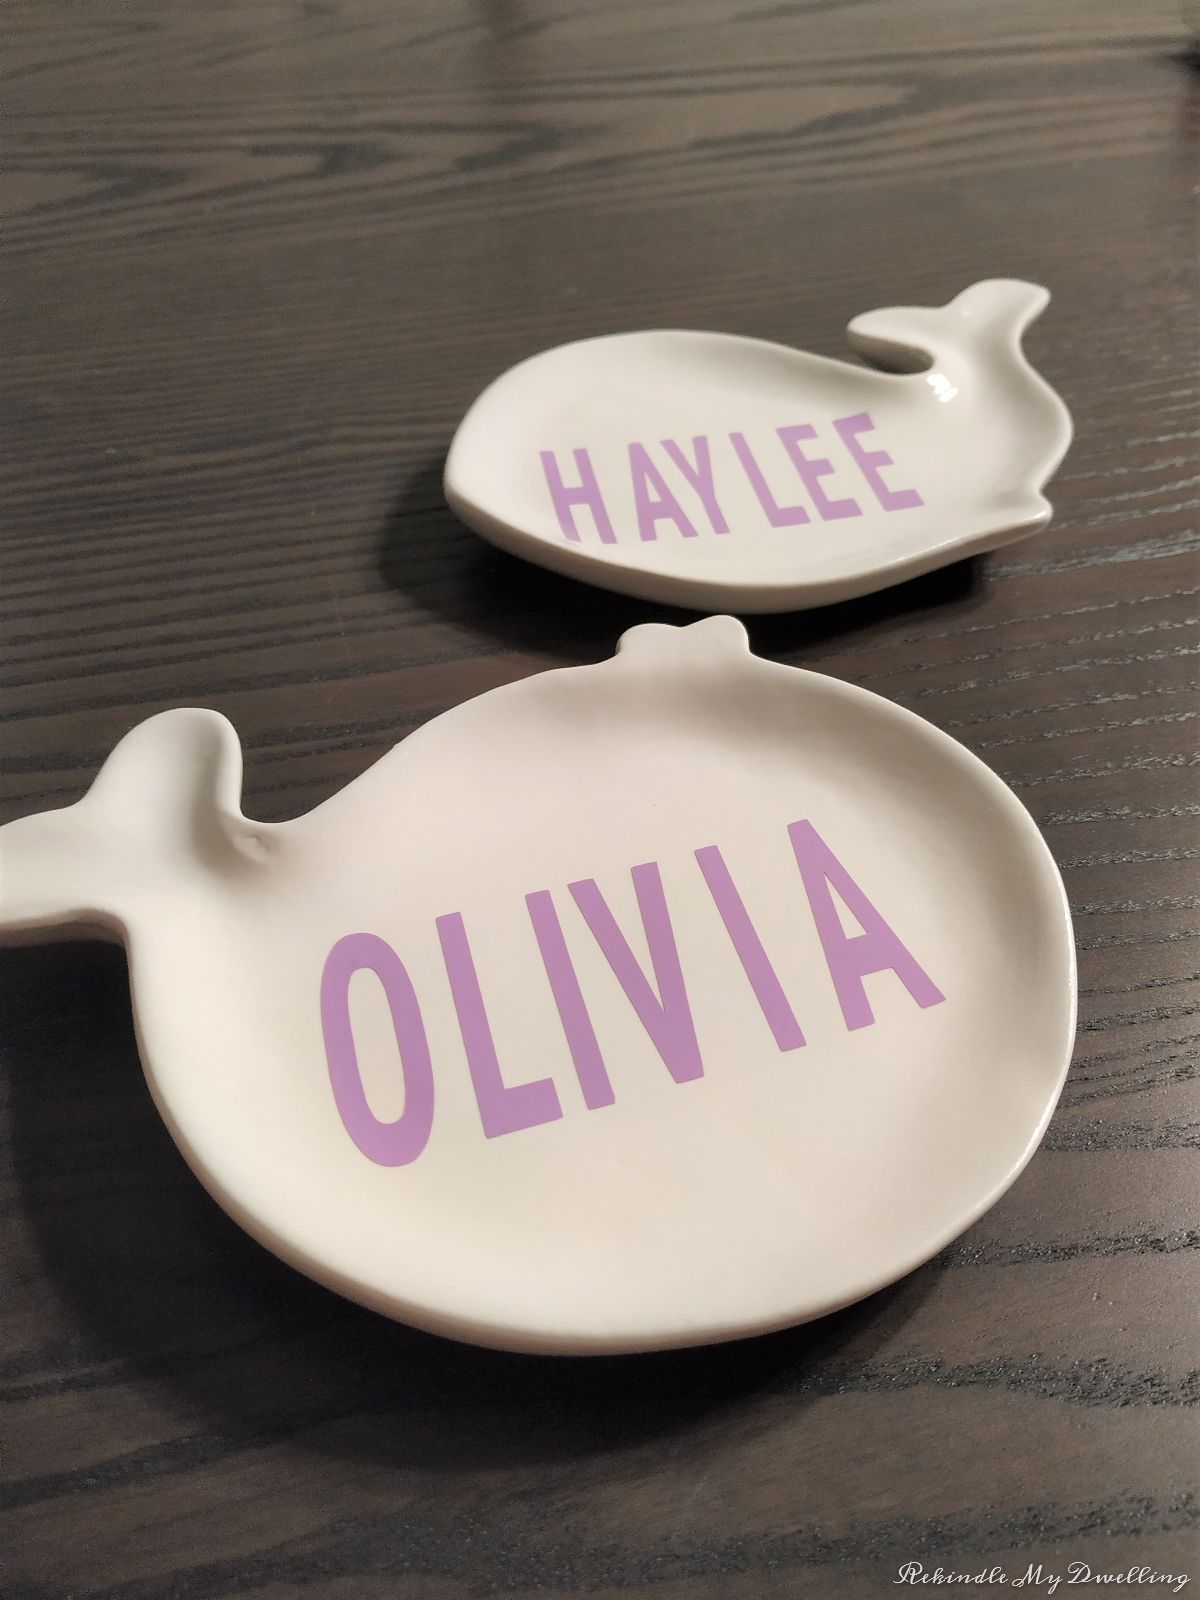
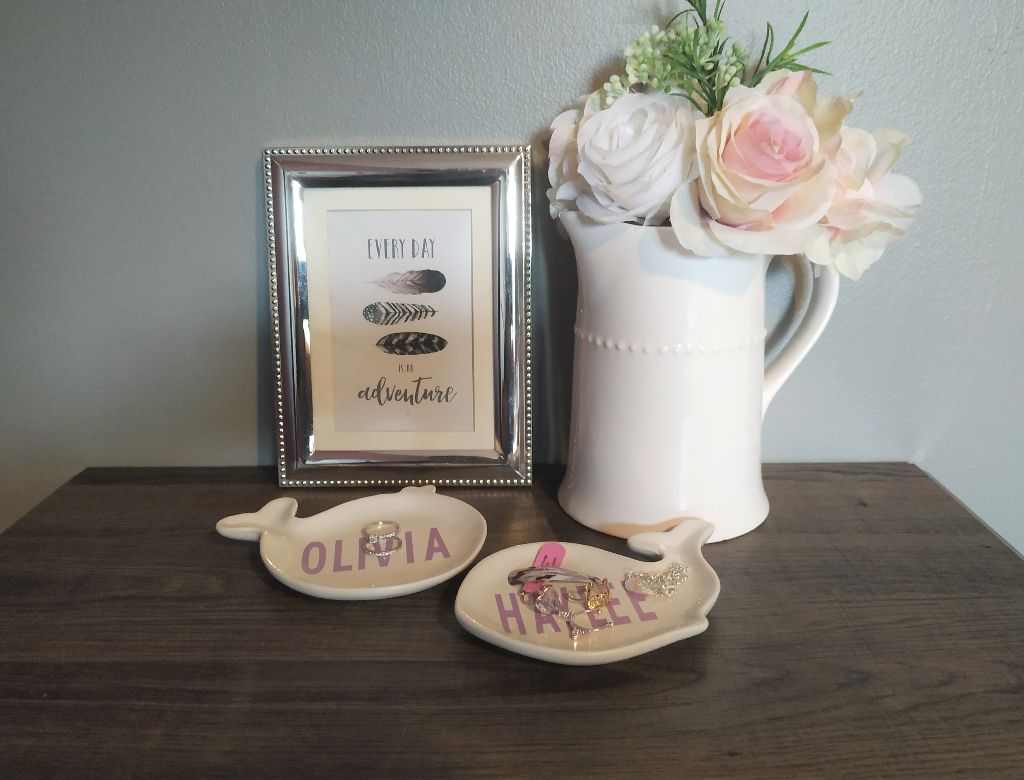
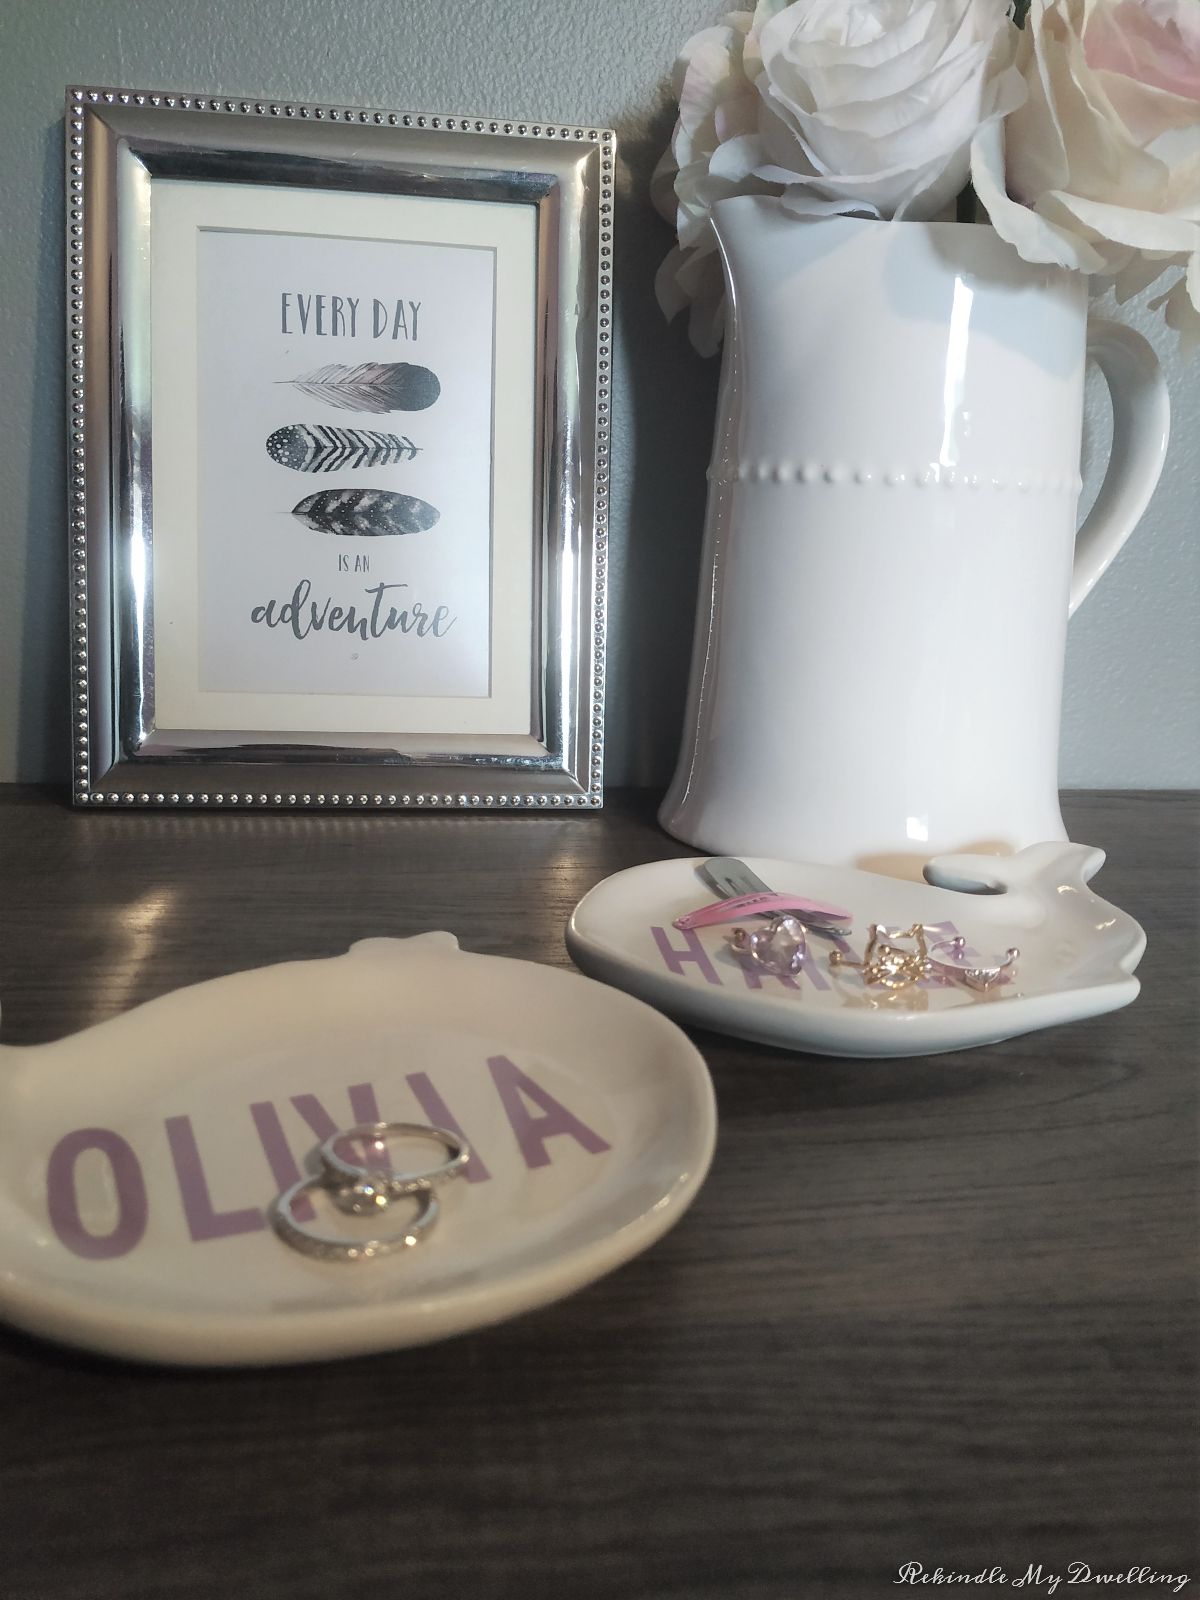
These personalized trinket dishes are so simple to make and they make the sweetest mother-daughter gift!
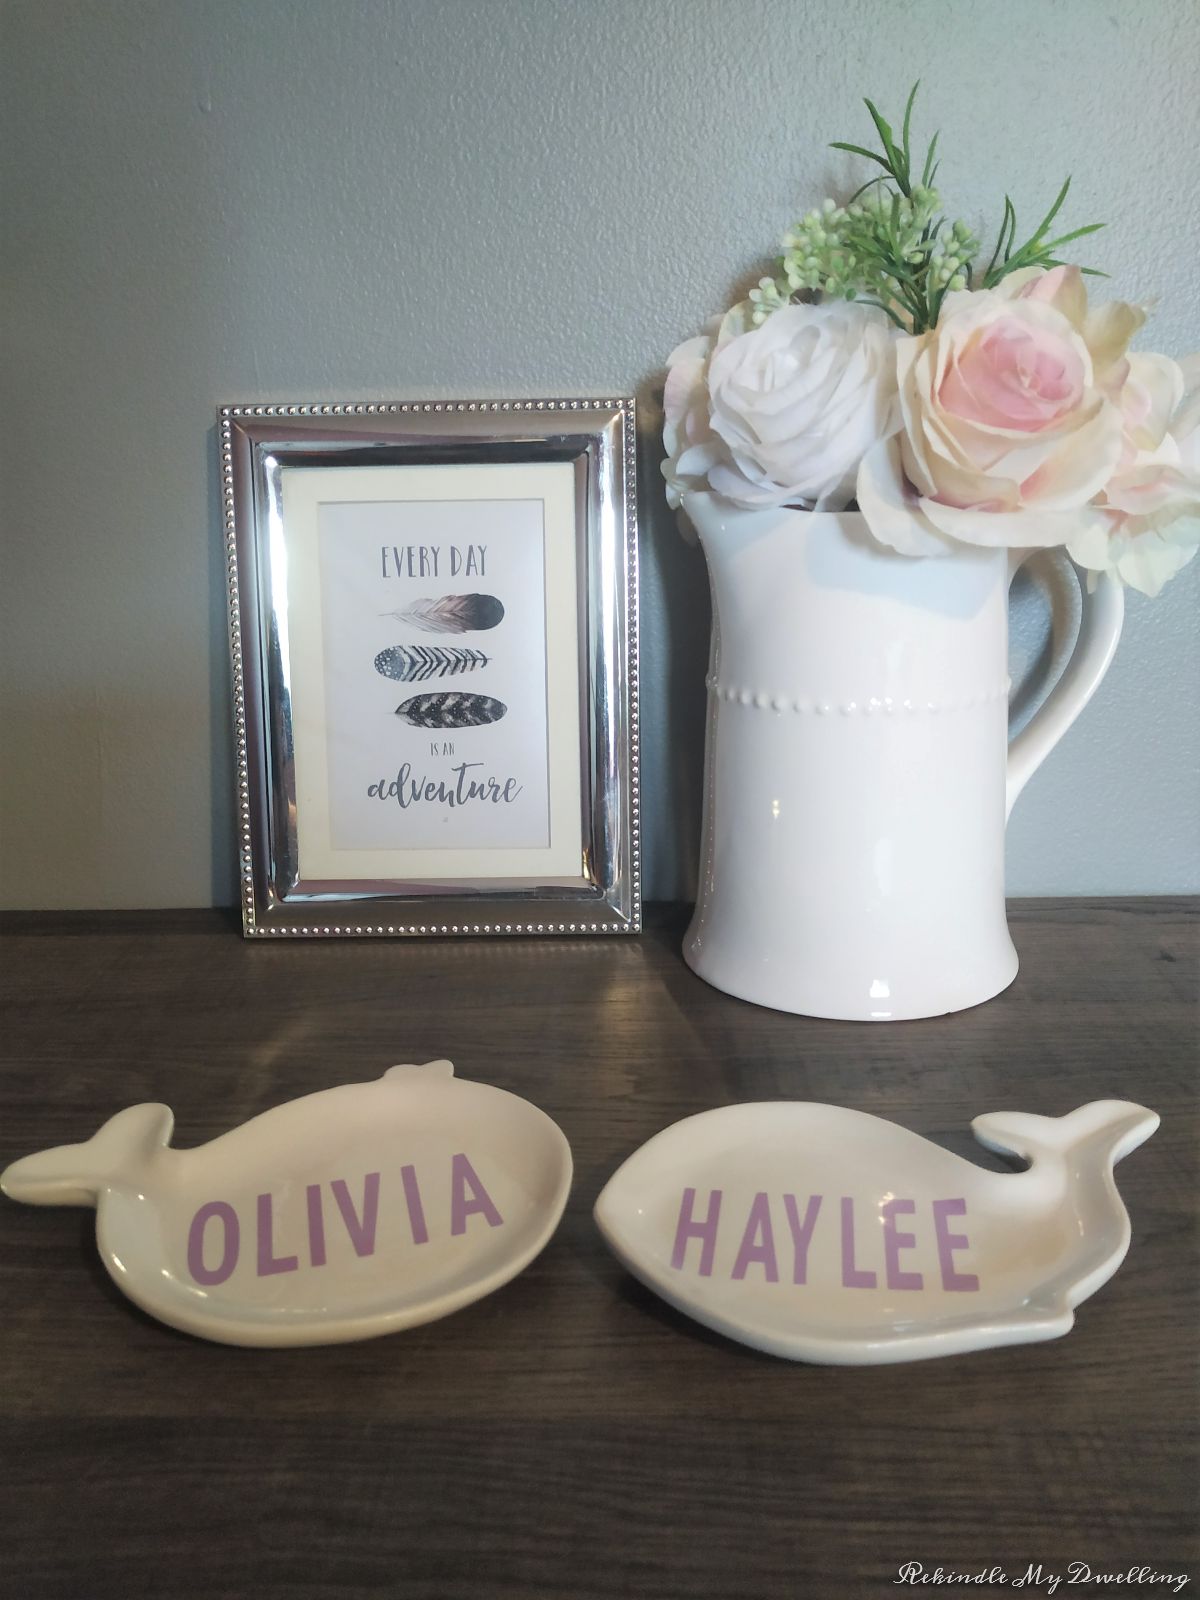
They’re the perfect size for trinkets, jewelry or just use them as part of your home decor.
Pin for Later!