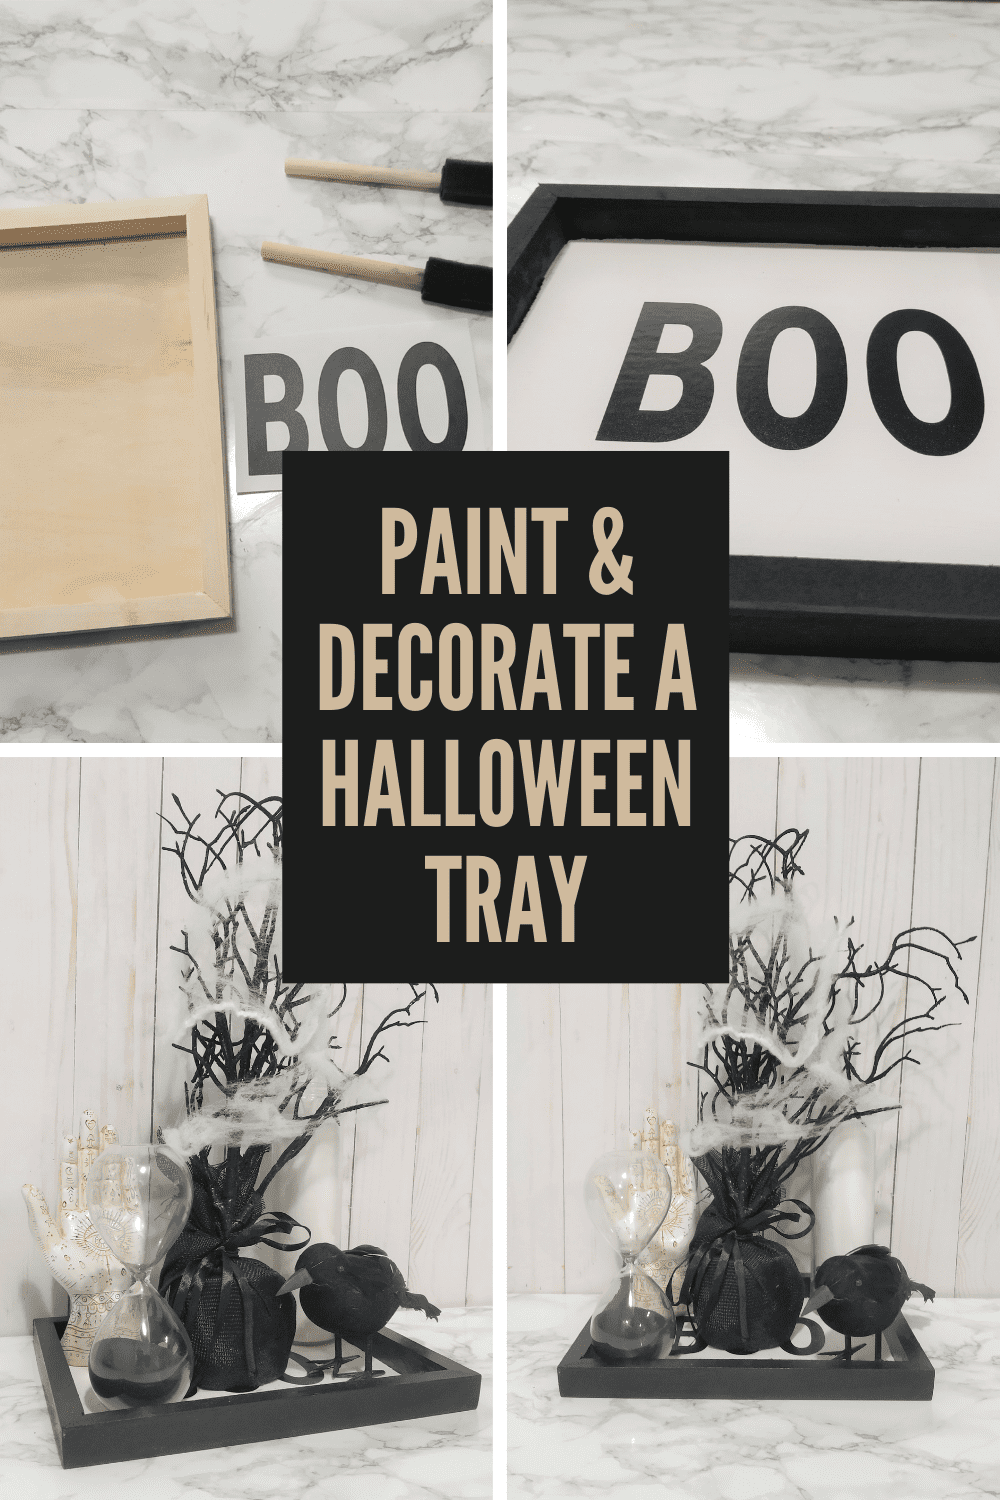
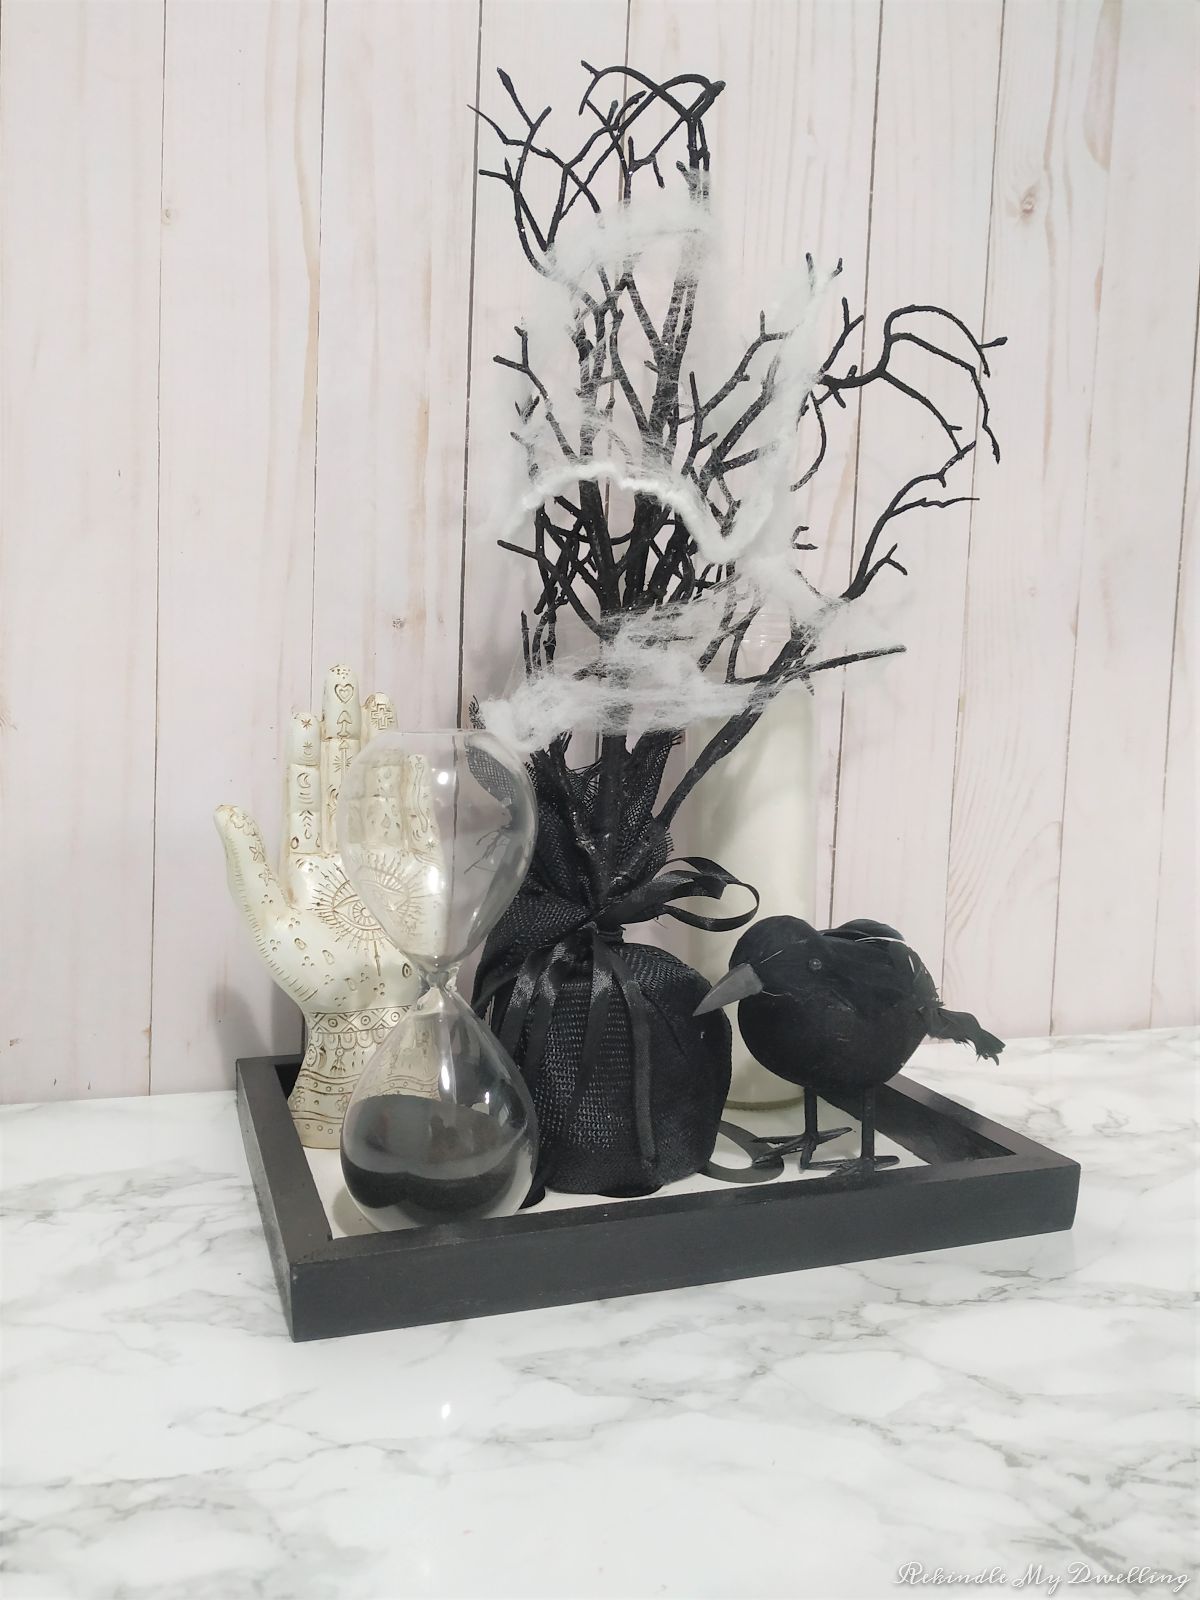
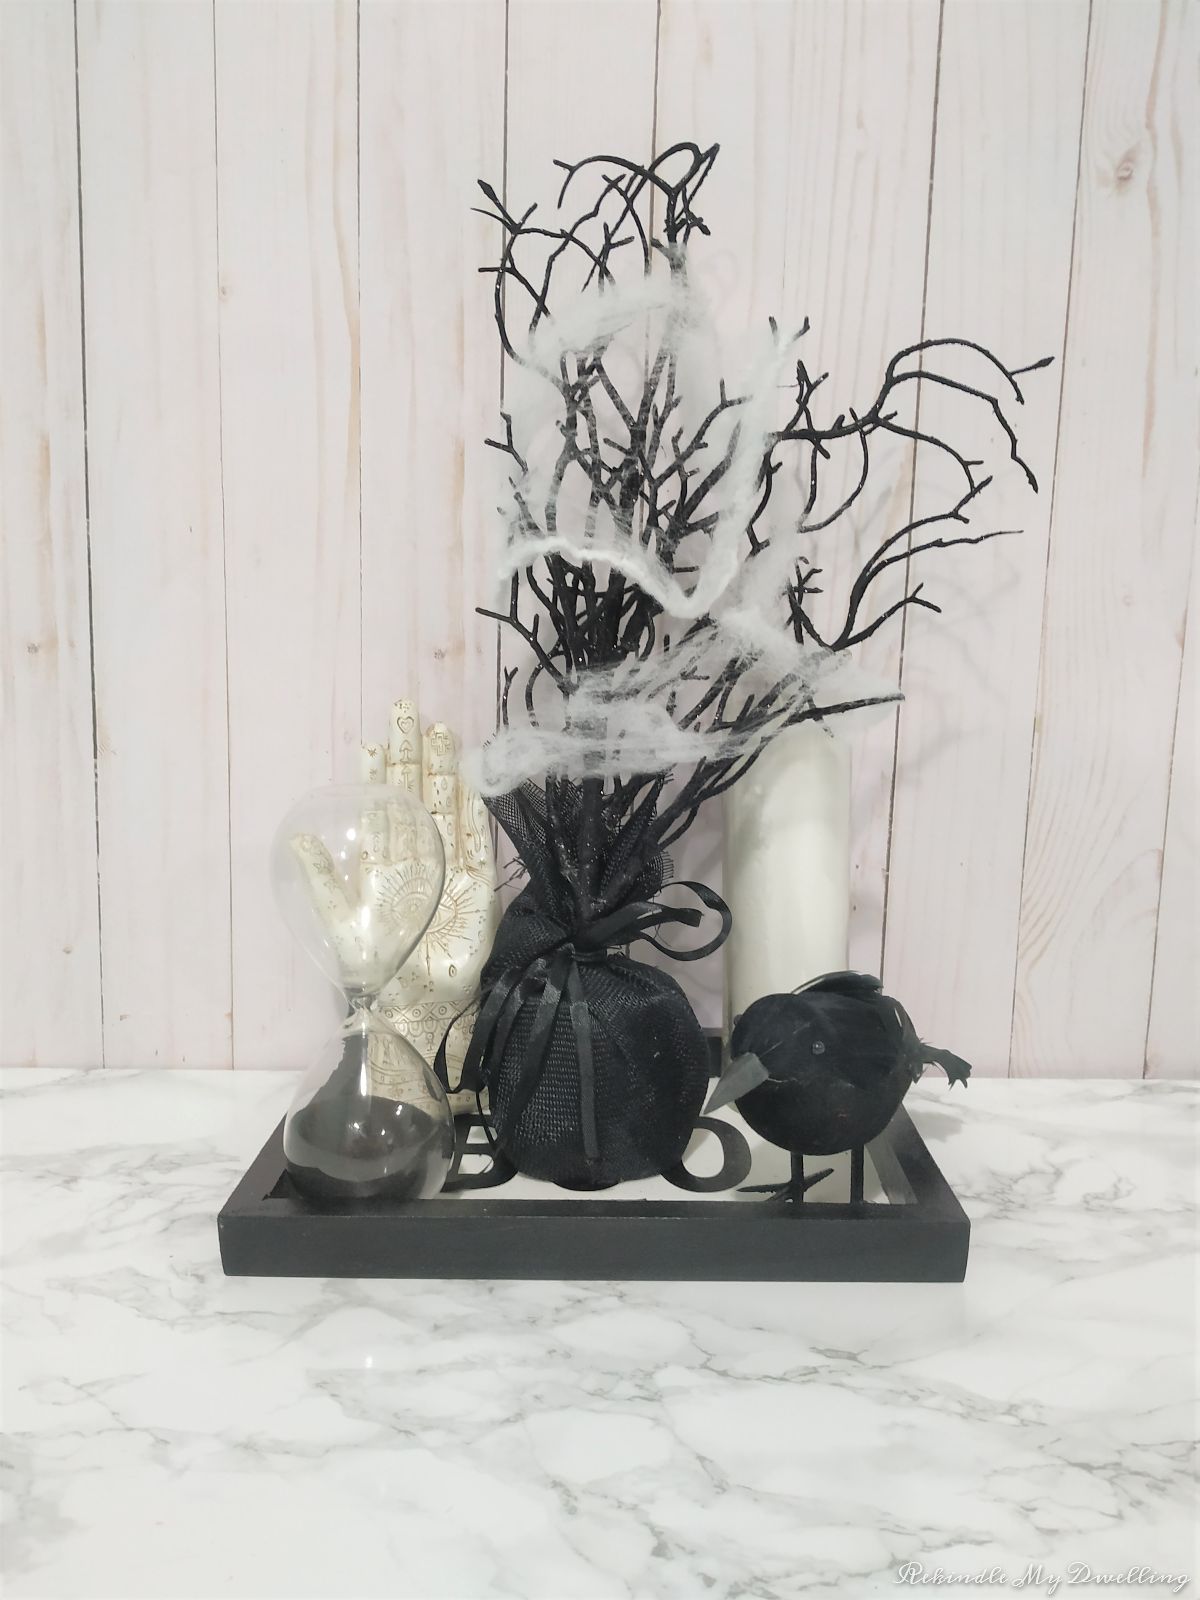
It’s no surprise that Halloween is my least favorite holiday. If I could, I would totally skip it! But of course the kids LOVE it and they want to do all things spooky and creepy. I’m fine with cute, non creepy crafts like these yummy lollipop ghosts we made together. But when we went to the dollar store, the kids picked out decorations like creepy birds, body parts and spider webbing. I decided to keep it all contained by painting a Halloween wood tray and using it to display their haul.
Materials Needed
This post contains affiliate links. We may earn a commission at no extra cost to you if you choose to purchase through them. Read our full policy here.
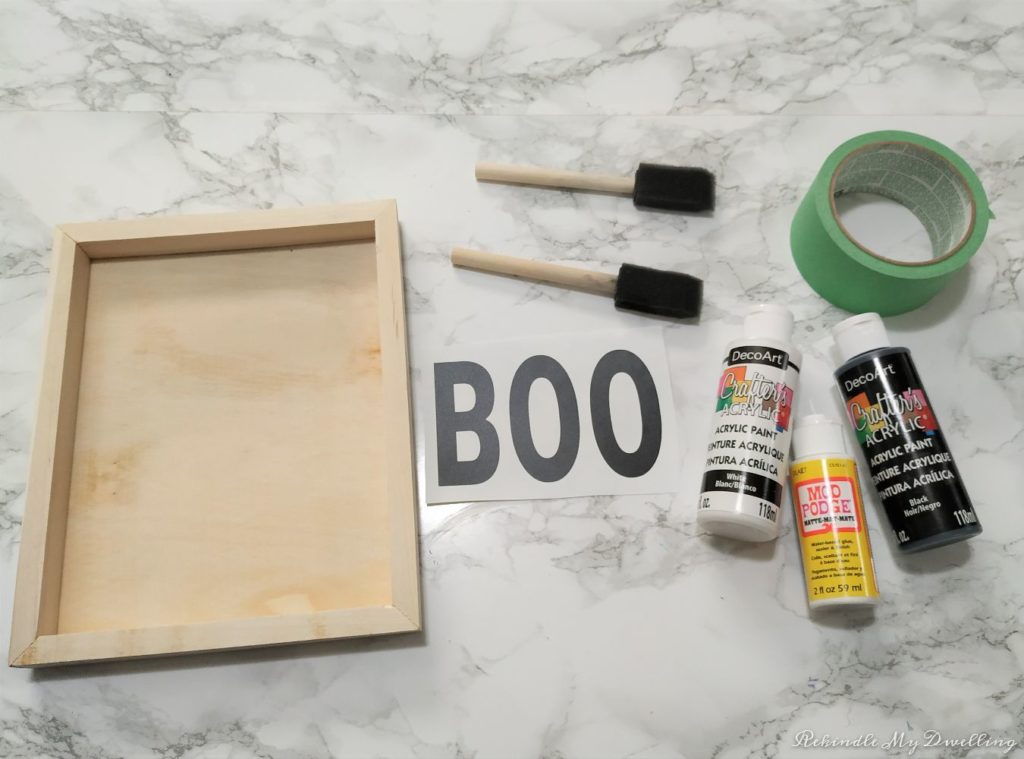
- Wood canvas (I bought this in the craft area at the dollar store, just flip it upside down to make a tray)
- Black & white paint
- Tape
- Mod Podge
- Paintbrushes
- Spooky lettering (stickers, handwritten or use your Cricut machine)
Paint and Decorate a Halloween Wood Tray
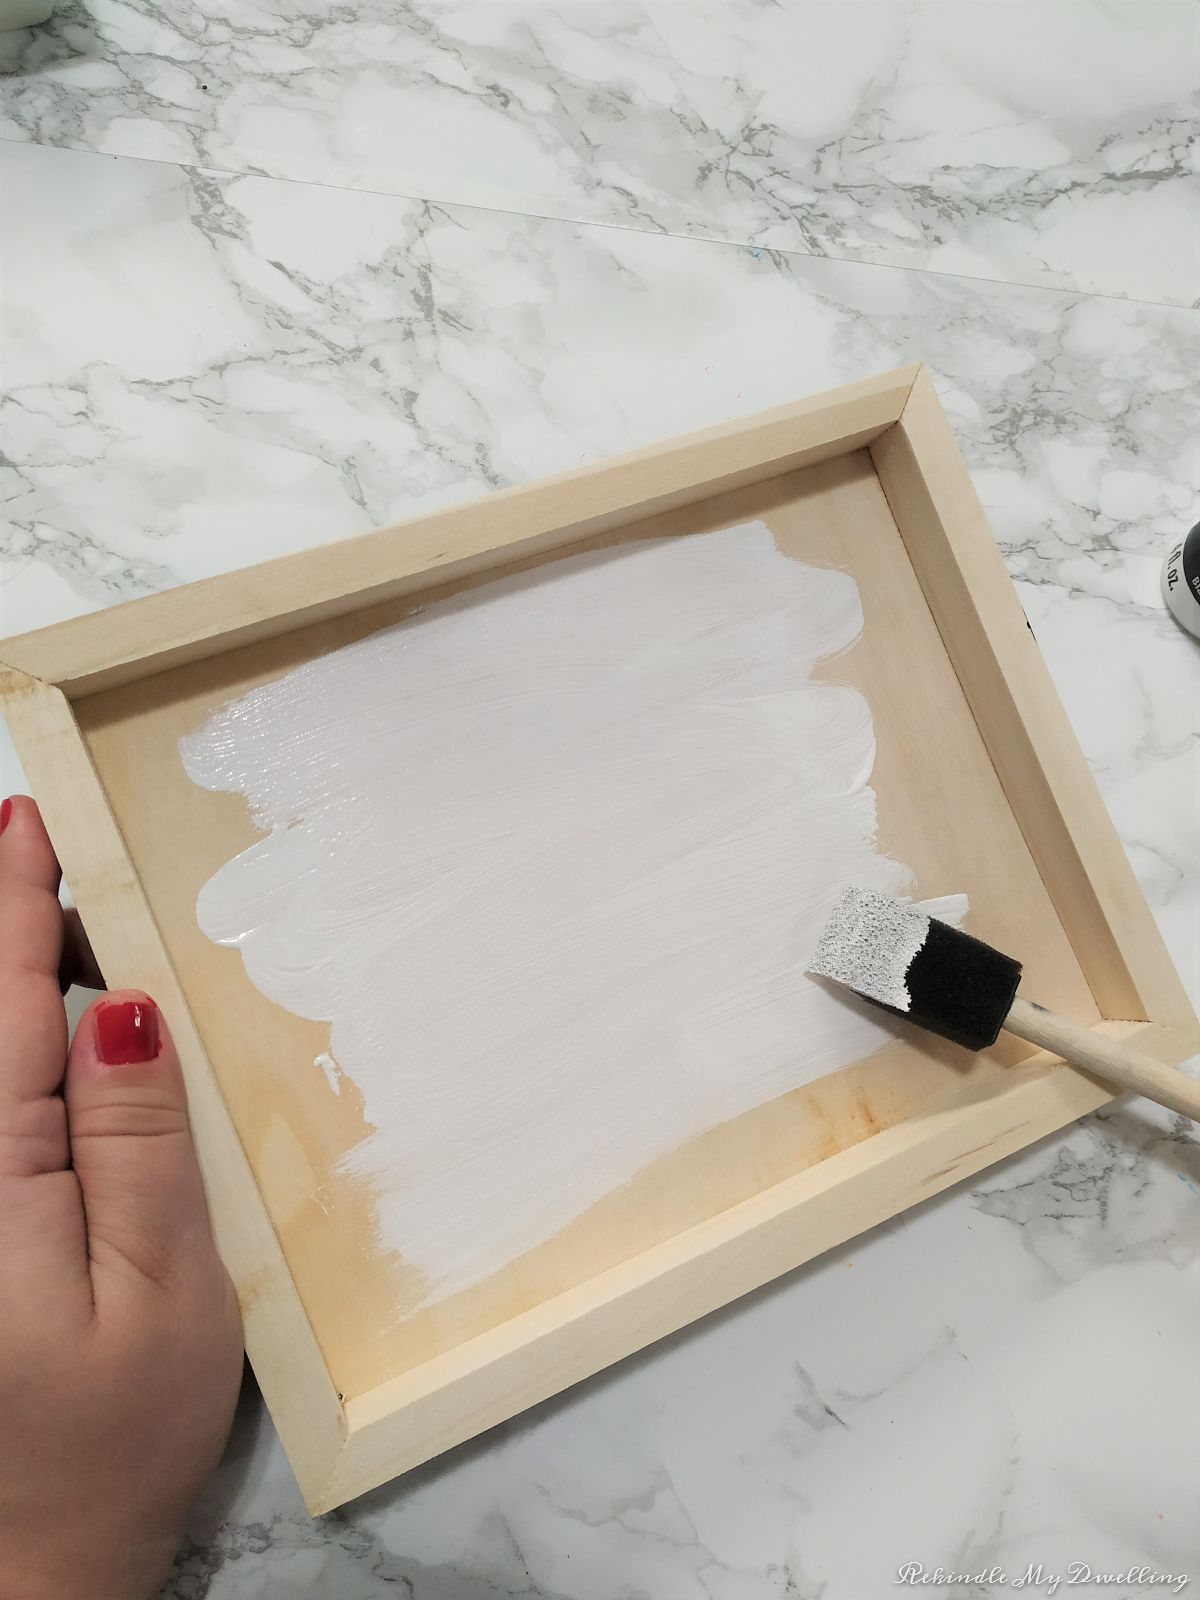
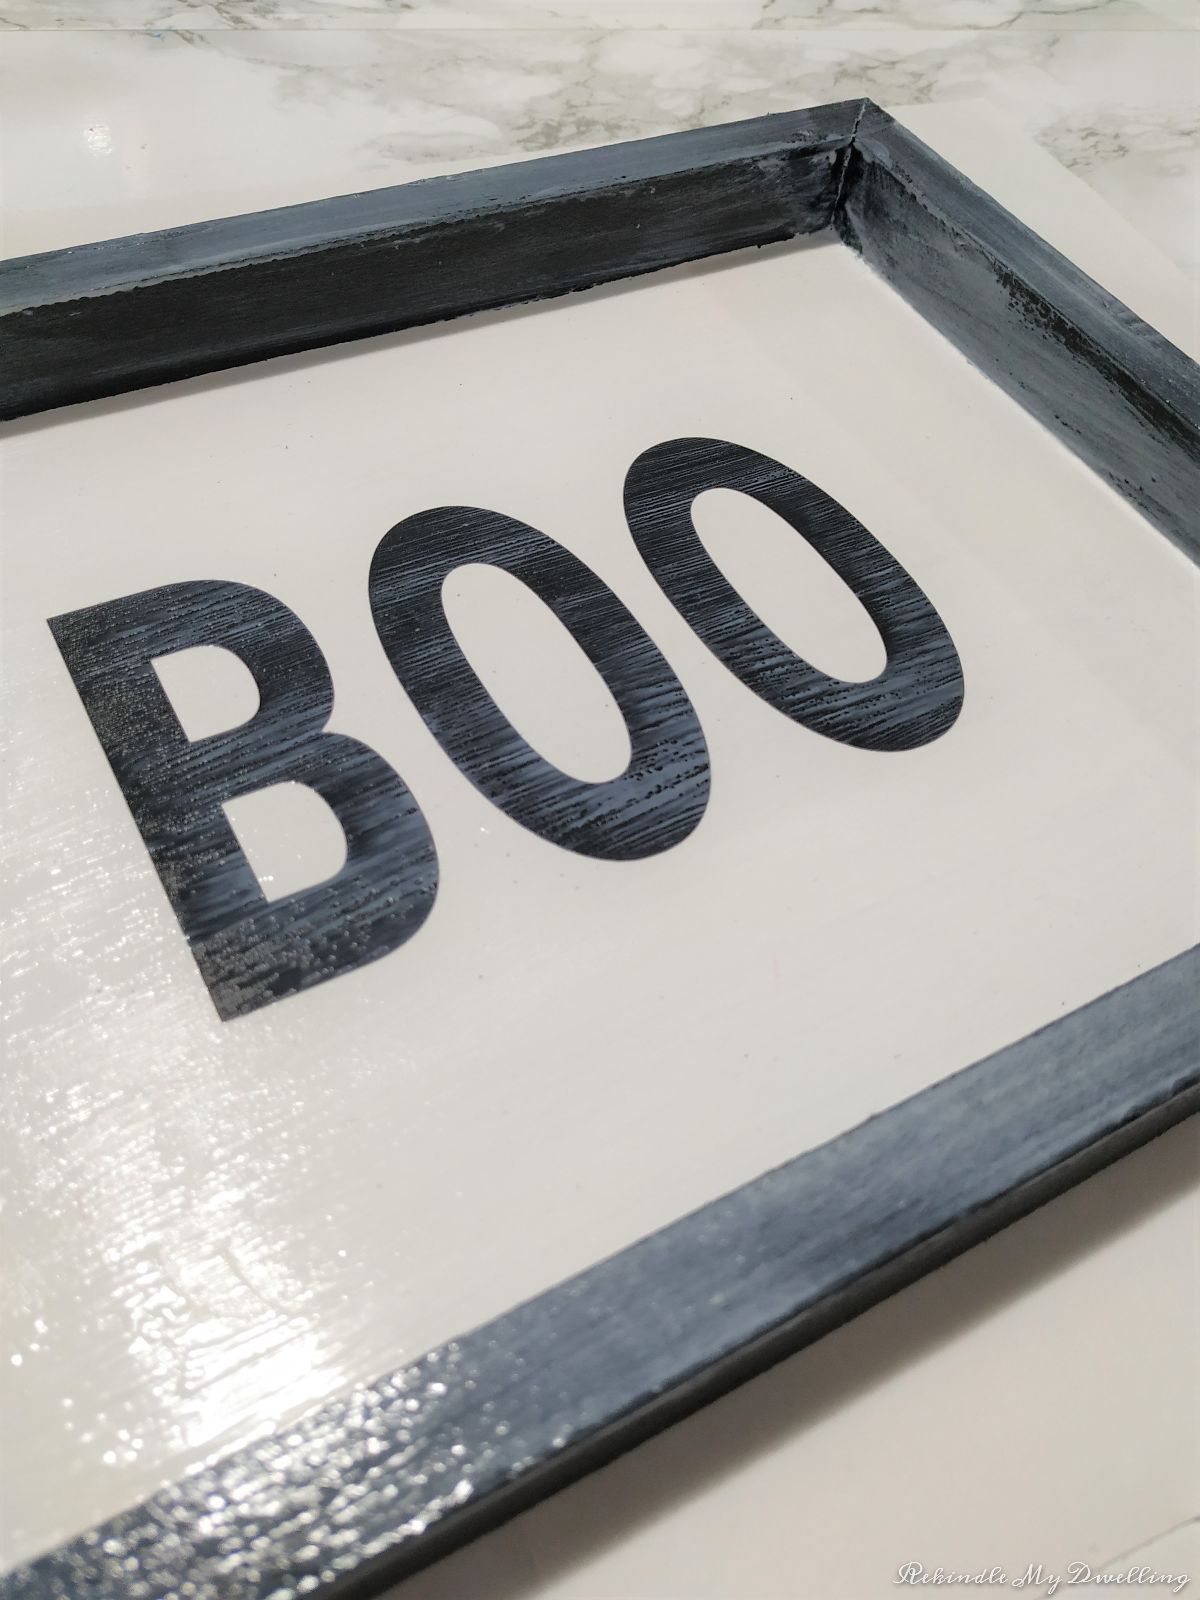
Start by flipping your wood canvas over and painting the inside with white paint.
Once dry, add some painters tape on the inside and paint the outside black. You can skip the tape if you have any sort of precision with painting, but I don’t.
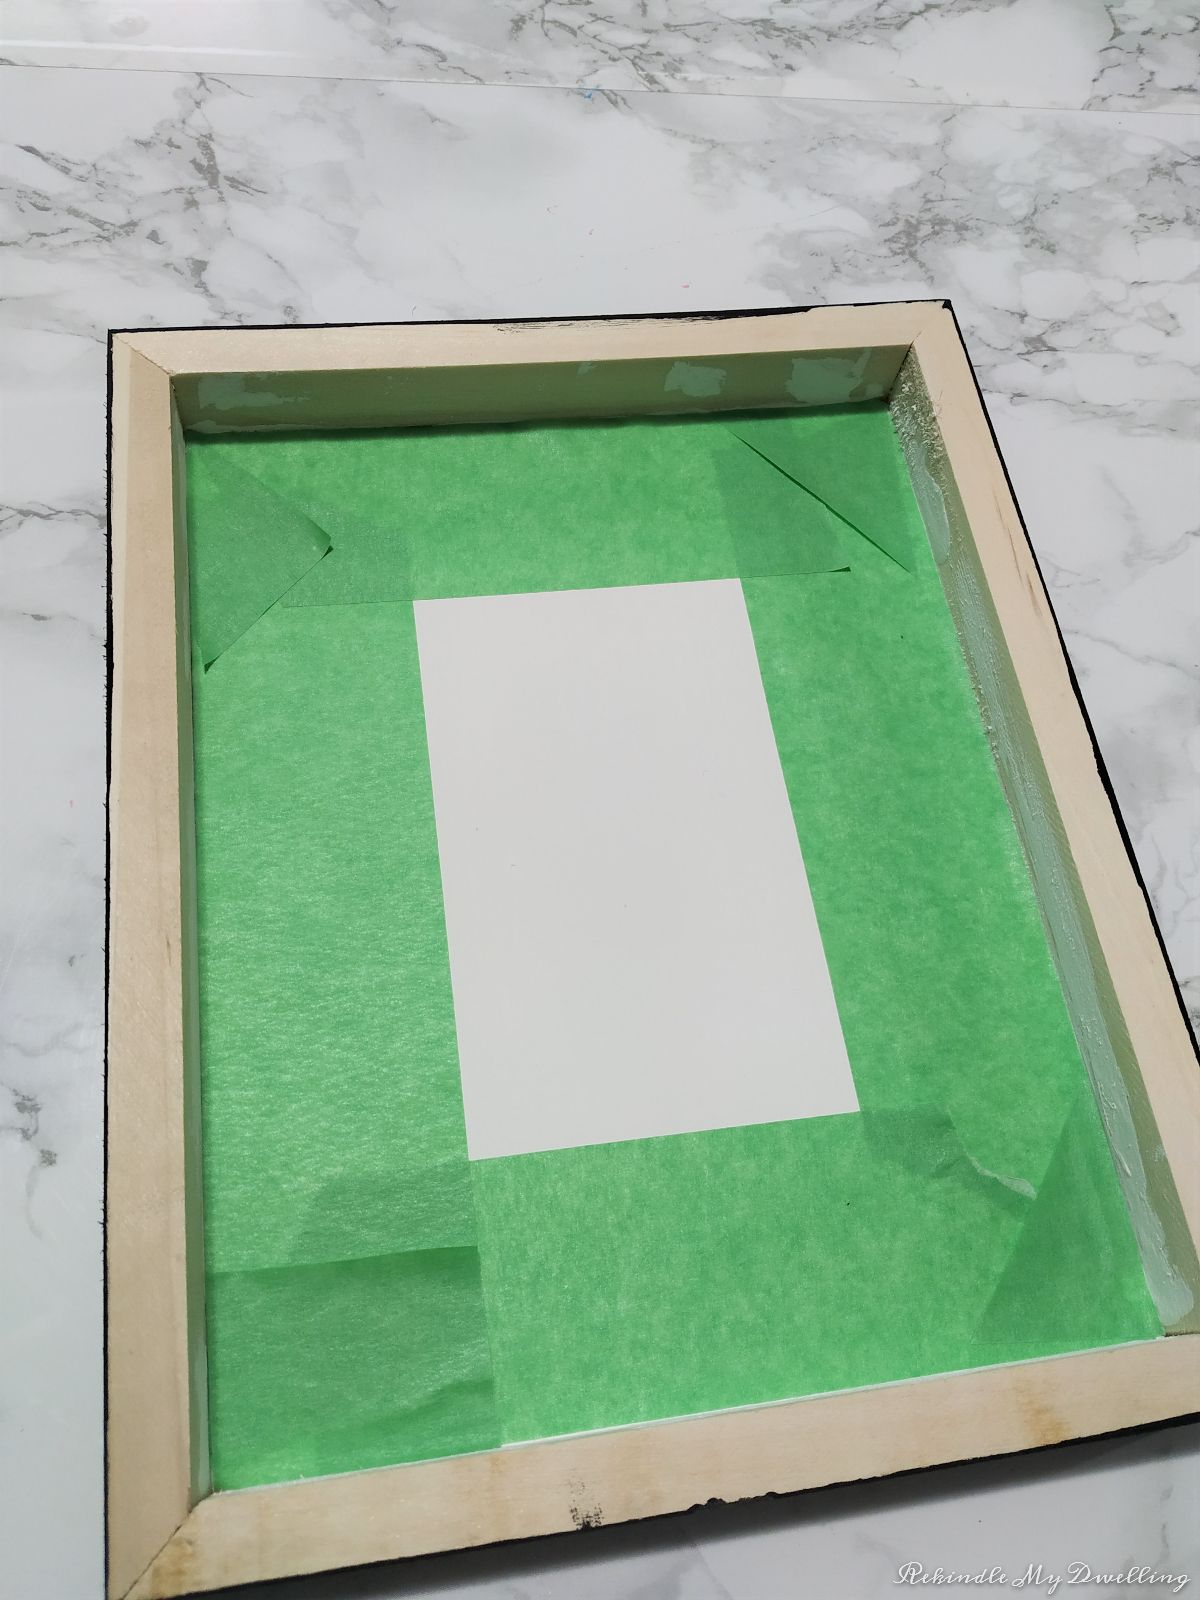
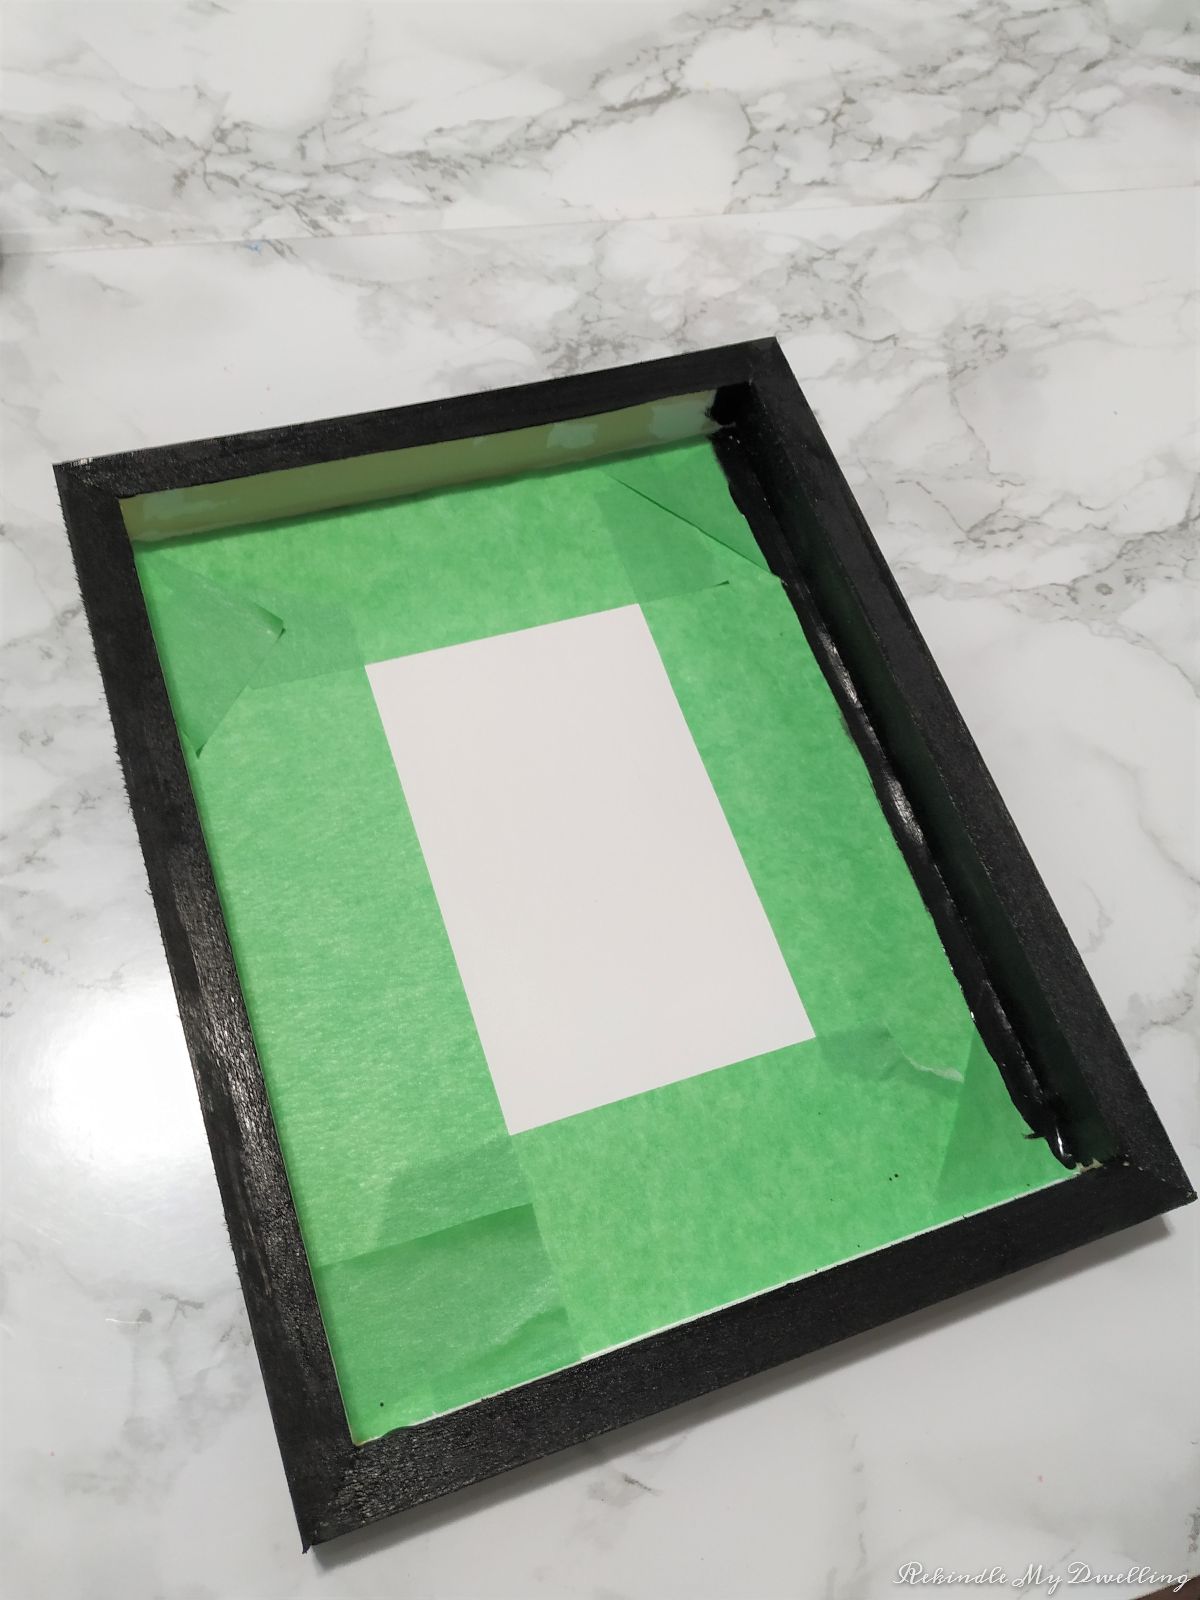
Remove the tape and wait for your tray to dry.

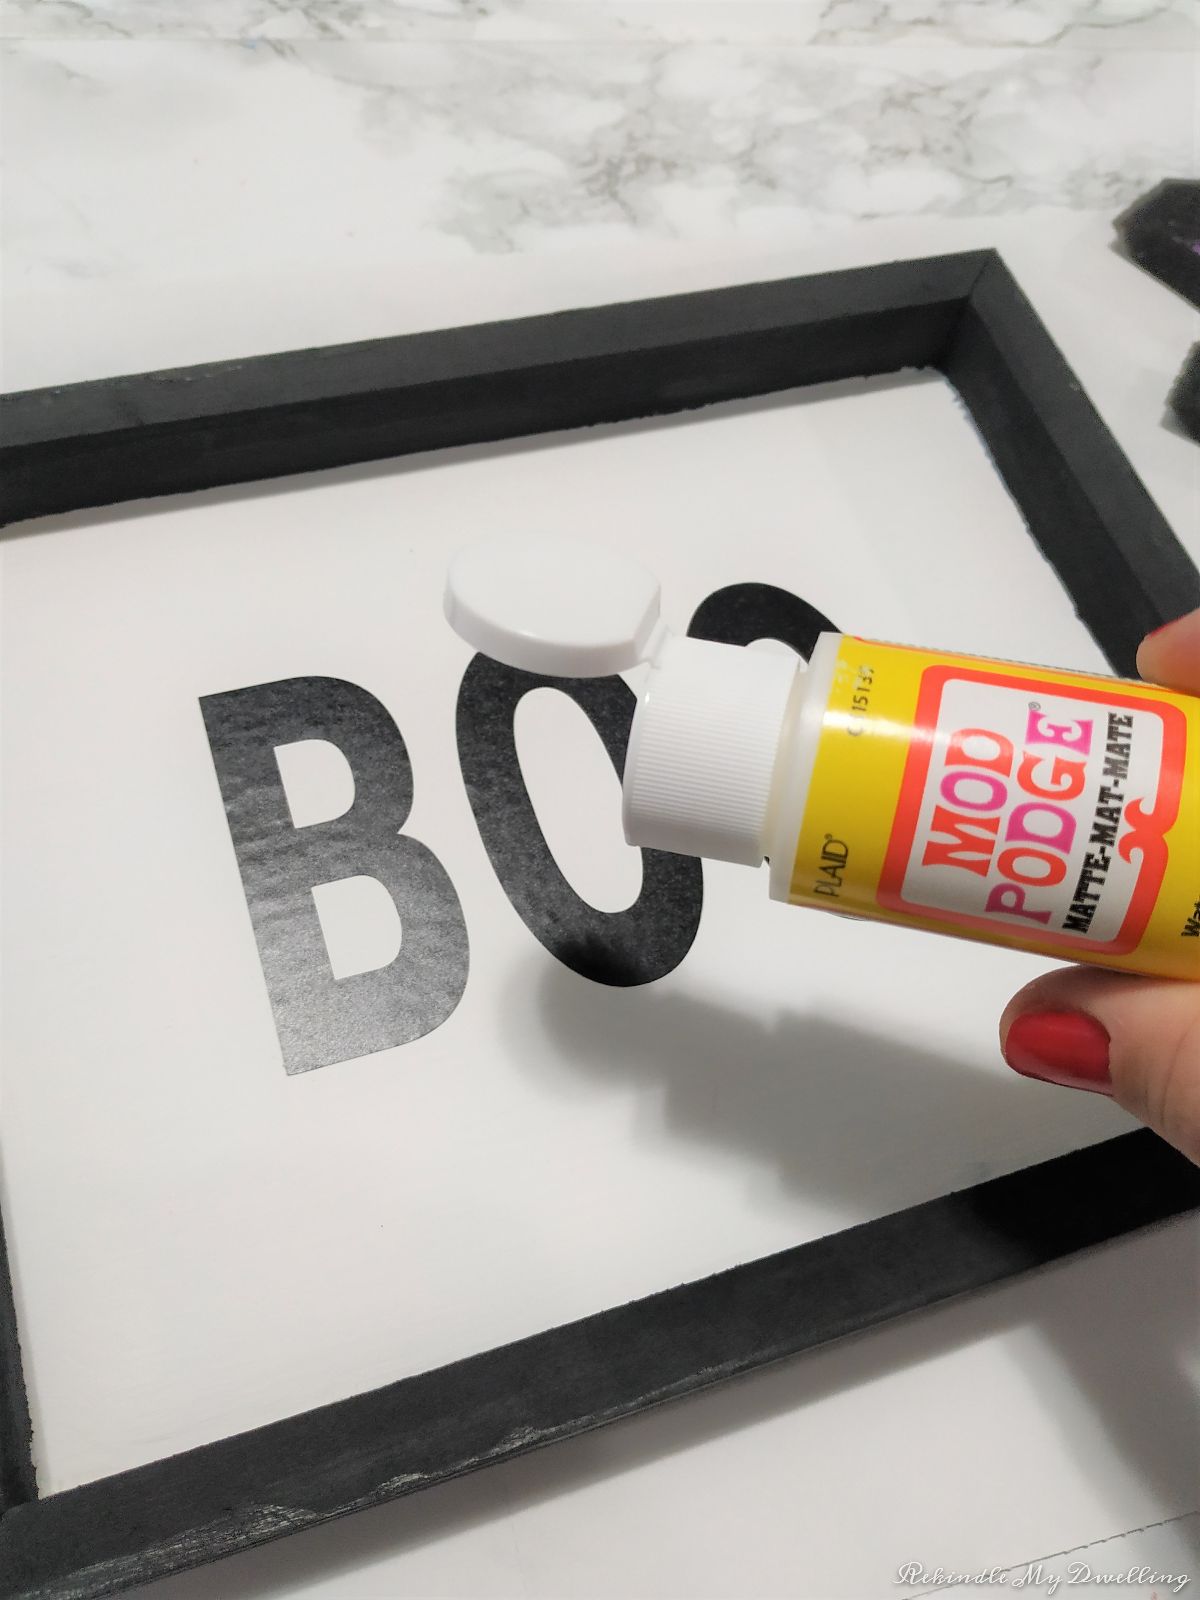
You can use your tray now but I decided to make some fun Halloween lettering to add to the middle. I used my Cricut machine to cut the word BOO.

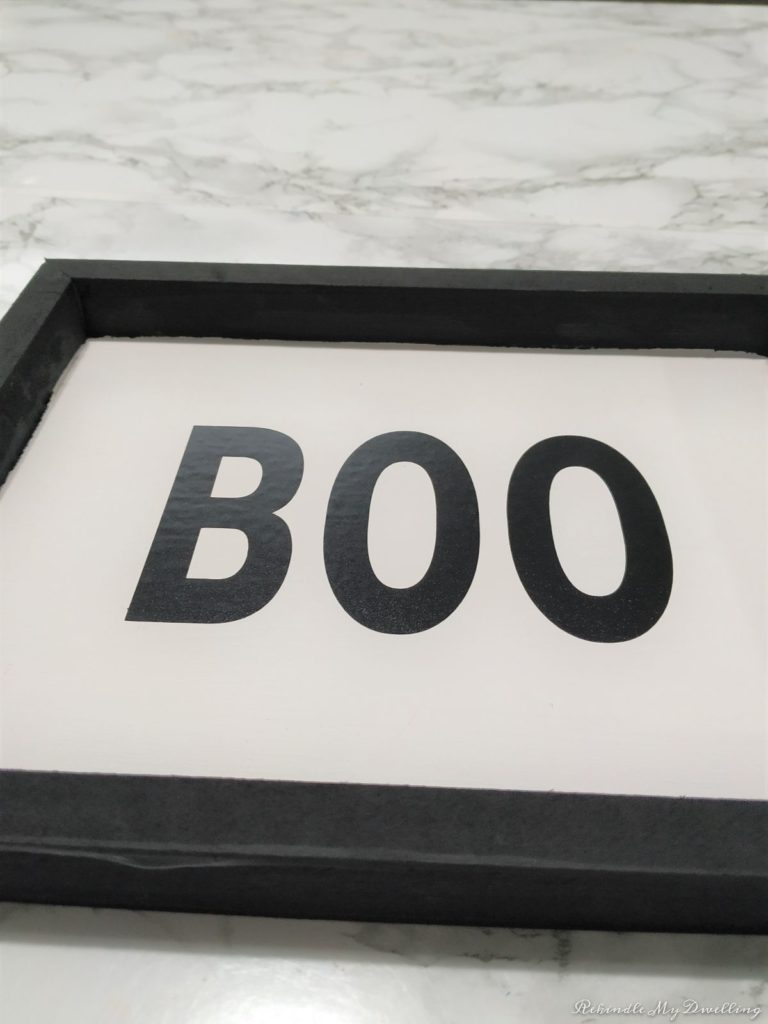
Add a layer of matte Mod Podge all over the Halloween wood tray and wait for it to completely dry.
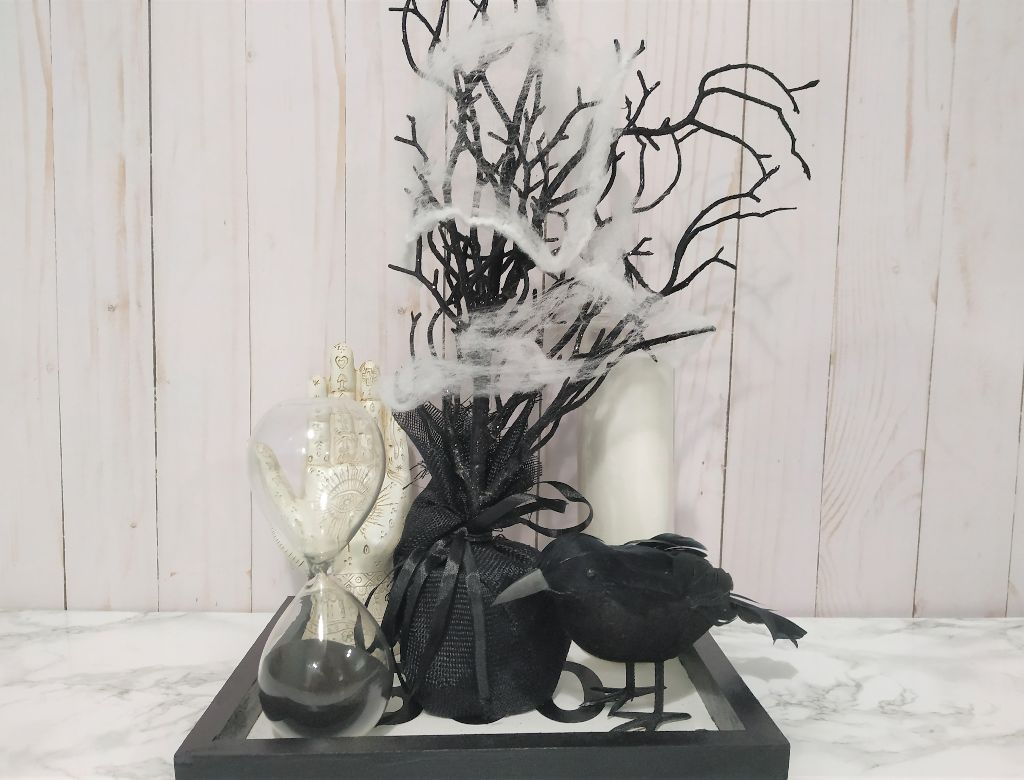
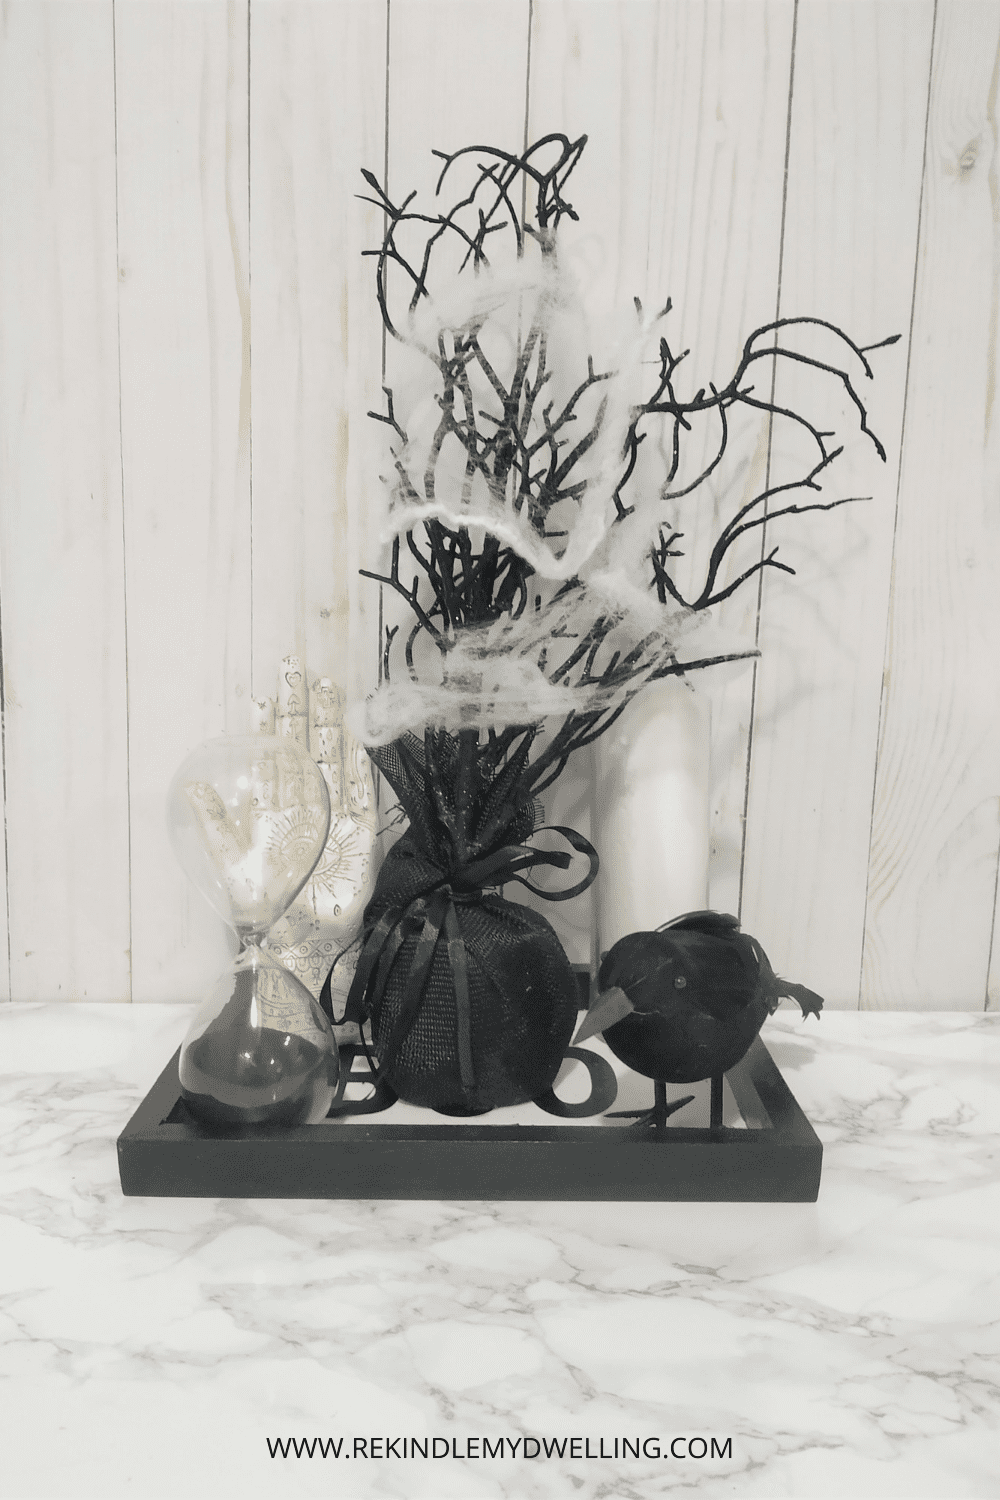
Once it’s dry all you have to do is decorate your Halloween wood tray with your spooky decorations!
Pin for Later!