This DIY wood sign is a perfect handmade gift for any dog lover in your life. Especially one that gets along better with dogs than people! Using materials from the dollar store and your Cricut machine you’ll love how easy it is to make and gift this sign.
Materials Needed
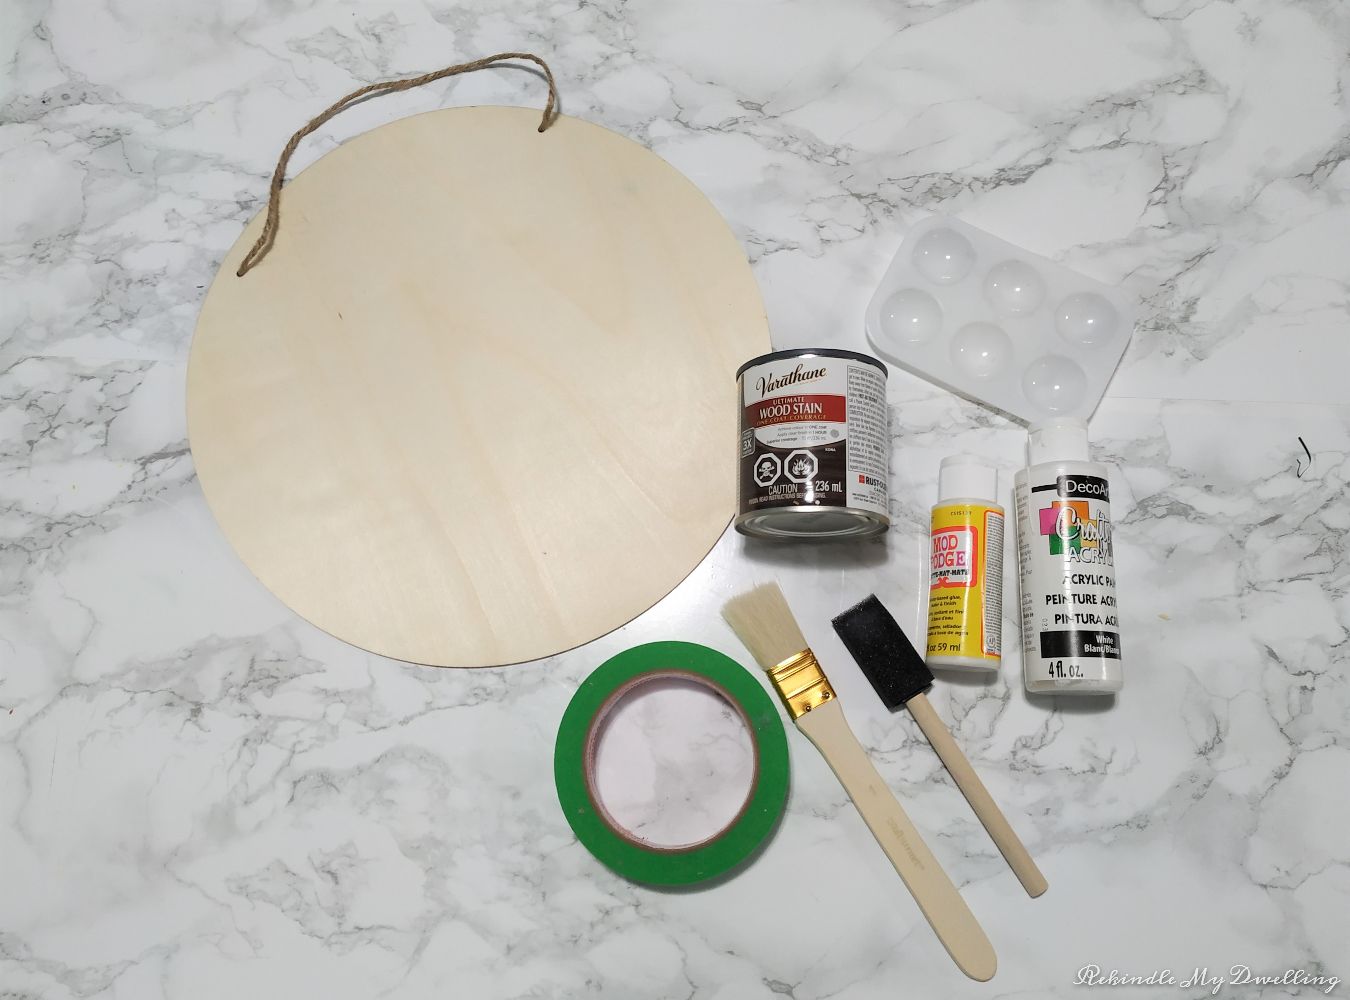
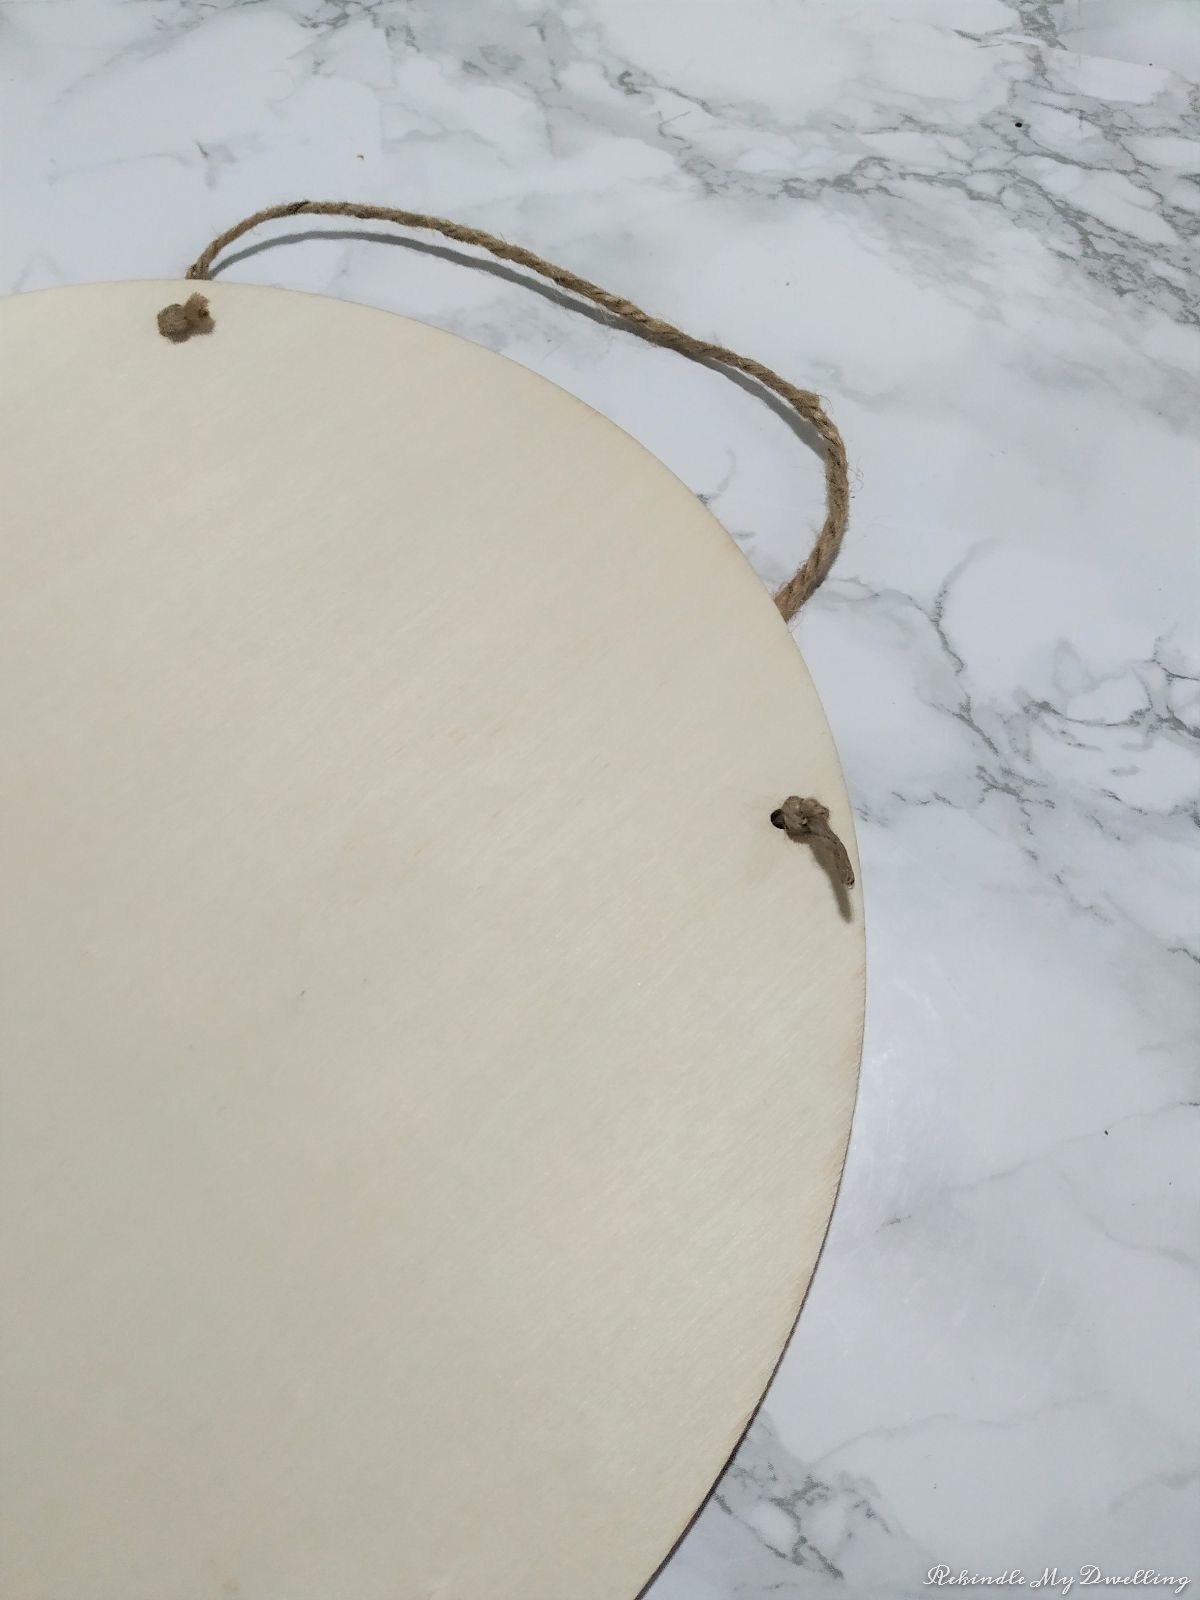
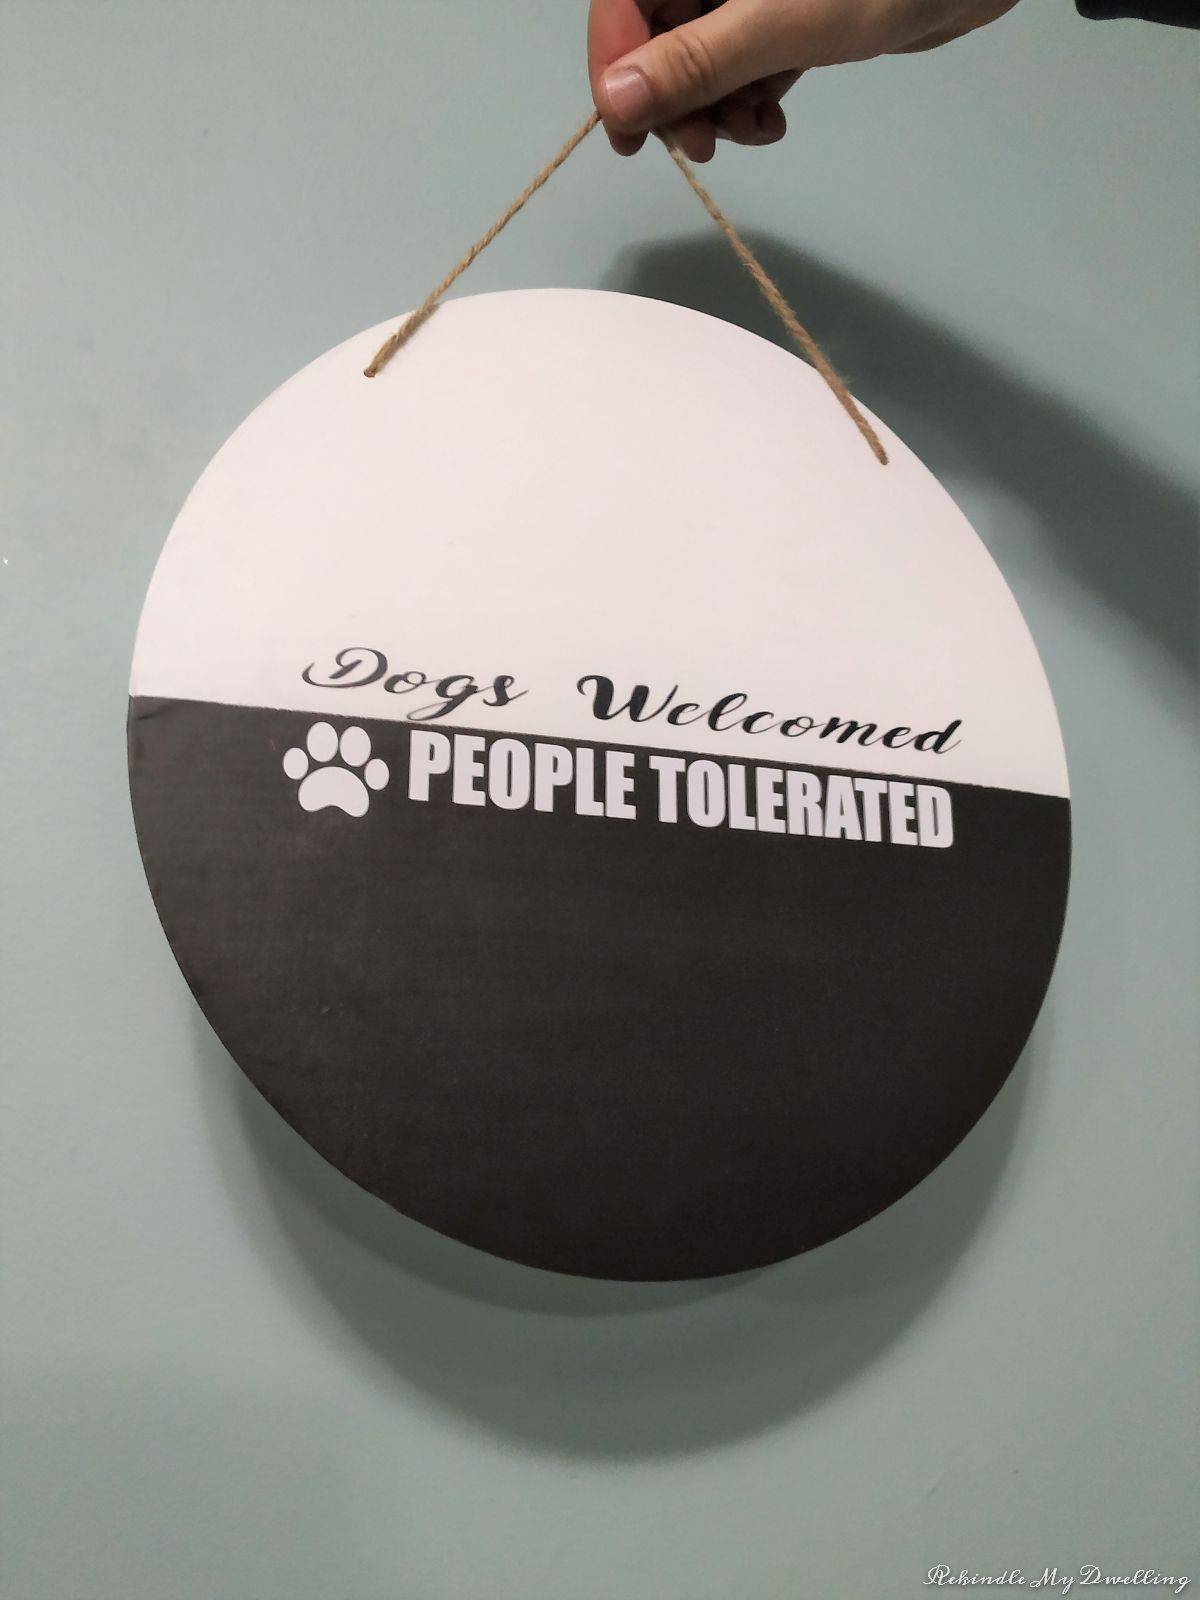
I bought this wood circle from the dollar tree. I knew it would make the perfect decorative sign with it’s pre-drilled holes and twine for hanging. And with my friends birthday fast approaching I knew I could turn it into a decorative sign that would make a great gift idea. You’ll need these materials to make your sign:
This post contains affiliate links. We may earn a commission at no extra cost to you if you choose to purchase through them. Read our full policy here.
- Wood circle sign (I got mine from dollar tree)
- Wood stain
- Mod Podge
- Paint
- Paint brushes
- Painters tape
- Cricut machine
- Dog paw SVG (Get yours free from Creative Fabrica!)
- Transfer tape and scraper
DIY Wood Sign
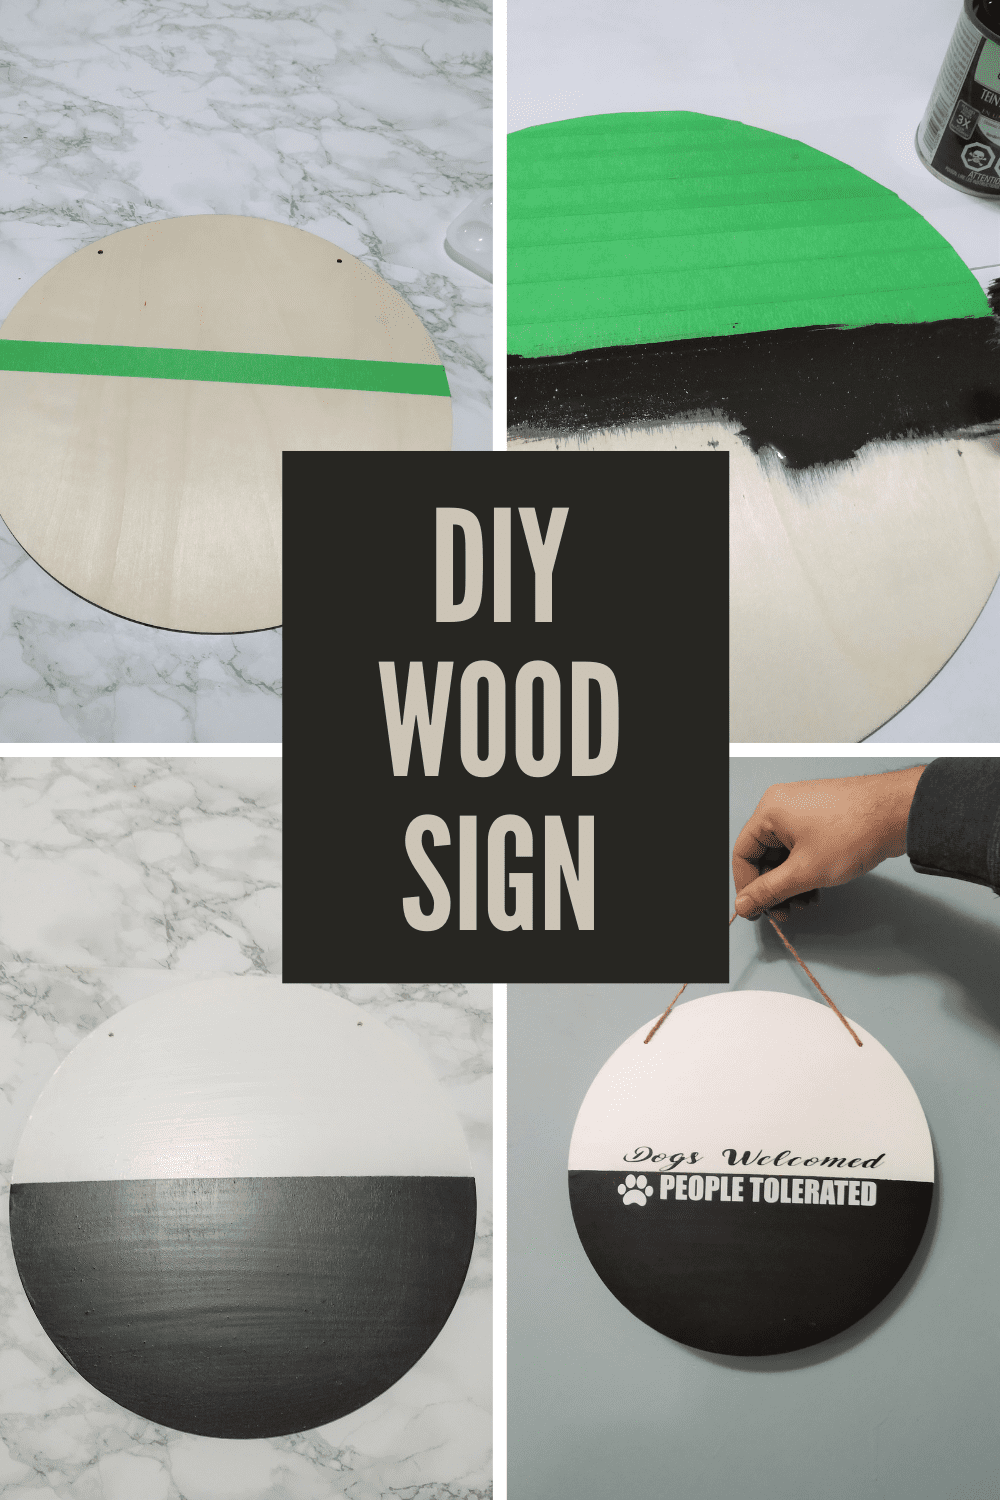
First I removed the string it came with so that it would be easier to paint.
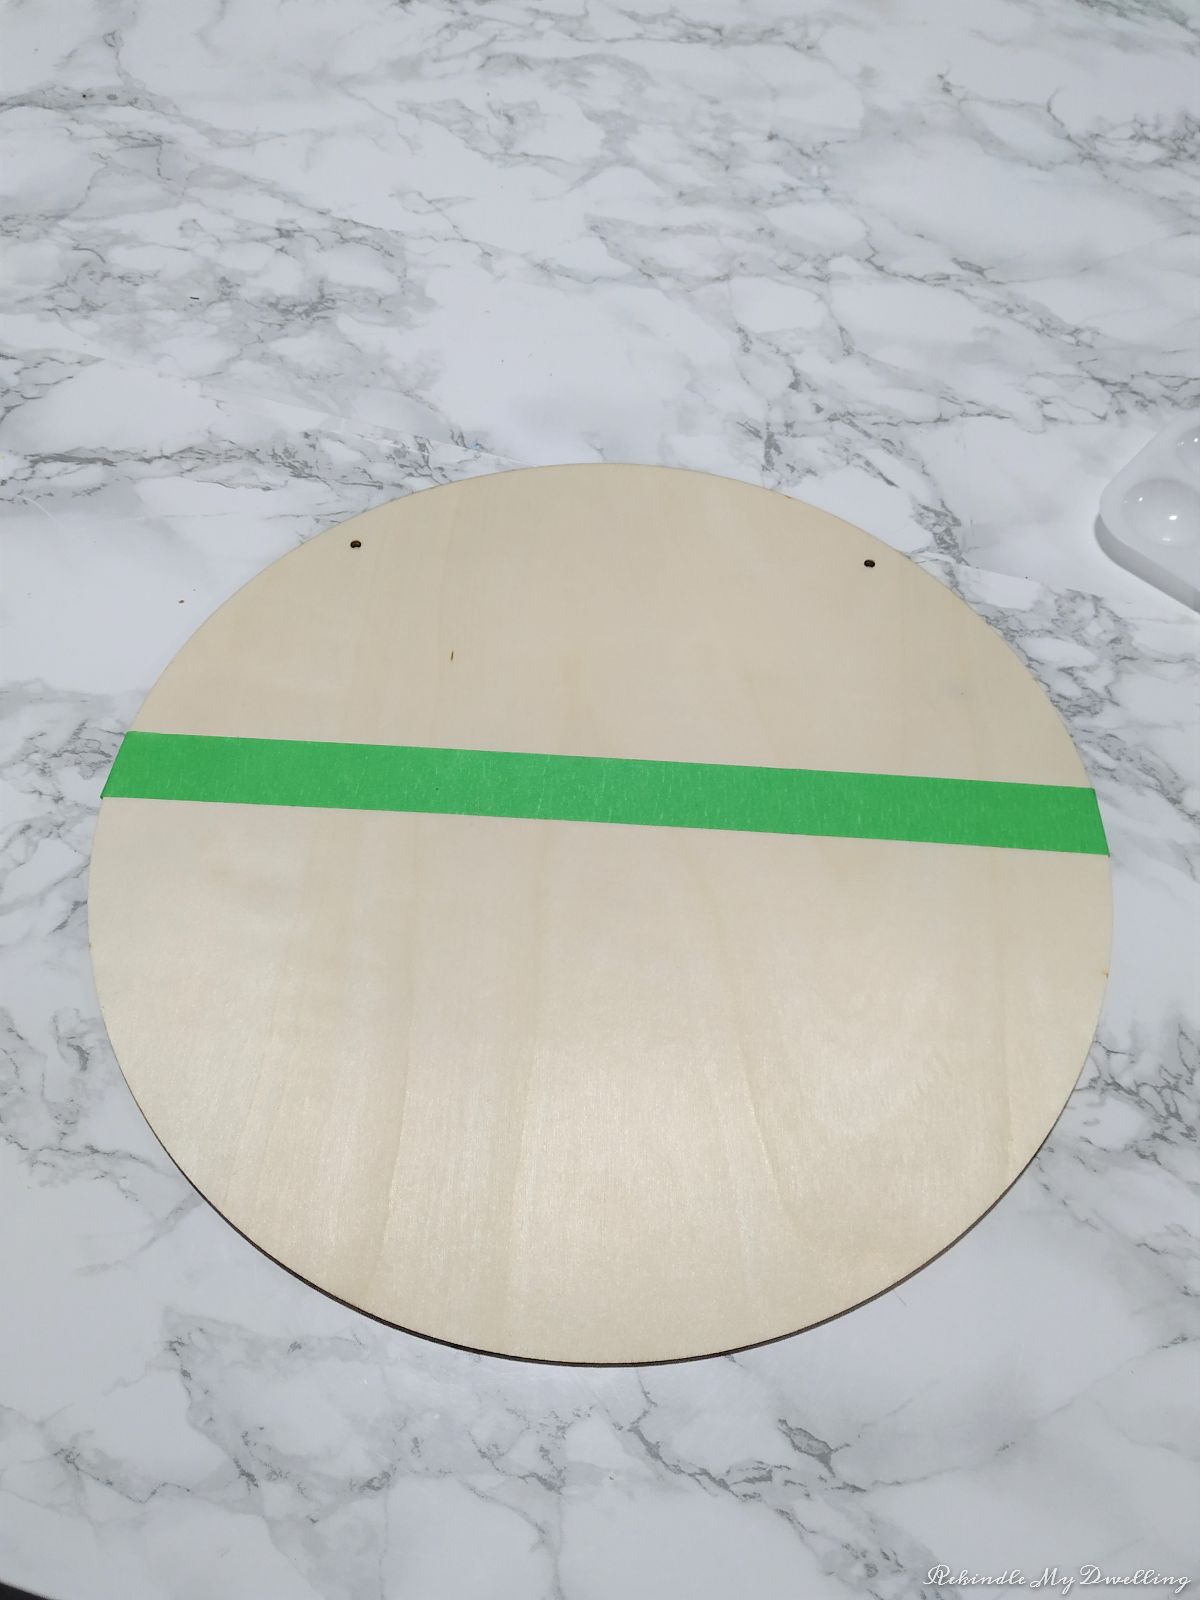
Next add painters tape to section off the top of the wood circle. If you don’t make a huge mess you’ll be fine with one strip but I had to cover the entire half (and good thing I did!)
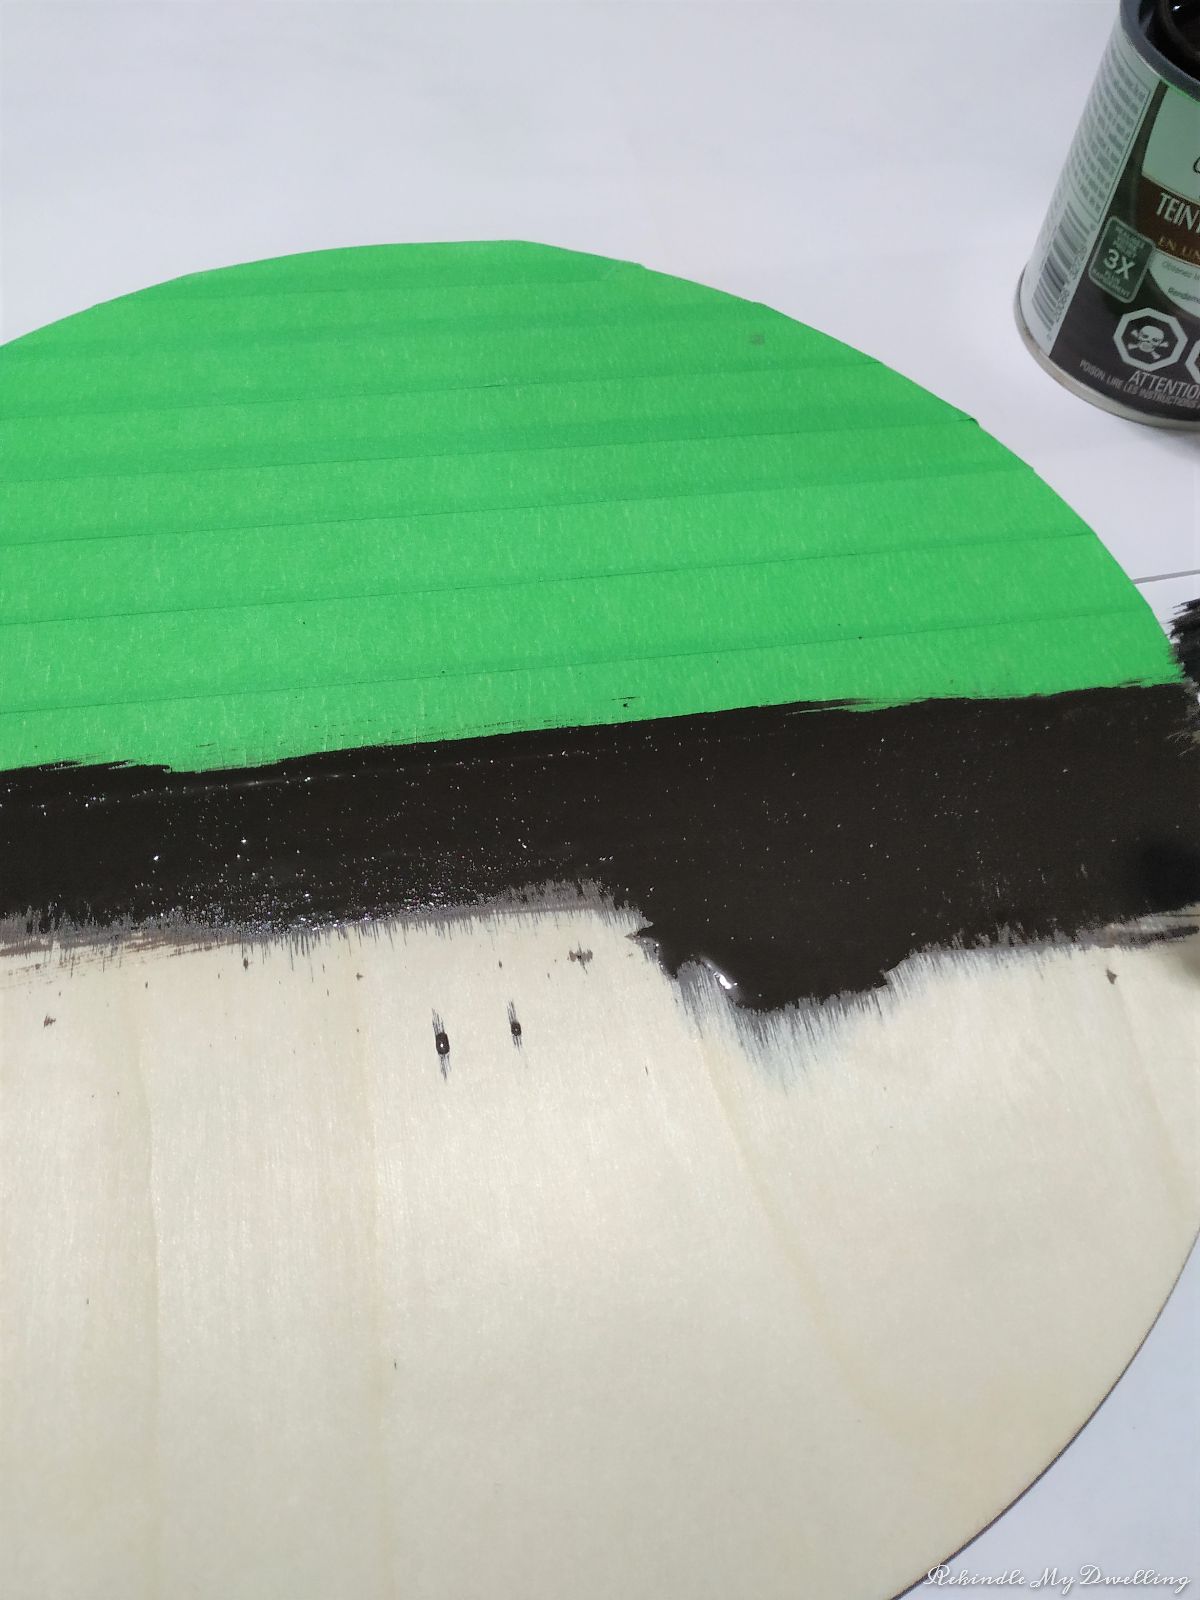
You can paint the bottom section with brown or black paint but I used a wood stain.
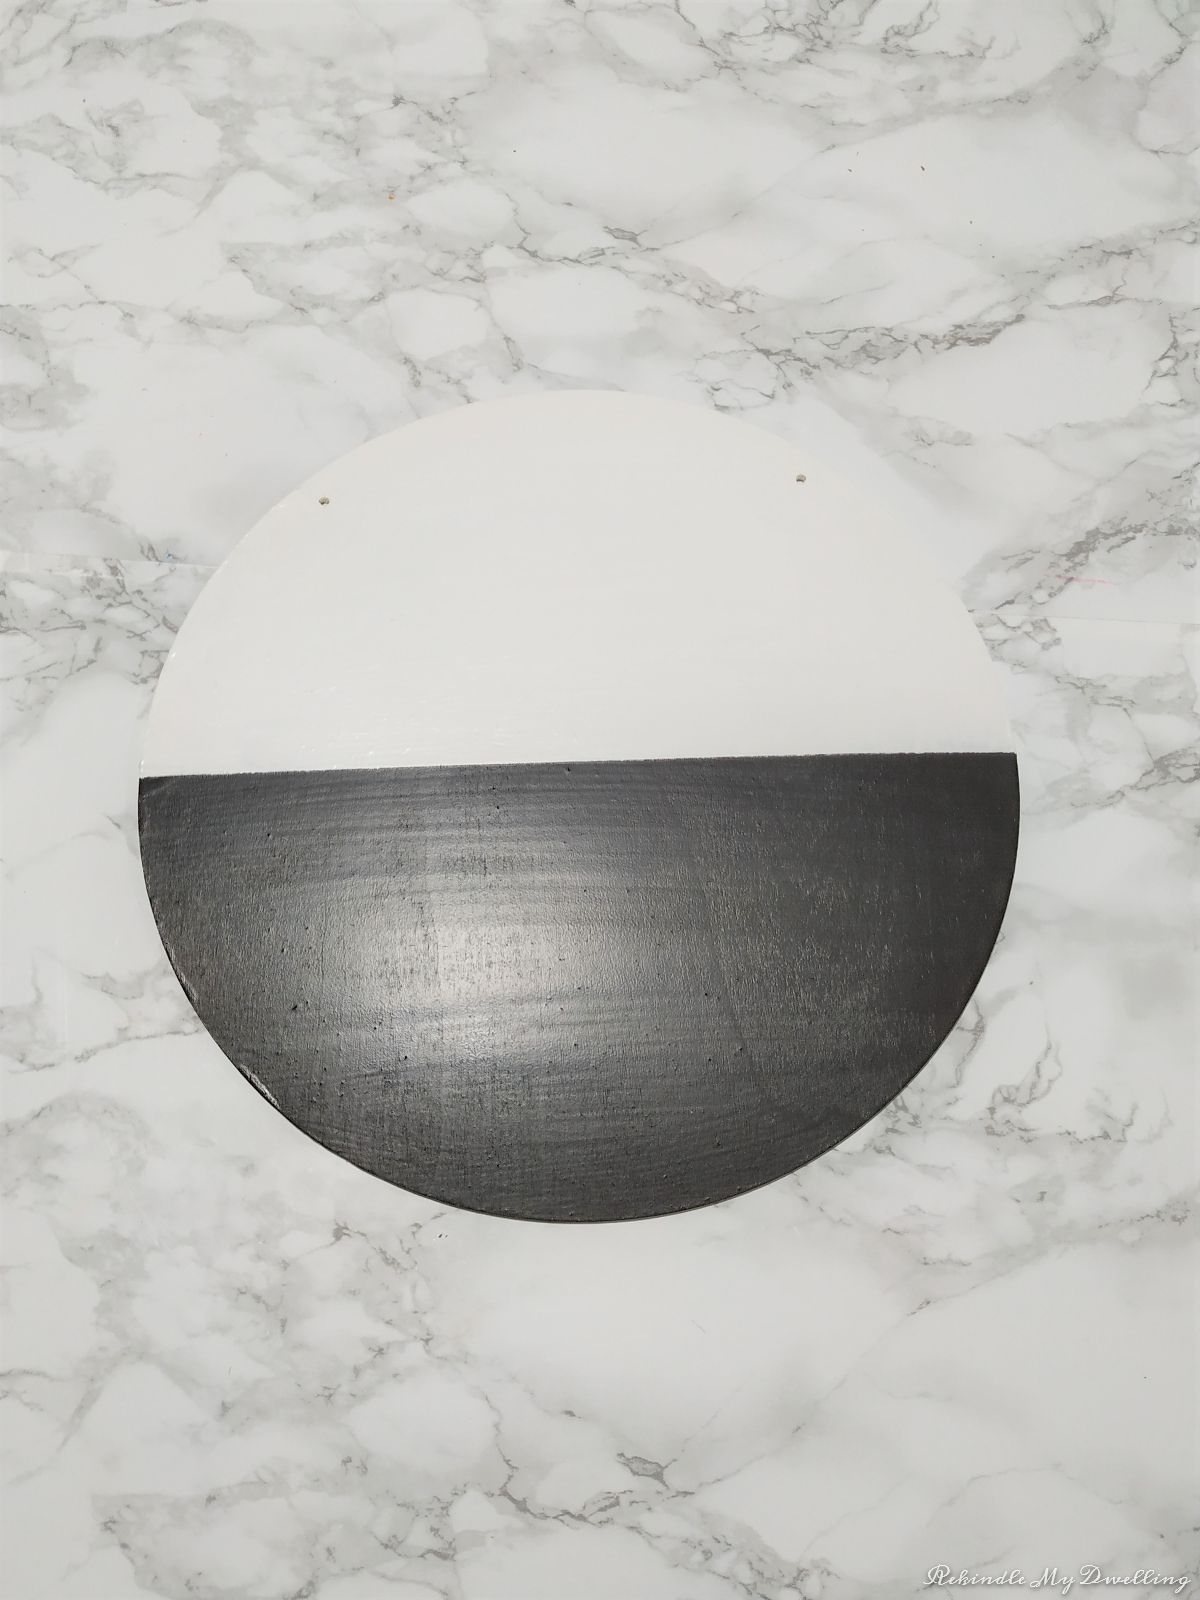
Wait for the wood stain to dry and add tape to cover up the stained half. Some of the wood stain did bleed through but luckily the white paint easily covered that up! Paint the top half of your wood circle with white paint. Once dry, add a sealer or matte finish Mod Podge to the entire wood circle. Vinyl doesn’t tend to stick to wood stain.
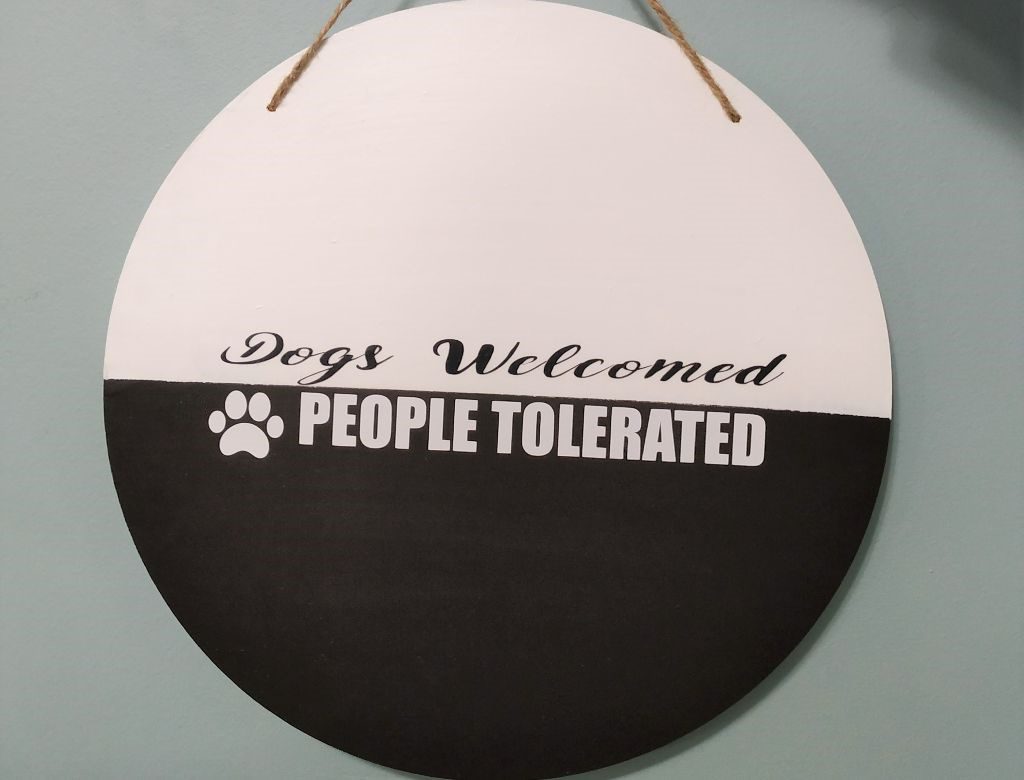
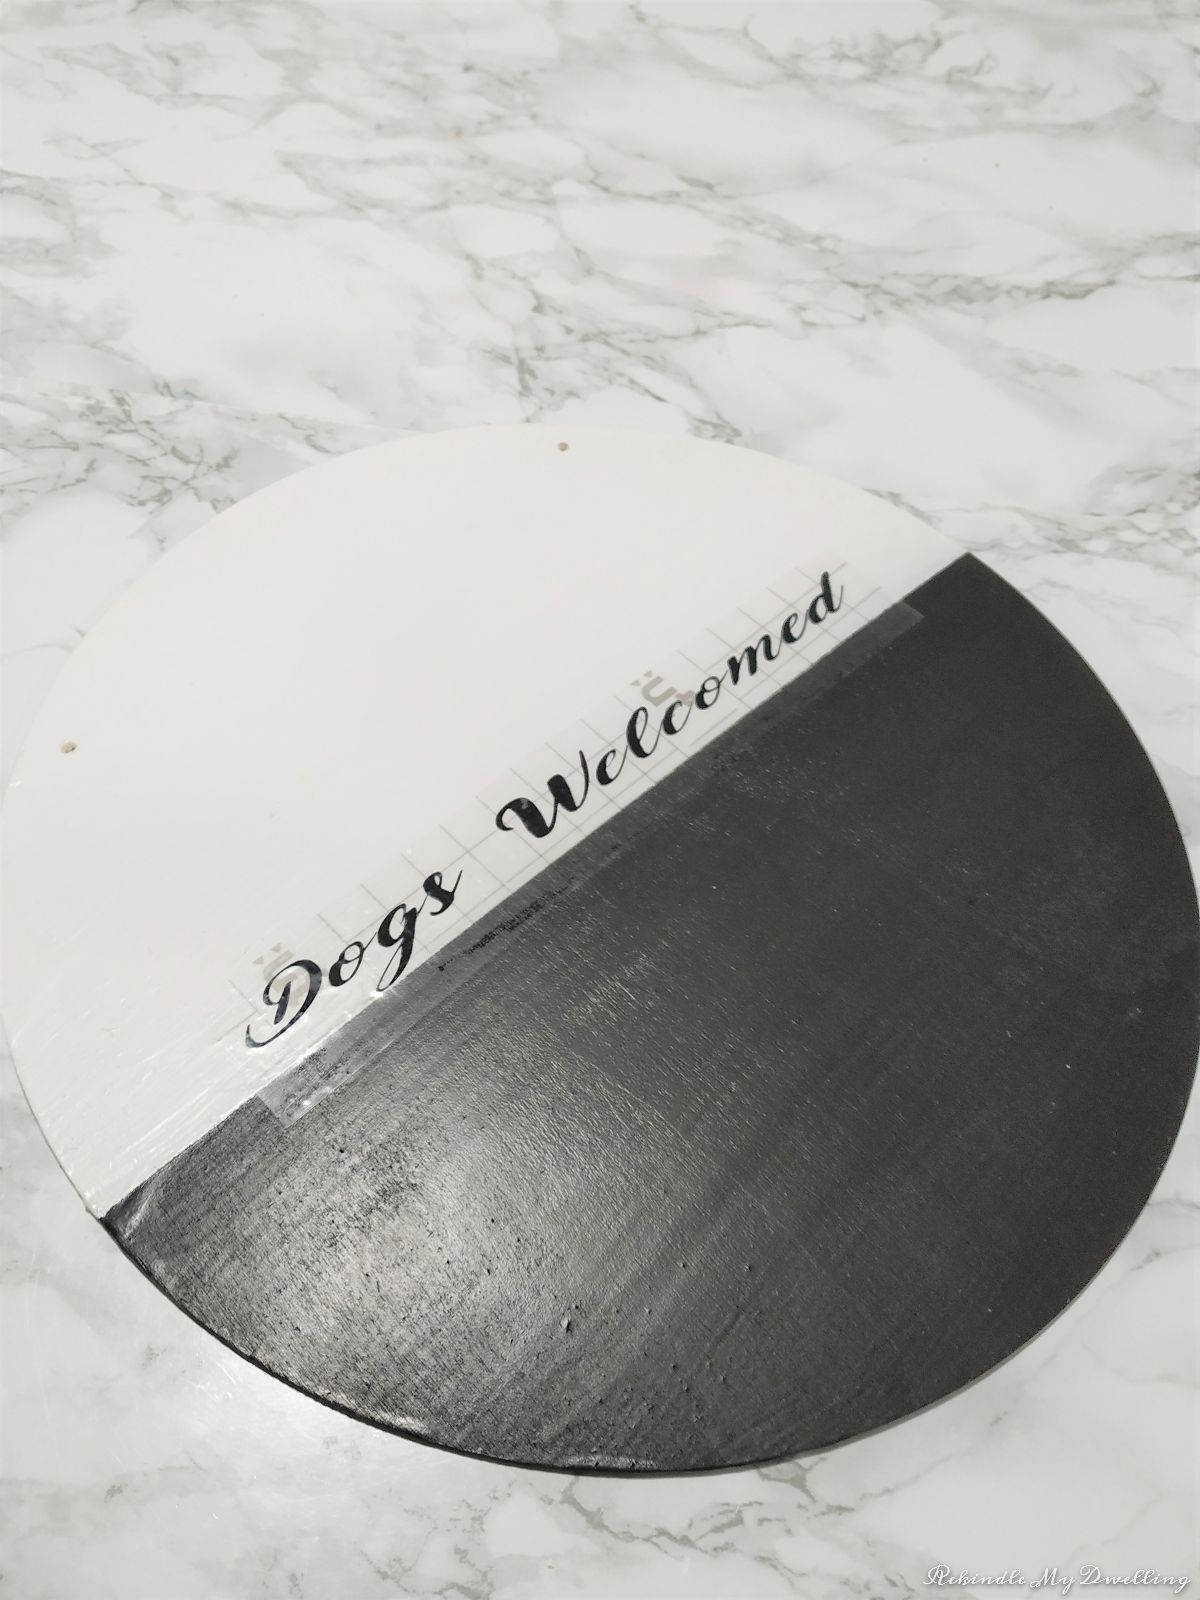
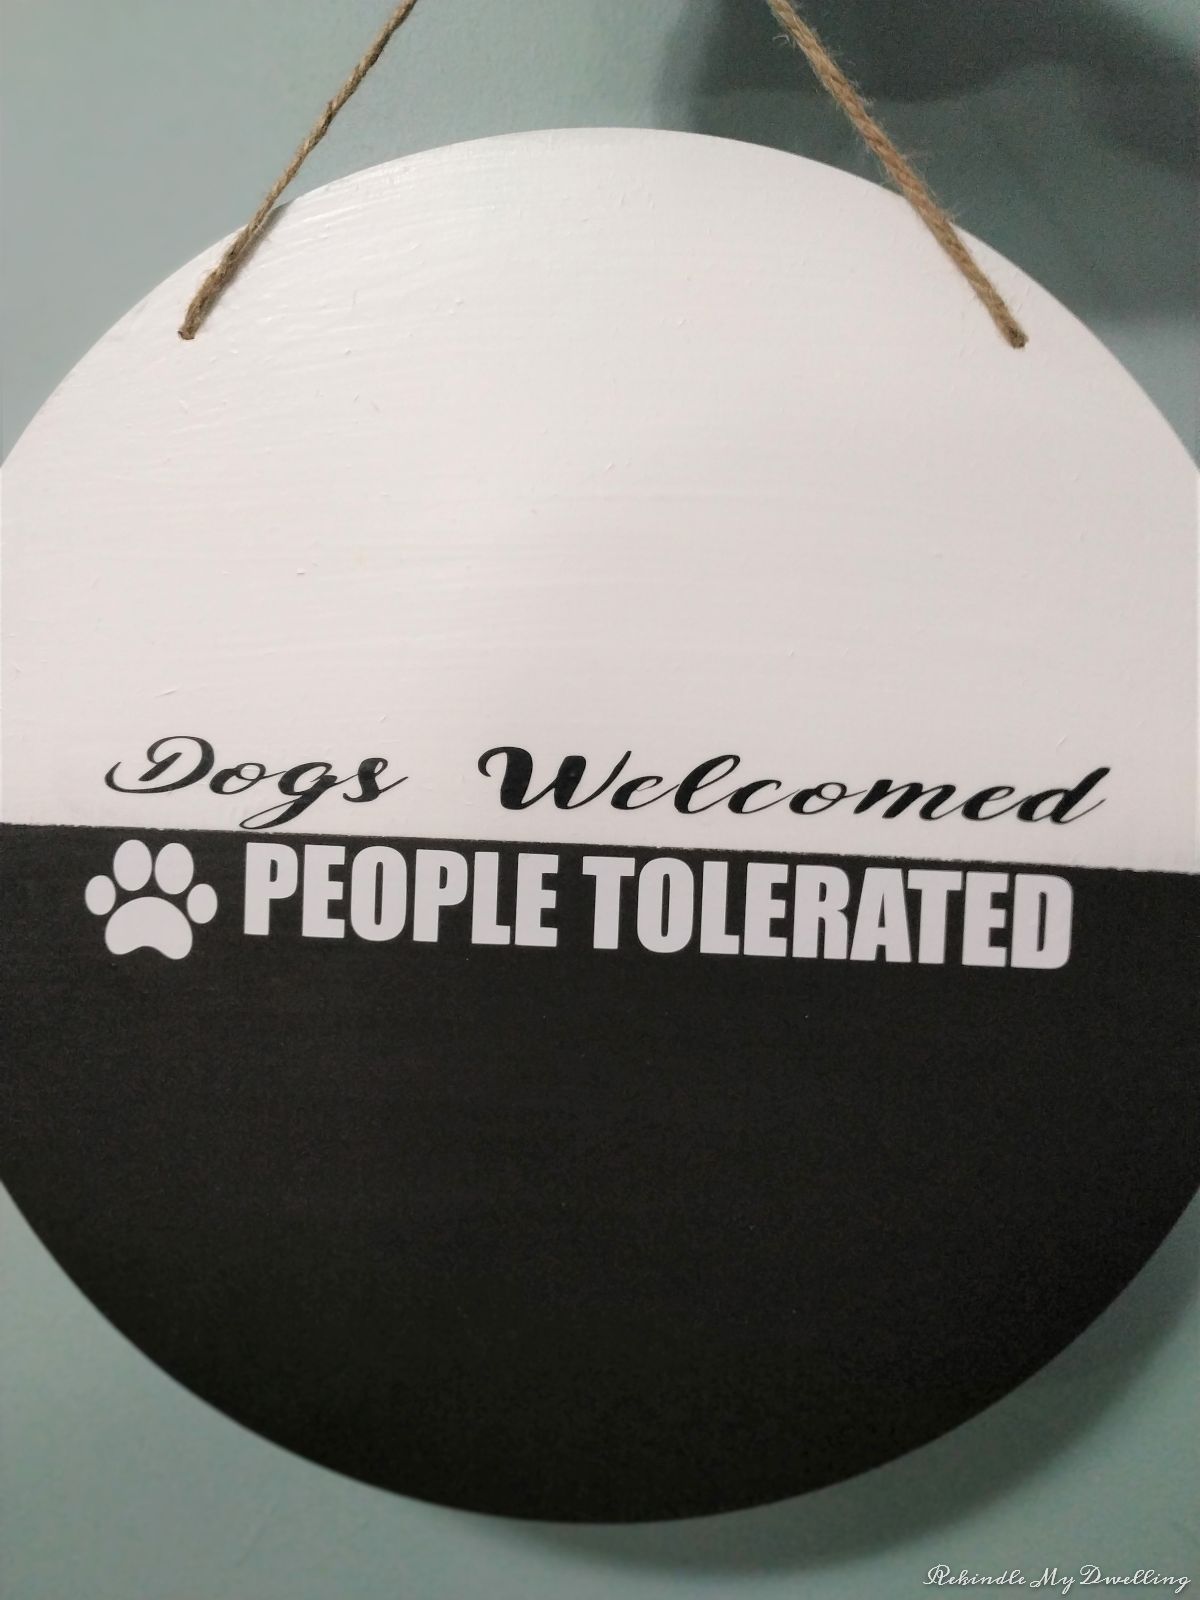
Once dry, measure your wood circle and cut the words “Dogs Welcomed. People Tolerated” using your Cricut machine. A little confession, I really should have written “dogs welcome” but it’s a little too late now! Ha! The words will fit into the middle of the circle. You can use any lettering or font that you want but I made the top cursive and bottom words more bold.
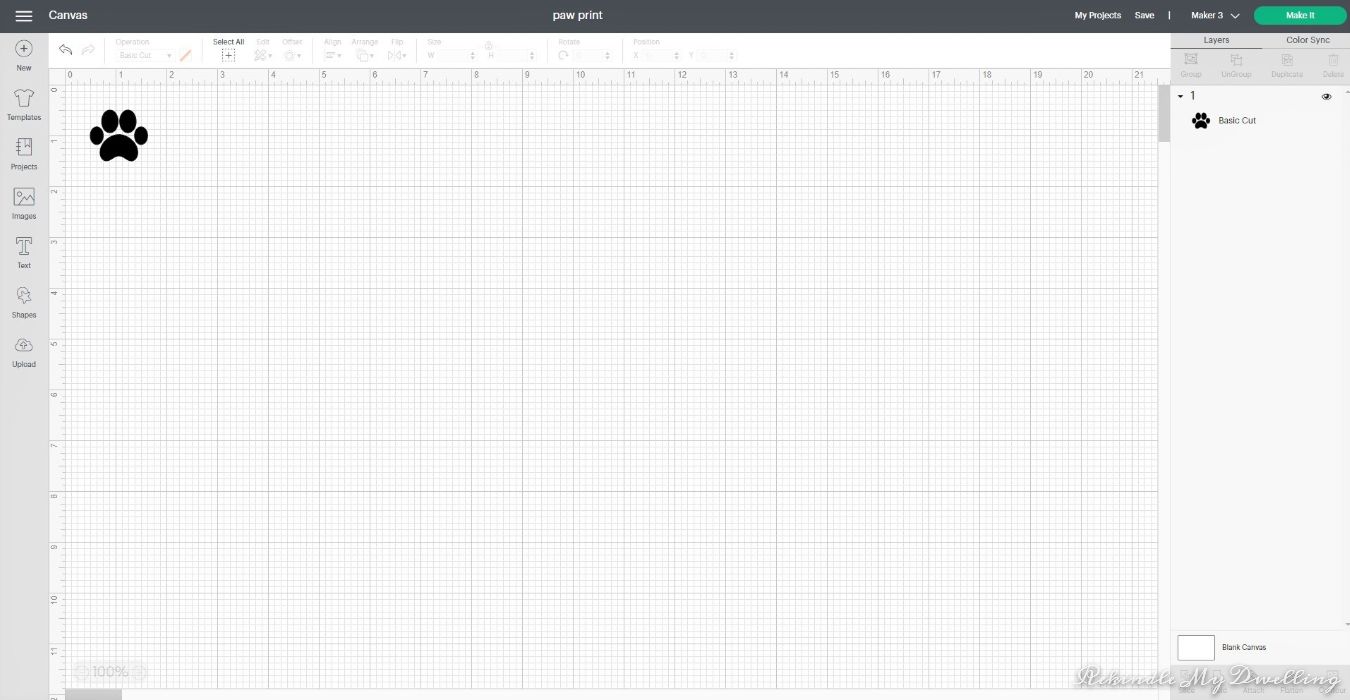
Next upload your paw print SVG into Cricut Design Space. that. Change the sizing, I chose 1 inch by 1 inch.
Set up your vinyl and cut your words and paw print using your Cricut machine. Weed the excess vinyl and place transfer tape over the lettering. Peel away the backing.
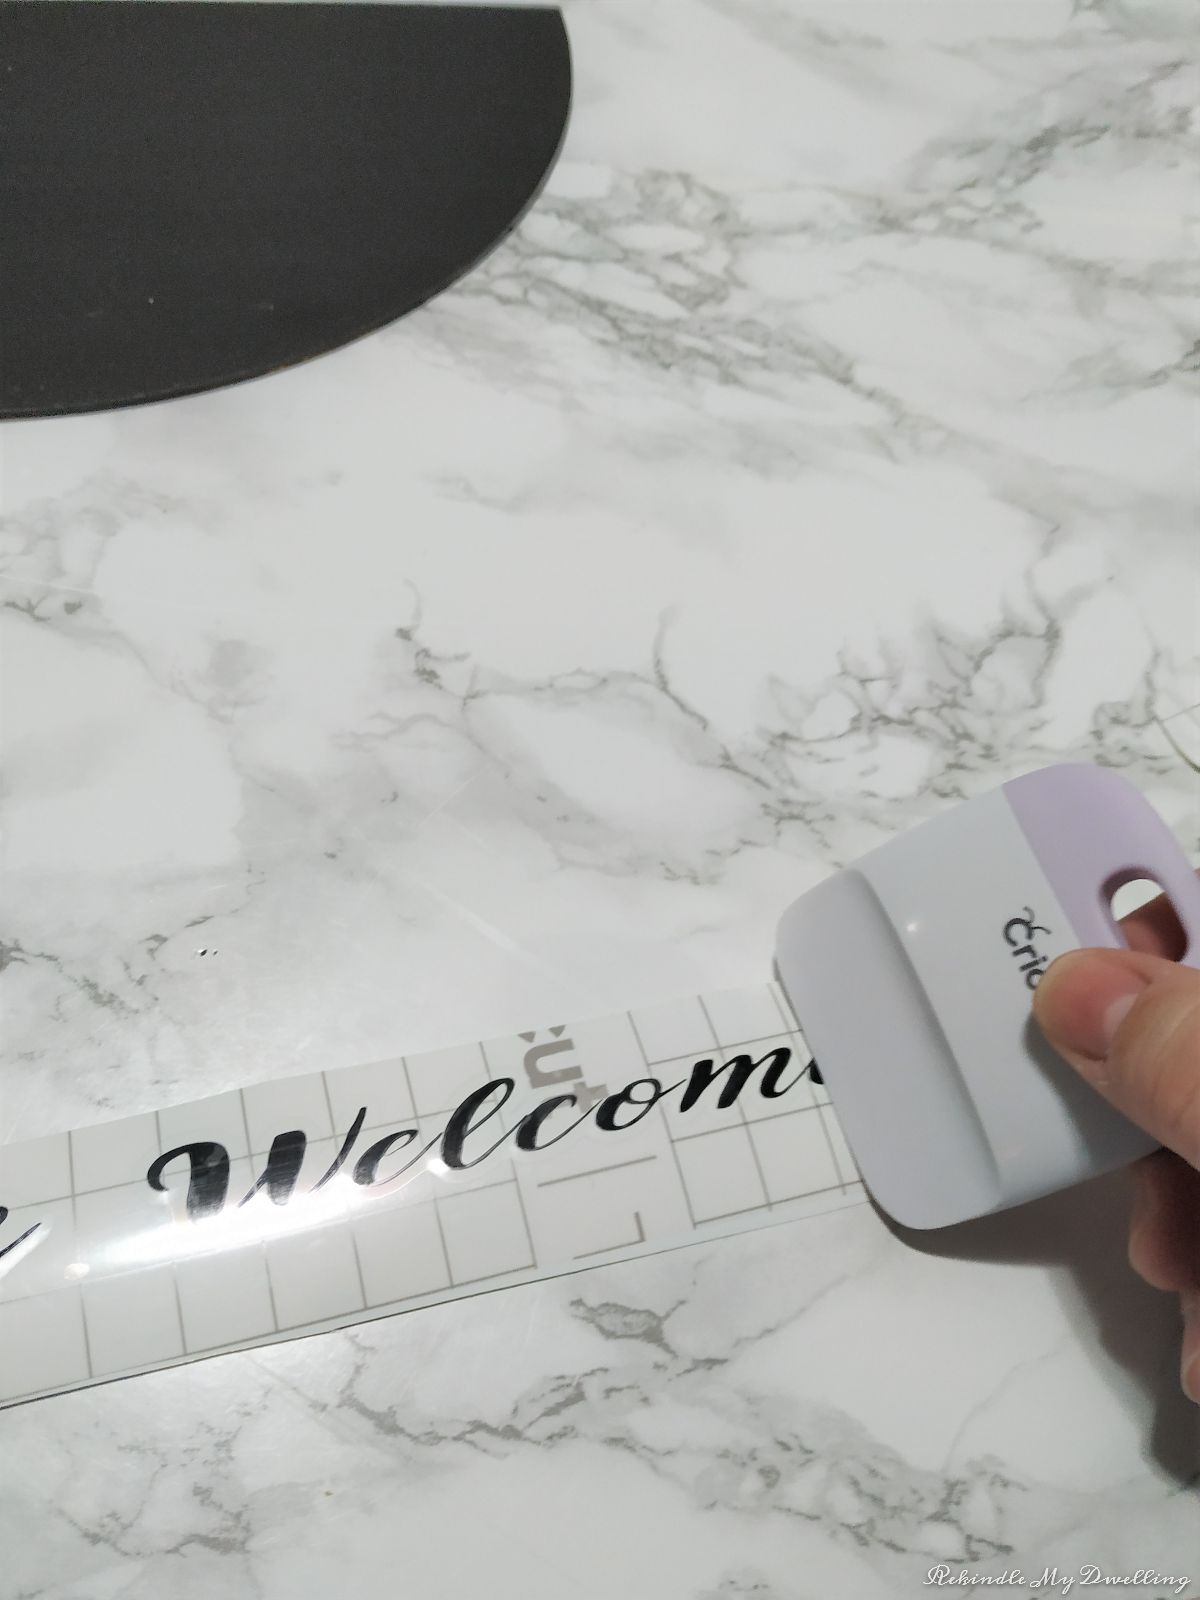
Position the transfer tape in the middle of the wood circle and carefully peel it away leaving the letters on the circle. Do this with the rest of the words and the paw print.

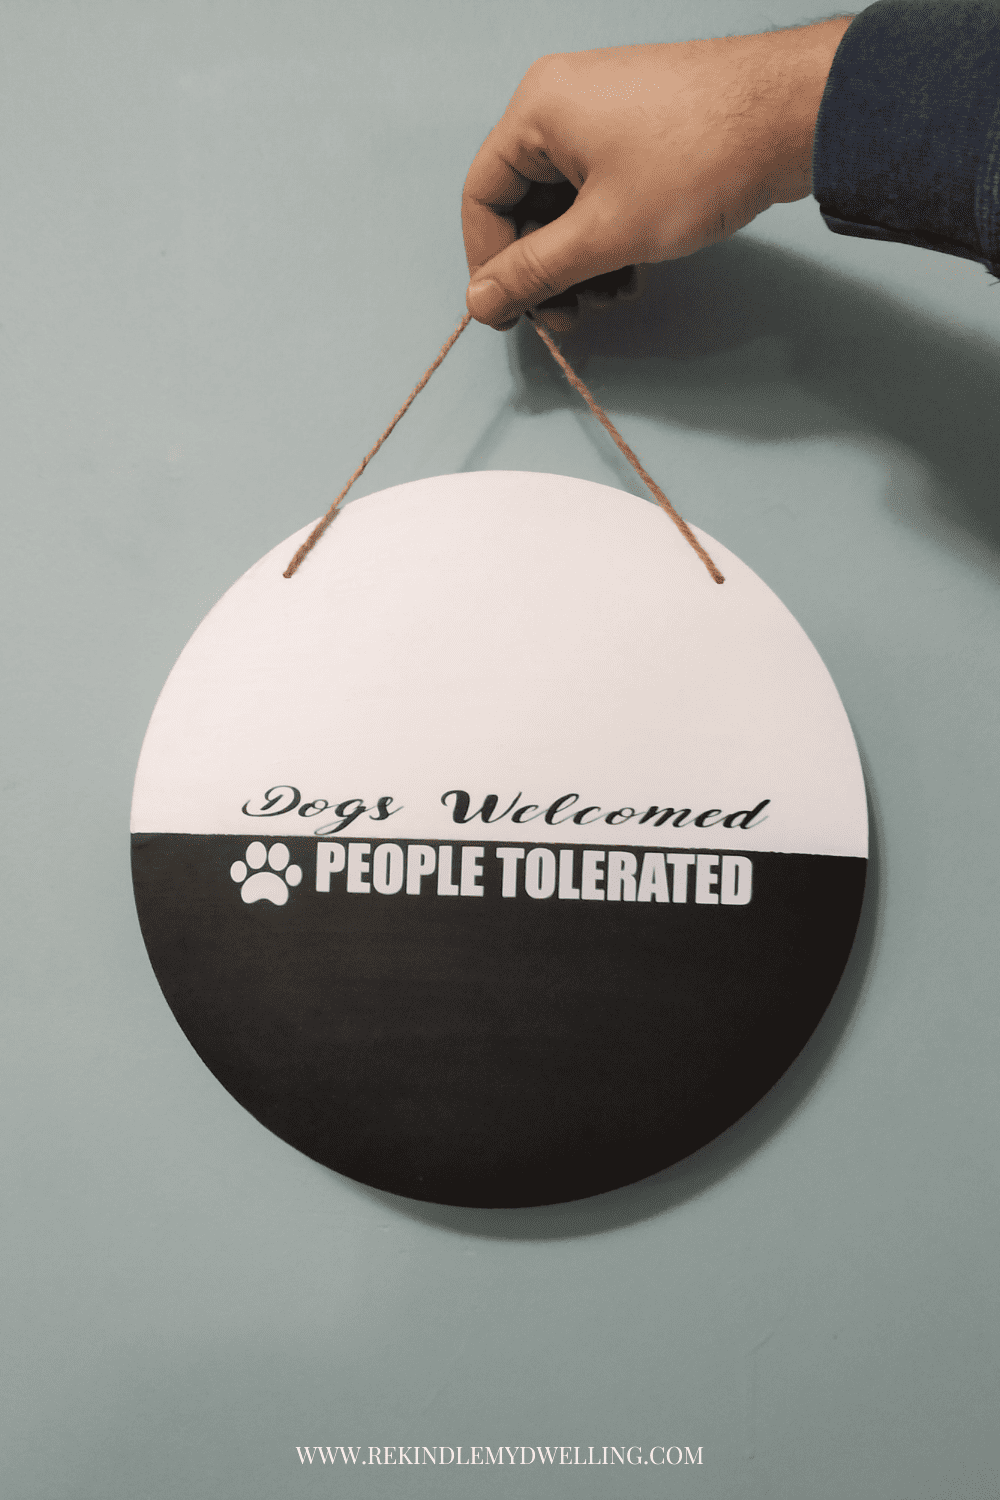
Re-attach the twine so that you can hang your sign.
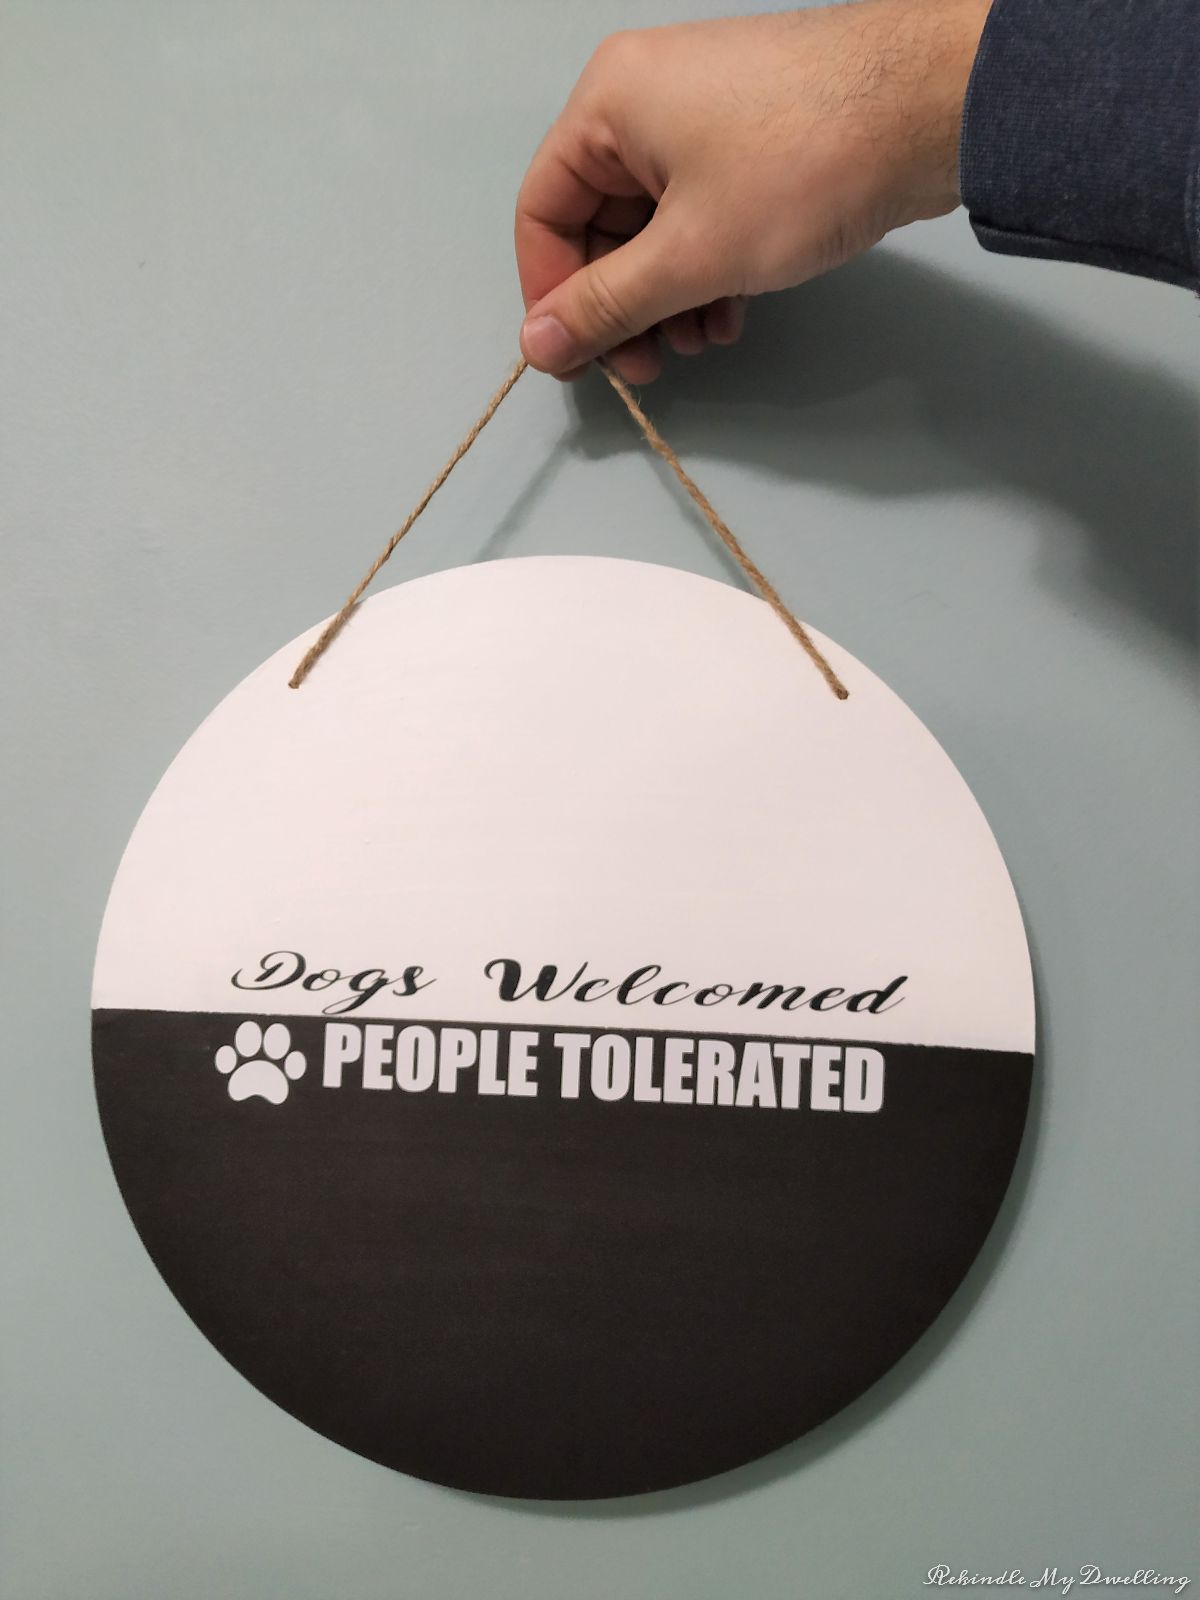
How cute did this turn out? Who wouldn’t love to hang this in their entryway, office or leaned on a shelf?
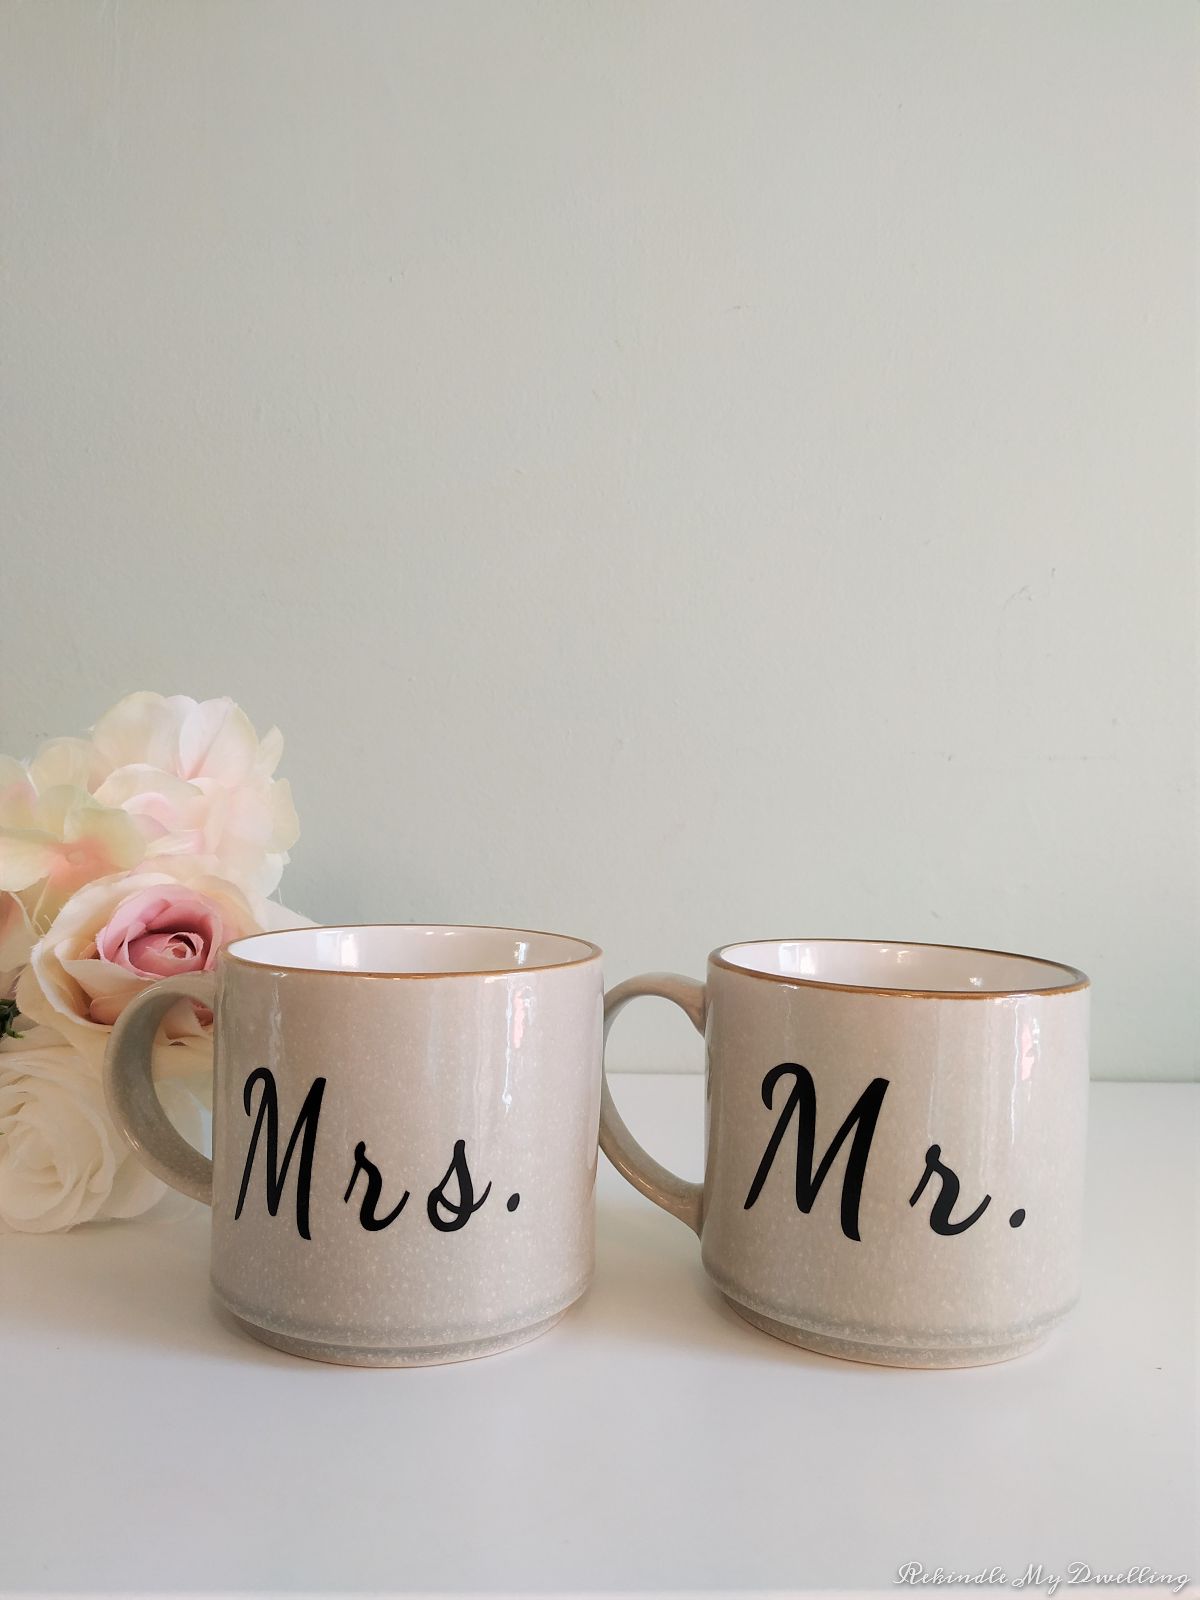
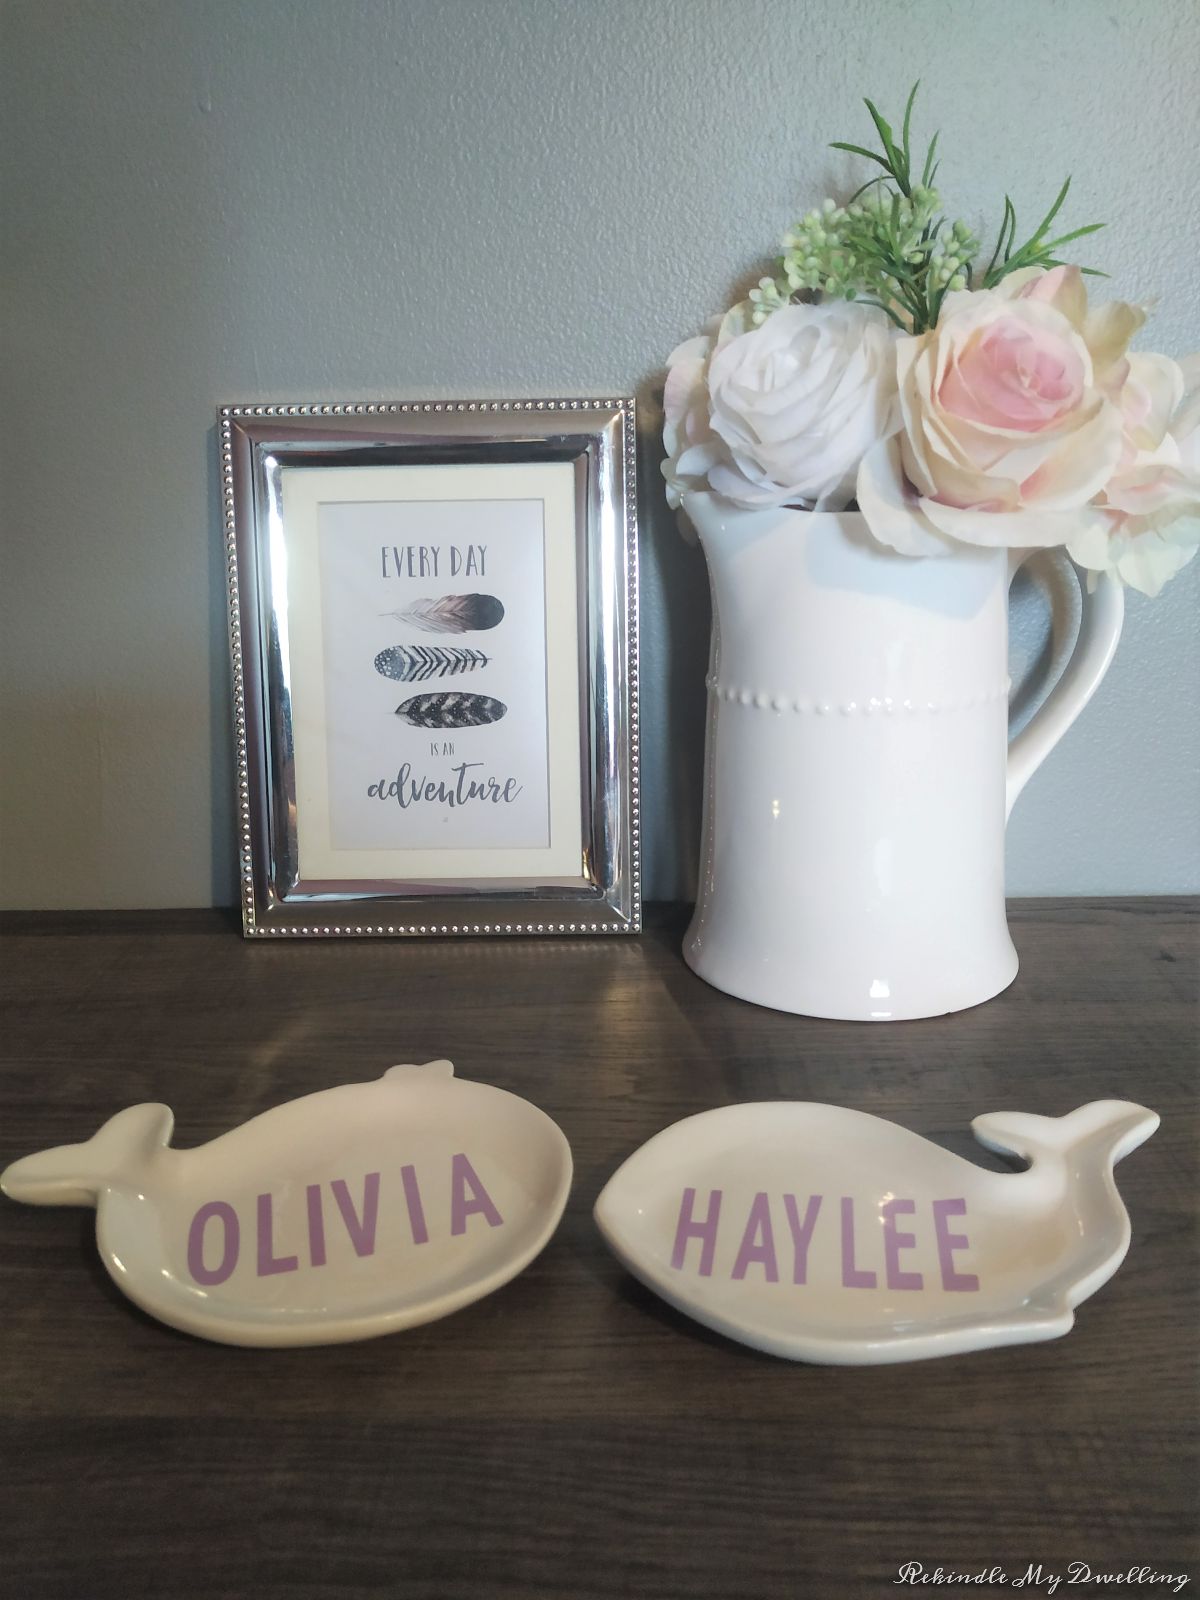
If you’re looking for more Cricut crafts check out these personalized wedding gift coffee mugs and these personalized trinket dishes.
Pin for Later!