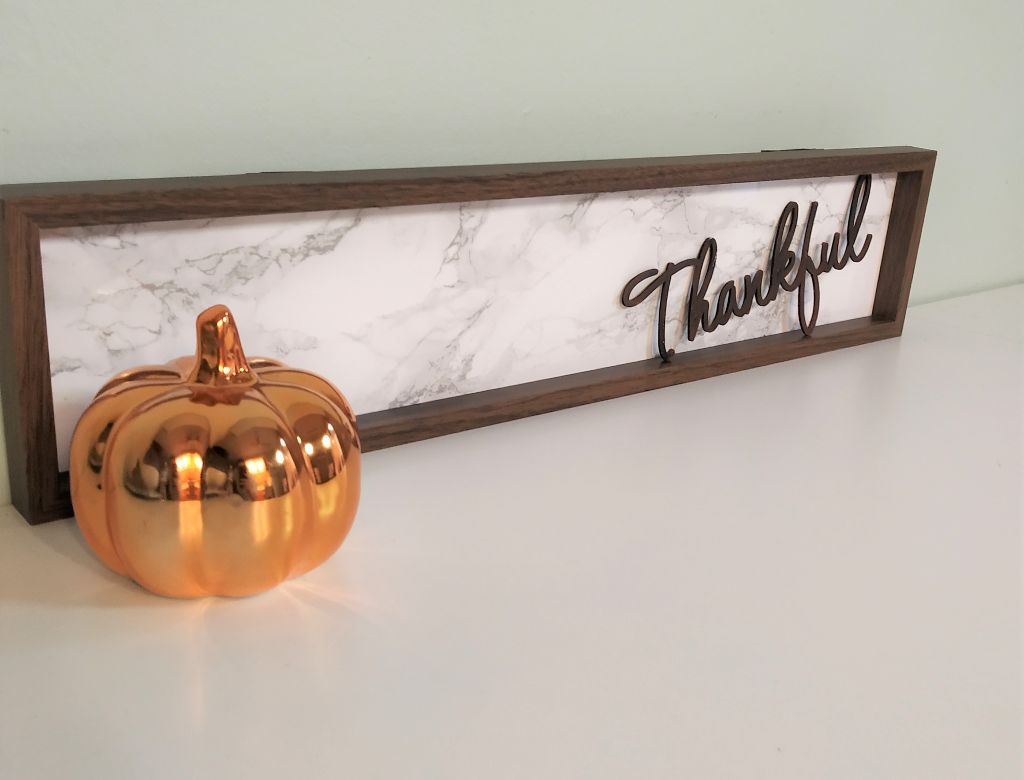
This DIY thankful wood sign makes a great display for fall and Thanksgiving. The dollar store always has the cutest fall decor. I found a falll sign but really didn’t like the background it came with. This quick project turns a small thankful sign into a farmhouse piece of decor.

Materials Needed
This post contains affiliate links. We may earn a commission at no extra cost to you if you choose to purchase through them. Read our full policy here.
- Wood sign (we got ours from the dollar store)
- Marble contact paper
- Brown paint
- Paintbrushes
- Scissors
DIY Thankful Wood Sign
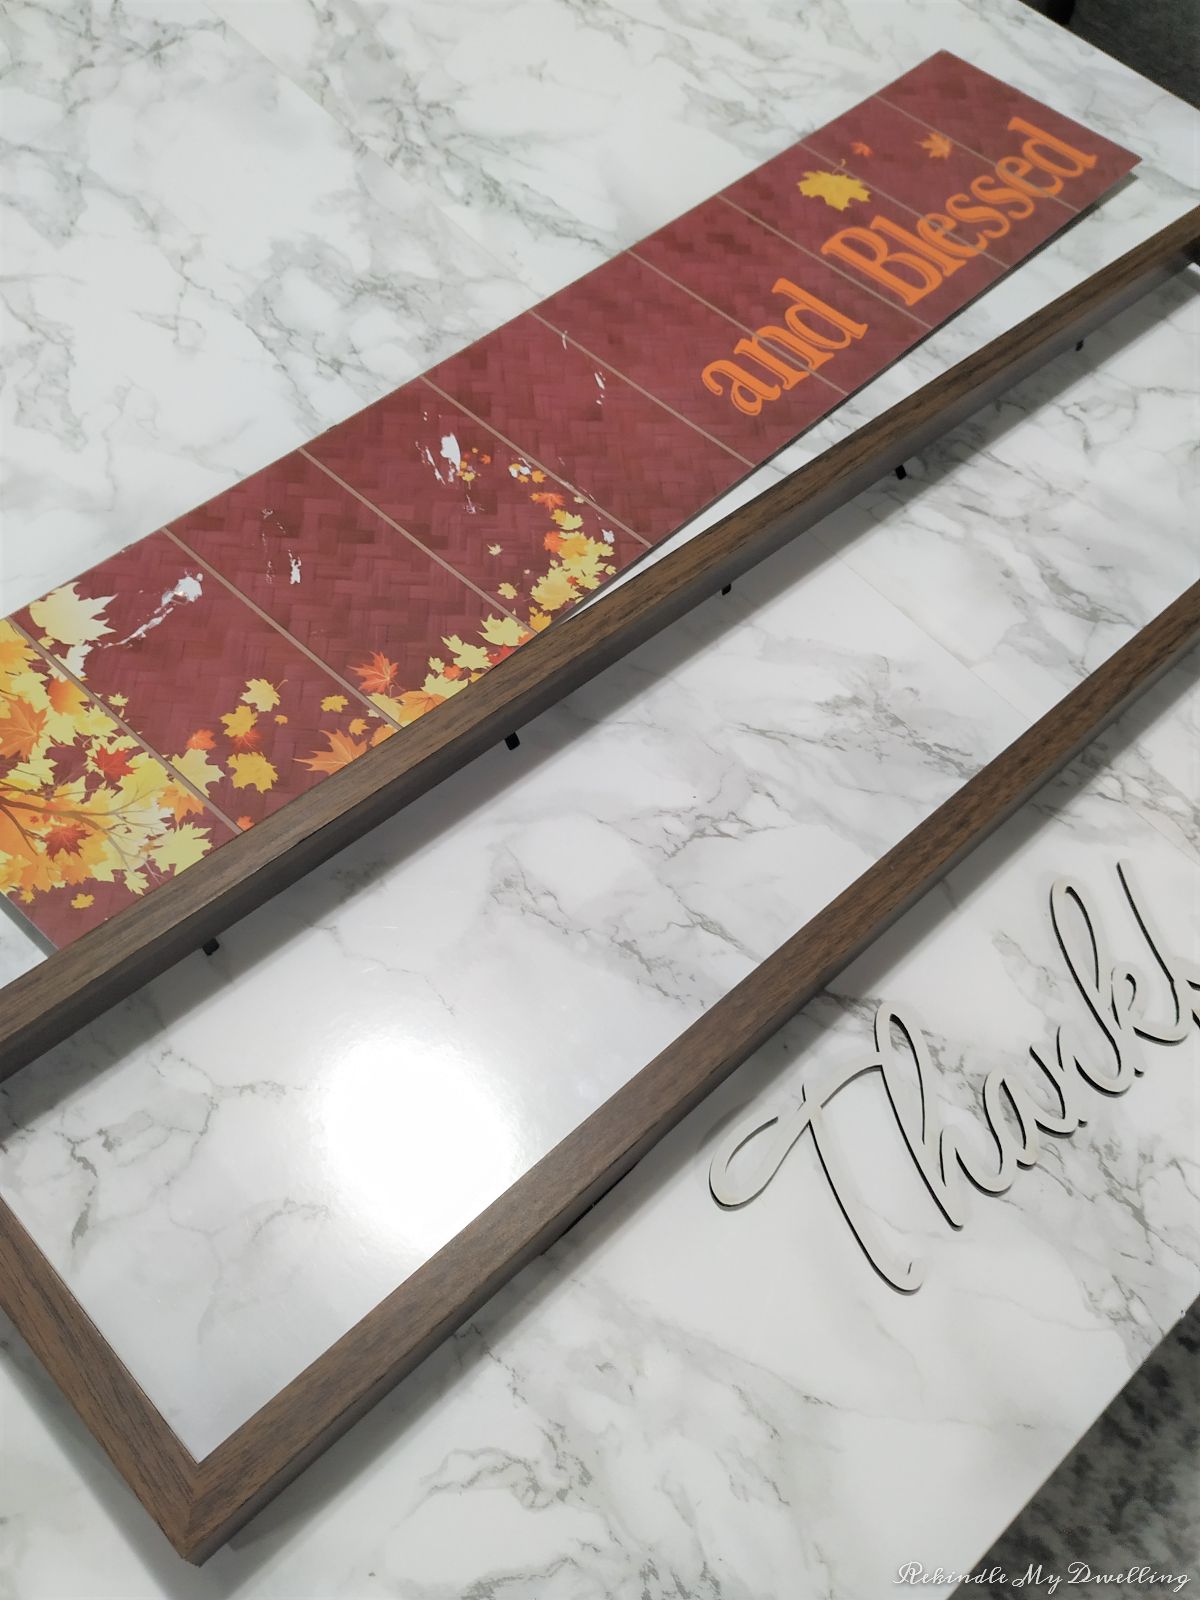
This is how the wood sign looked when I got it. I’m going to transform it using some paint and contact paper.

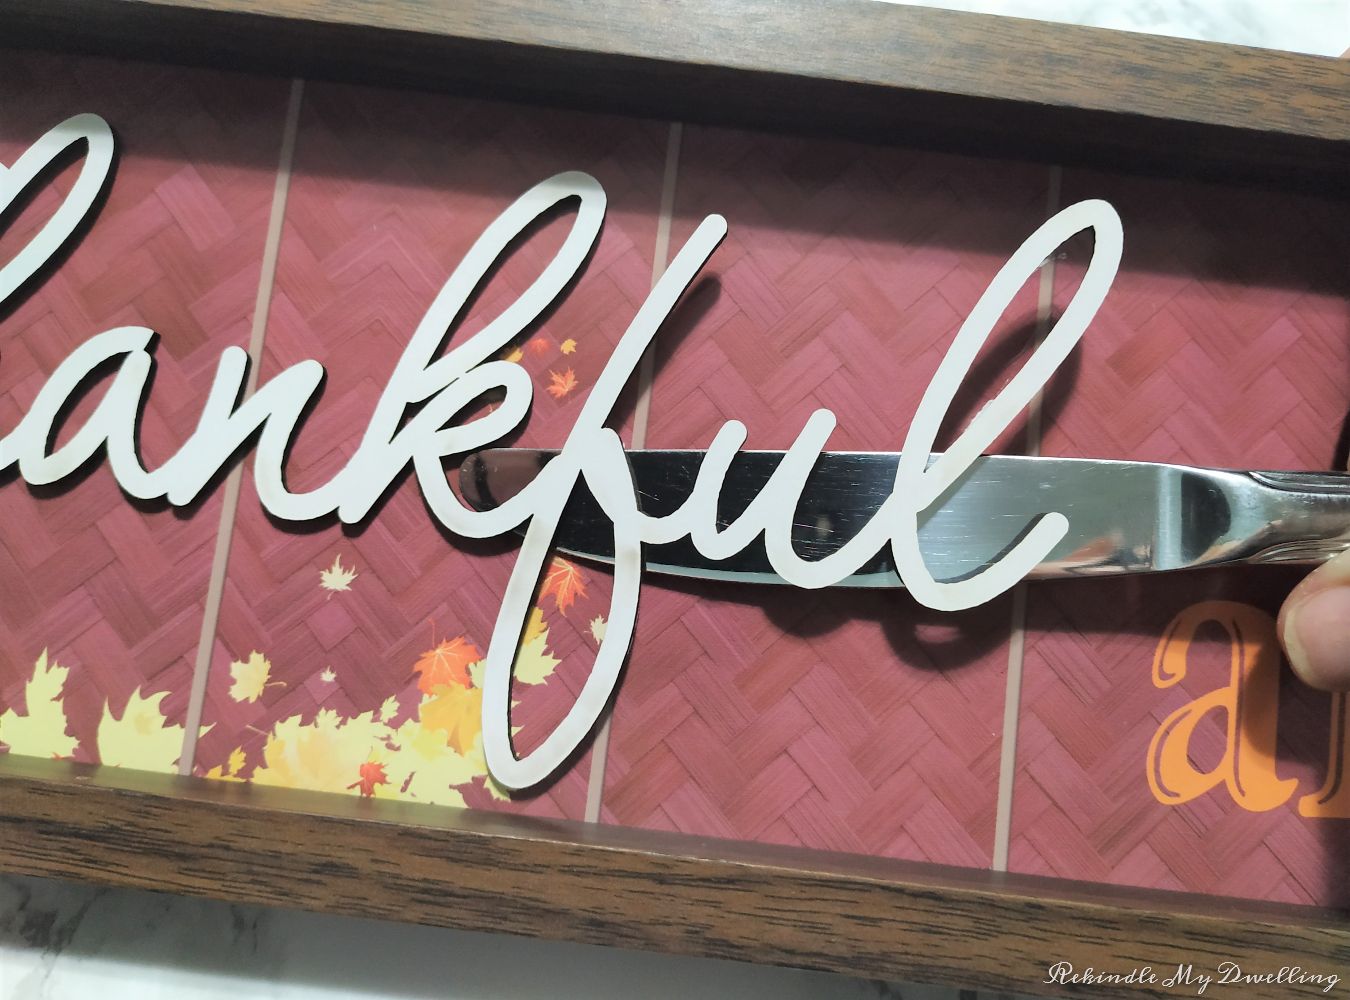
First gently pop off the little thankful lettering. This breaks easily so be careful. You can always use stickers or make your own letters from a Cricut machine.

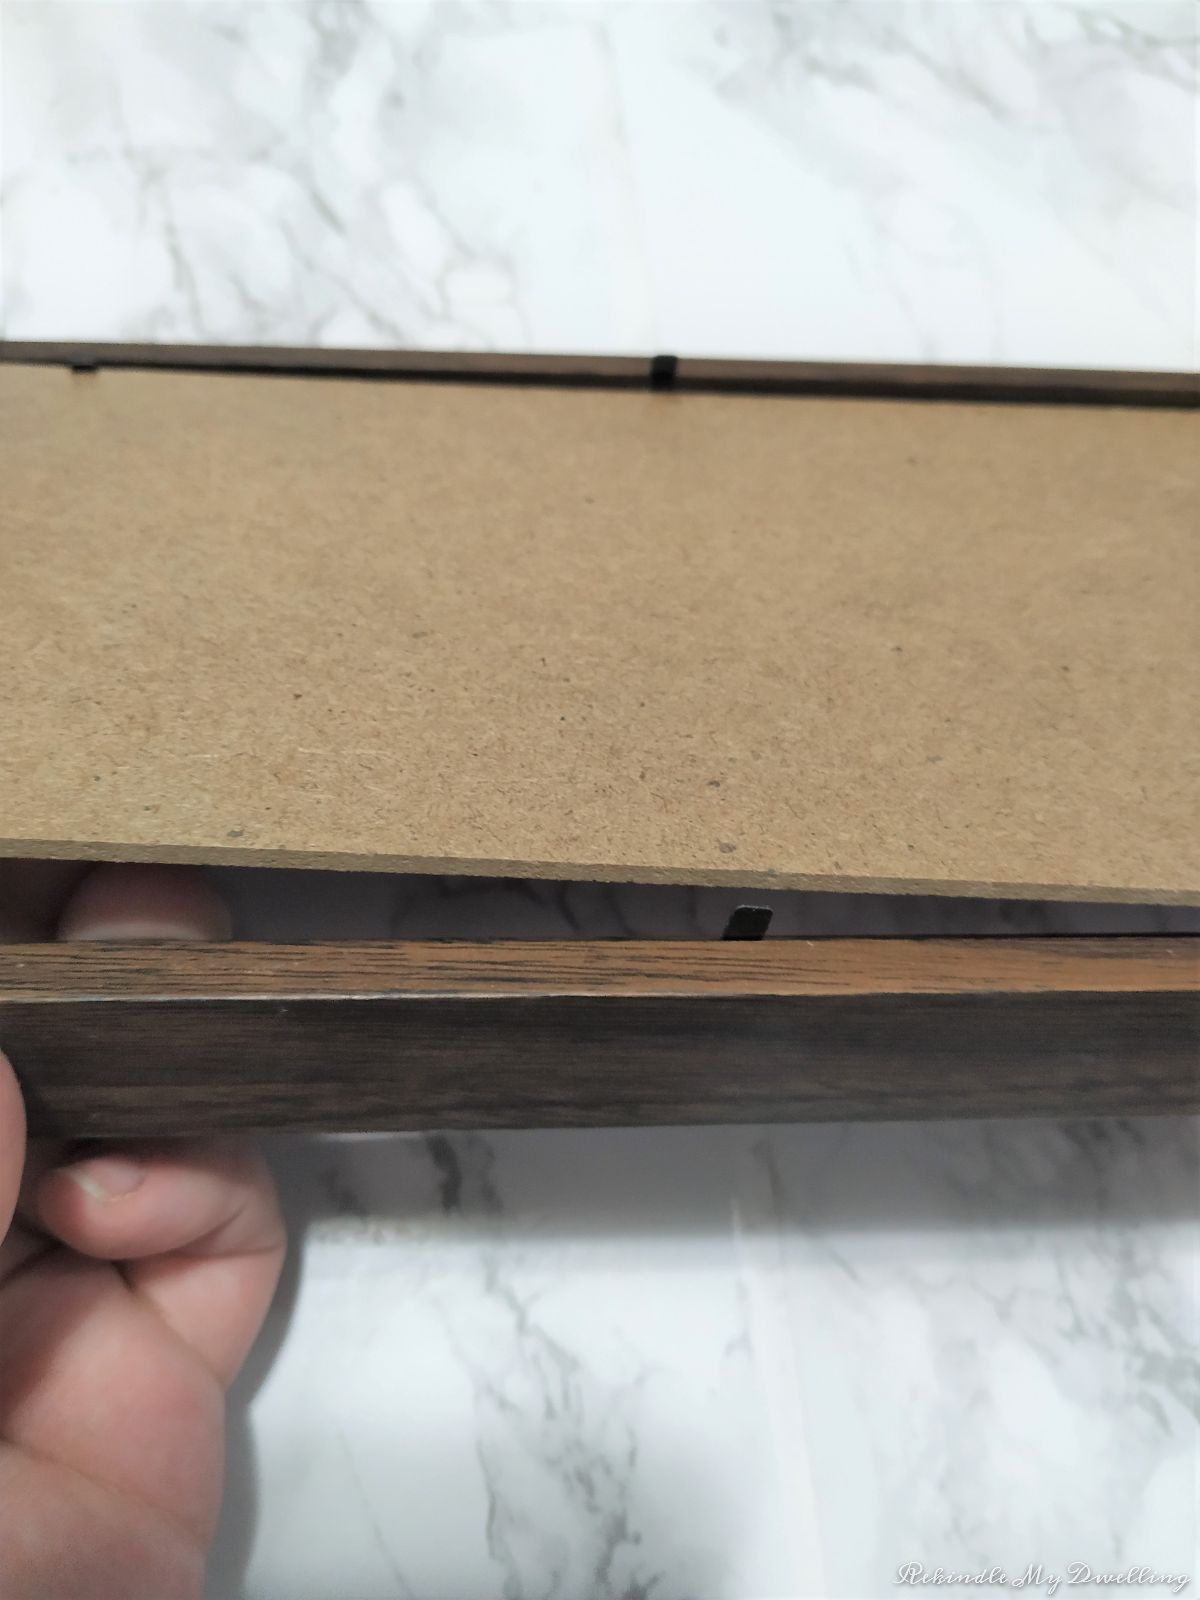
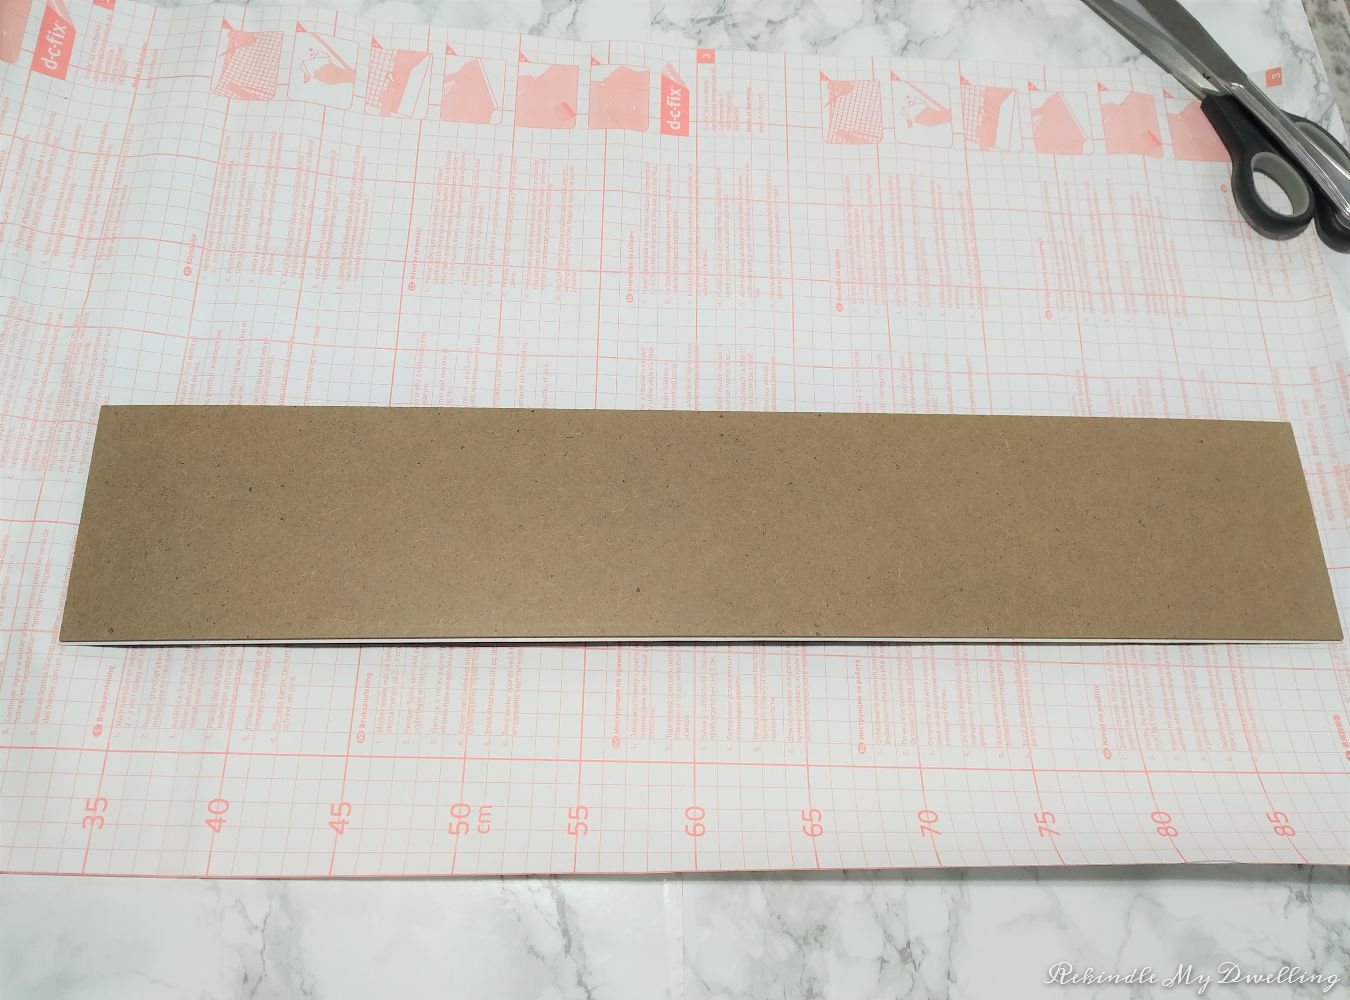
Carefully remove the backing.
I painted the letters with brown paint to match the edge of the sign.

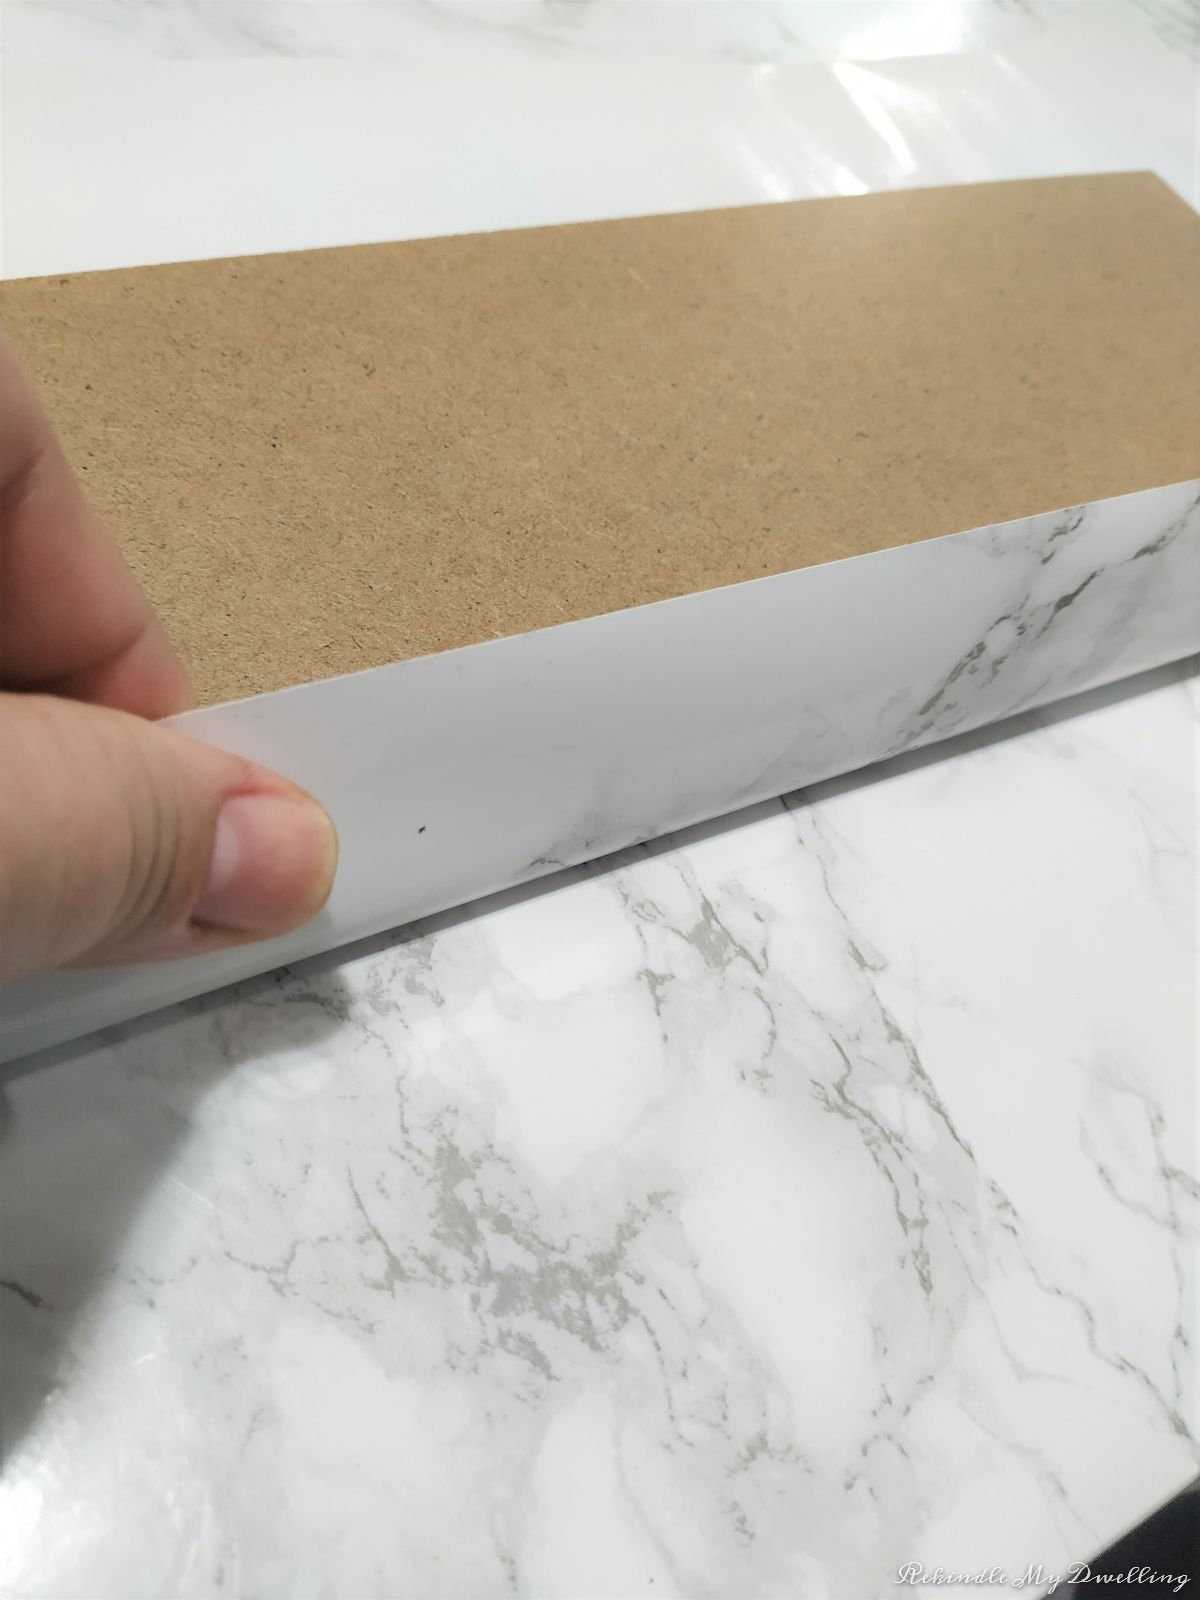
Use any contact paper you have to wrap around the backing. I love the marble look but you can buy different styles at the dollar store. You can use paint instead but you may have to do a few coats.
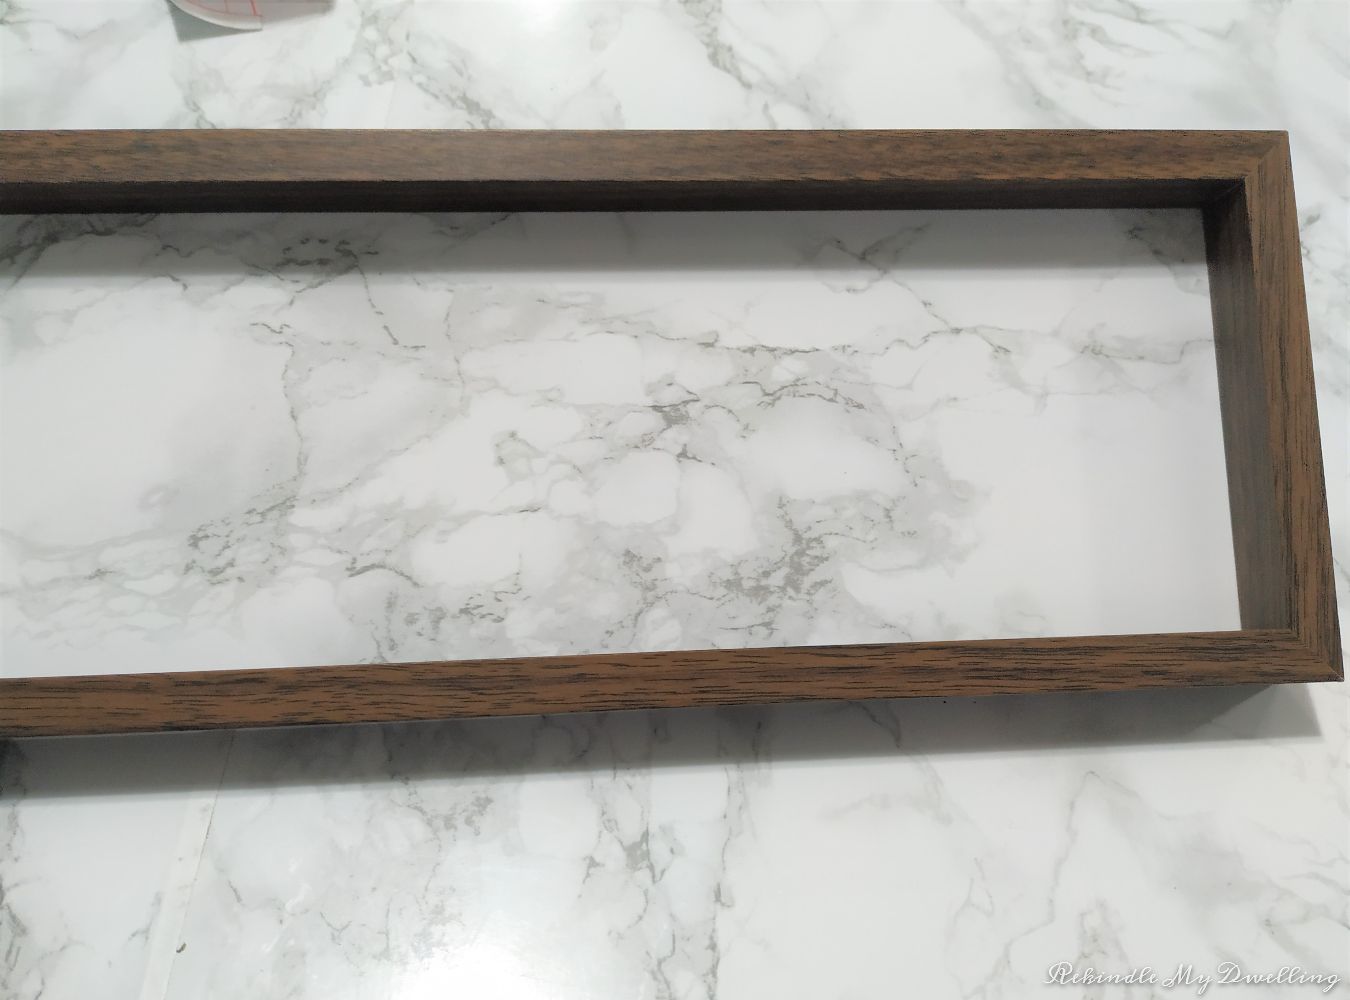
Reattach the backing to the frame.
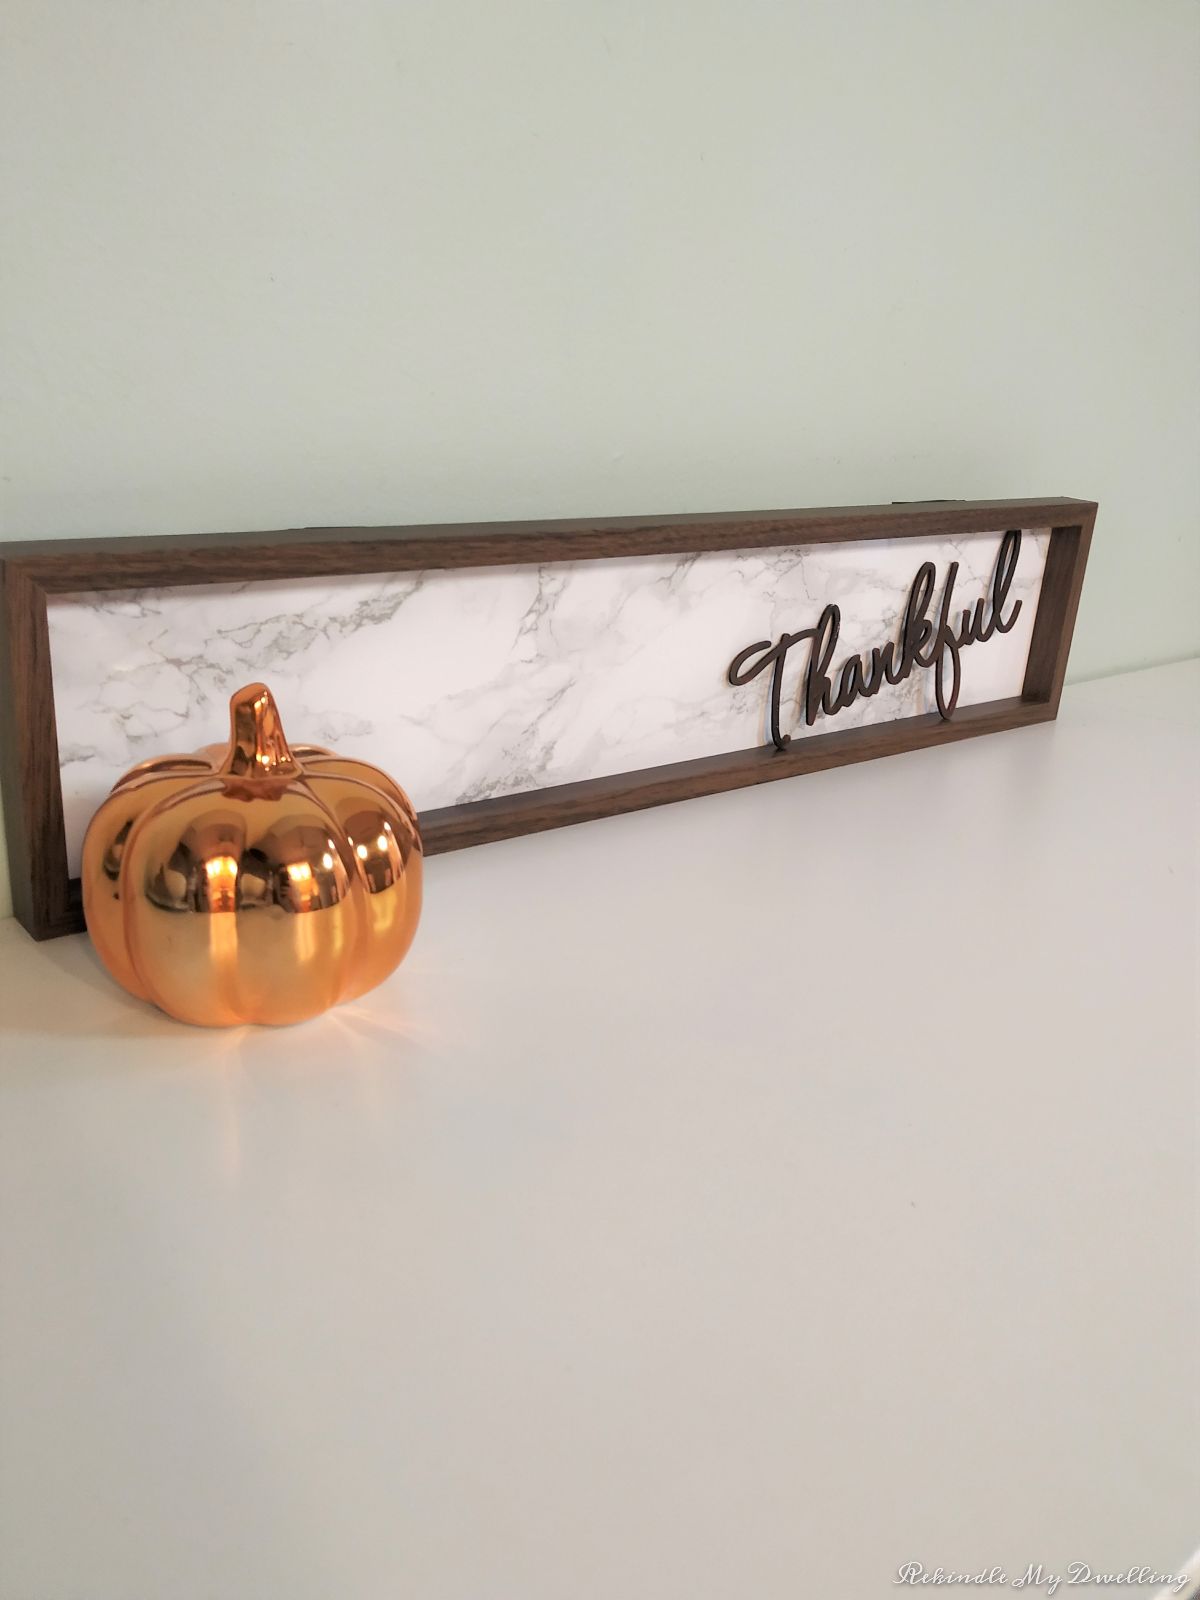
Glue the thankful letters back on to the sign. I chose not to attach it so I could change it up. I plan to use it as part of a fall centerpiece for our table.

All you have to do is find a place to display it. This one came with hooks so you can add it to a wall, shelf or mantle. I love how this DIY thankful wood sign turned out! Its minimal and you can also use it as a wooden tray when you’re done displaying it.
Pin For Later