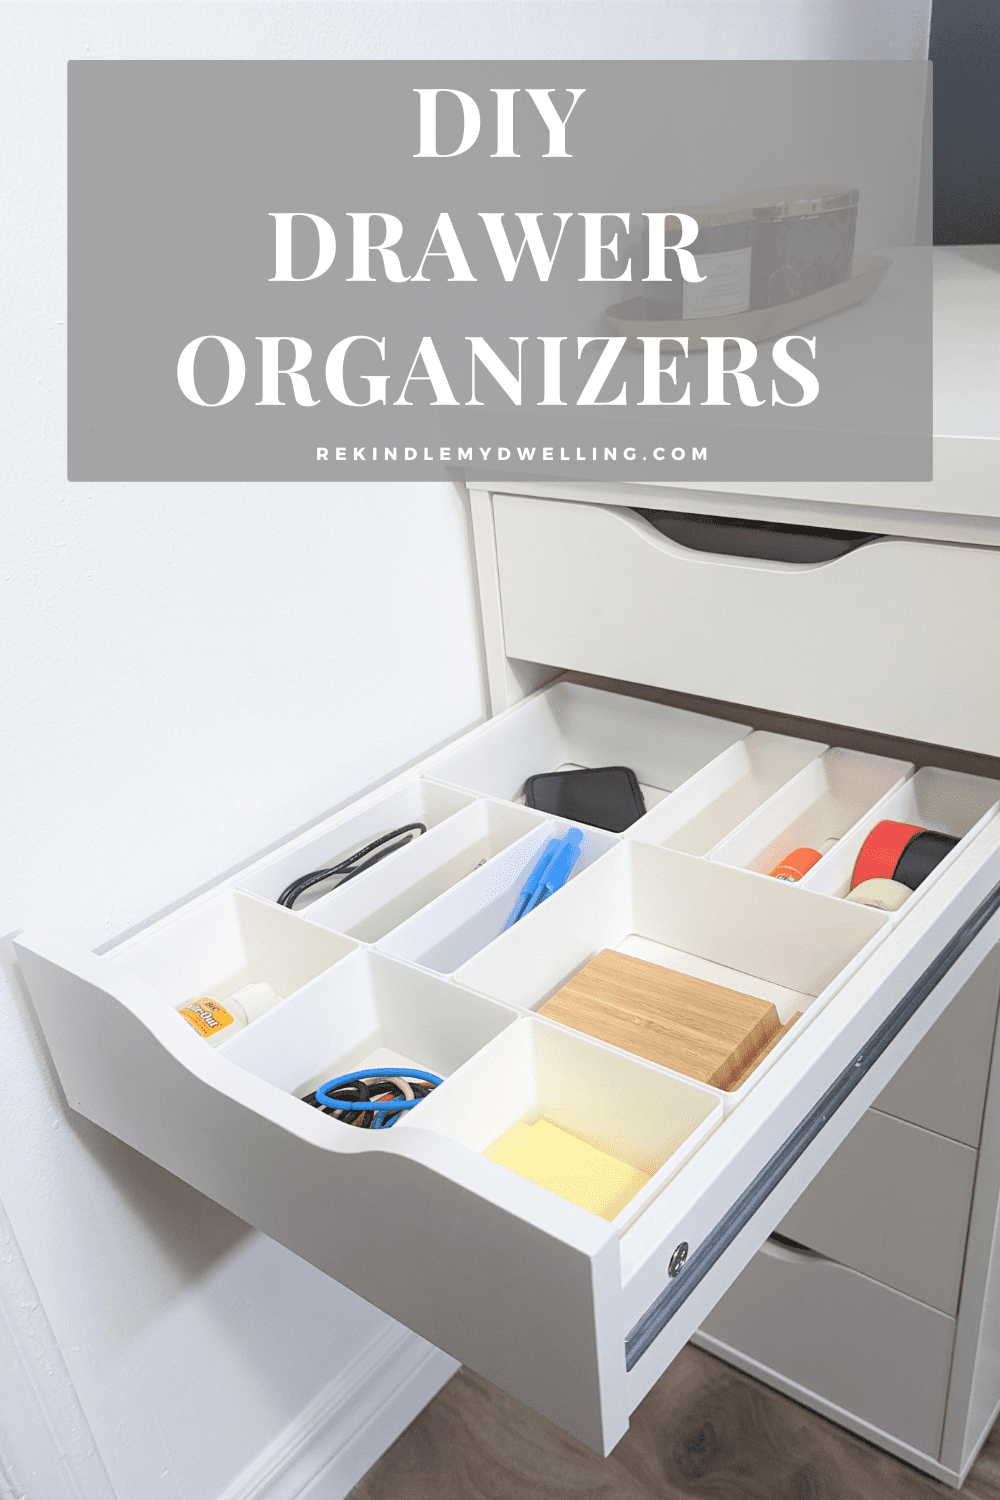
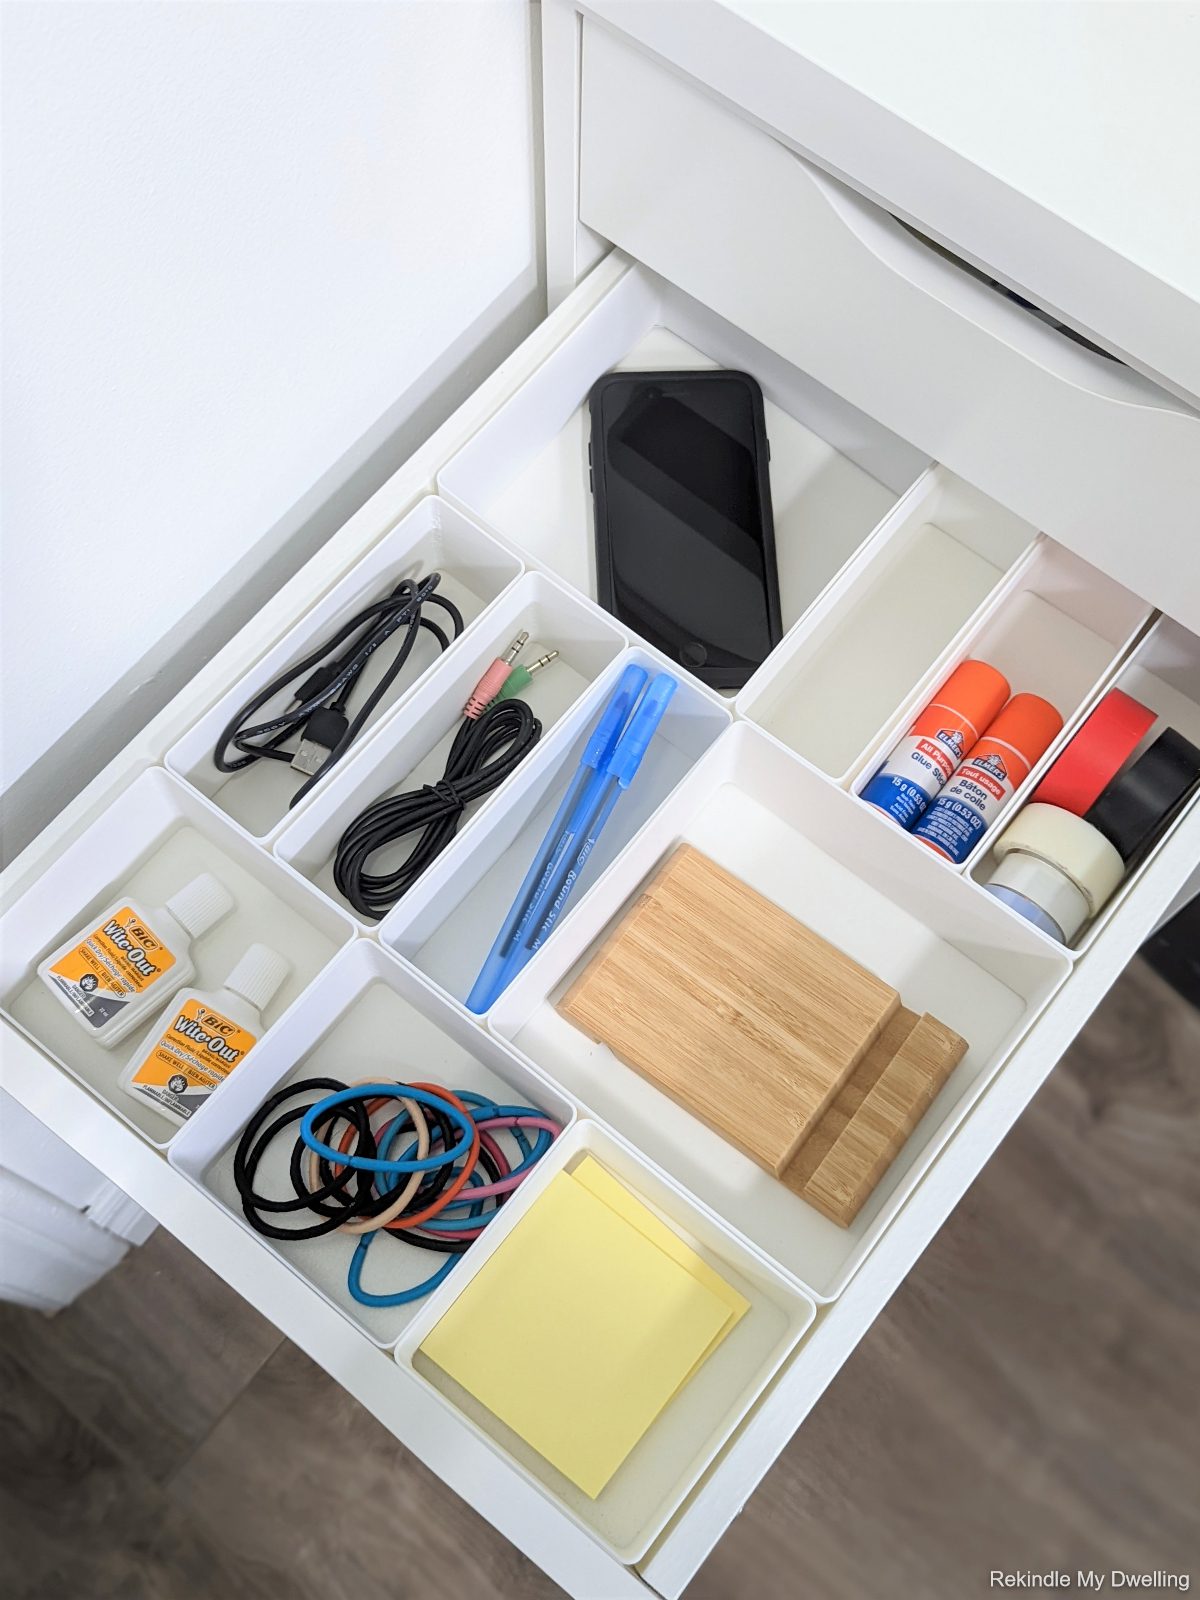
Have you tried 3D printing yet? I could go on for hours about how cool 3D printing is and how many things you can build using pieces of plastic! These DIY organizers for Ikea drawers were made by our 3D printer machine and they’re the perfect customizable print for any drawer.
Materials Needed
This post contains affiliate links. We may earn a commission at no extra cost to you if you choose to purchase through them. Read our full policy here.
- Creality Ender 3v2 Printer
- PLA plastic
- Print file (grab a free one from Thingieverse)
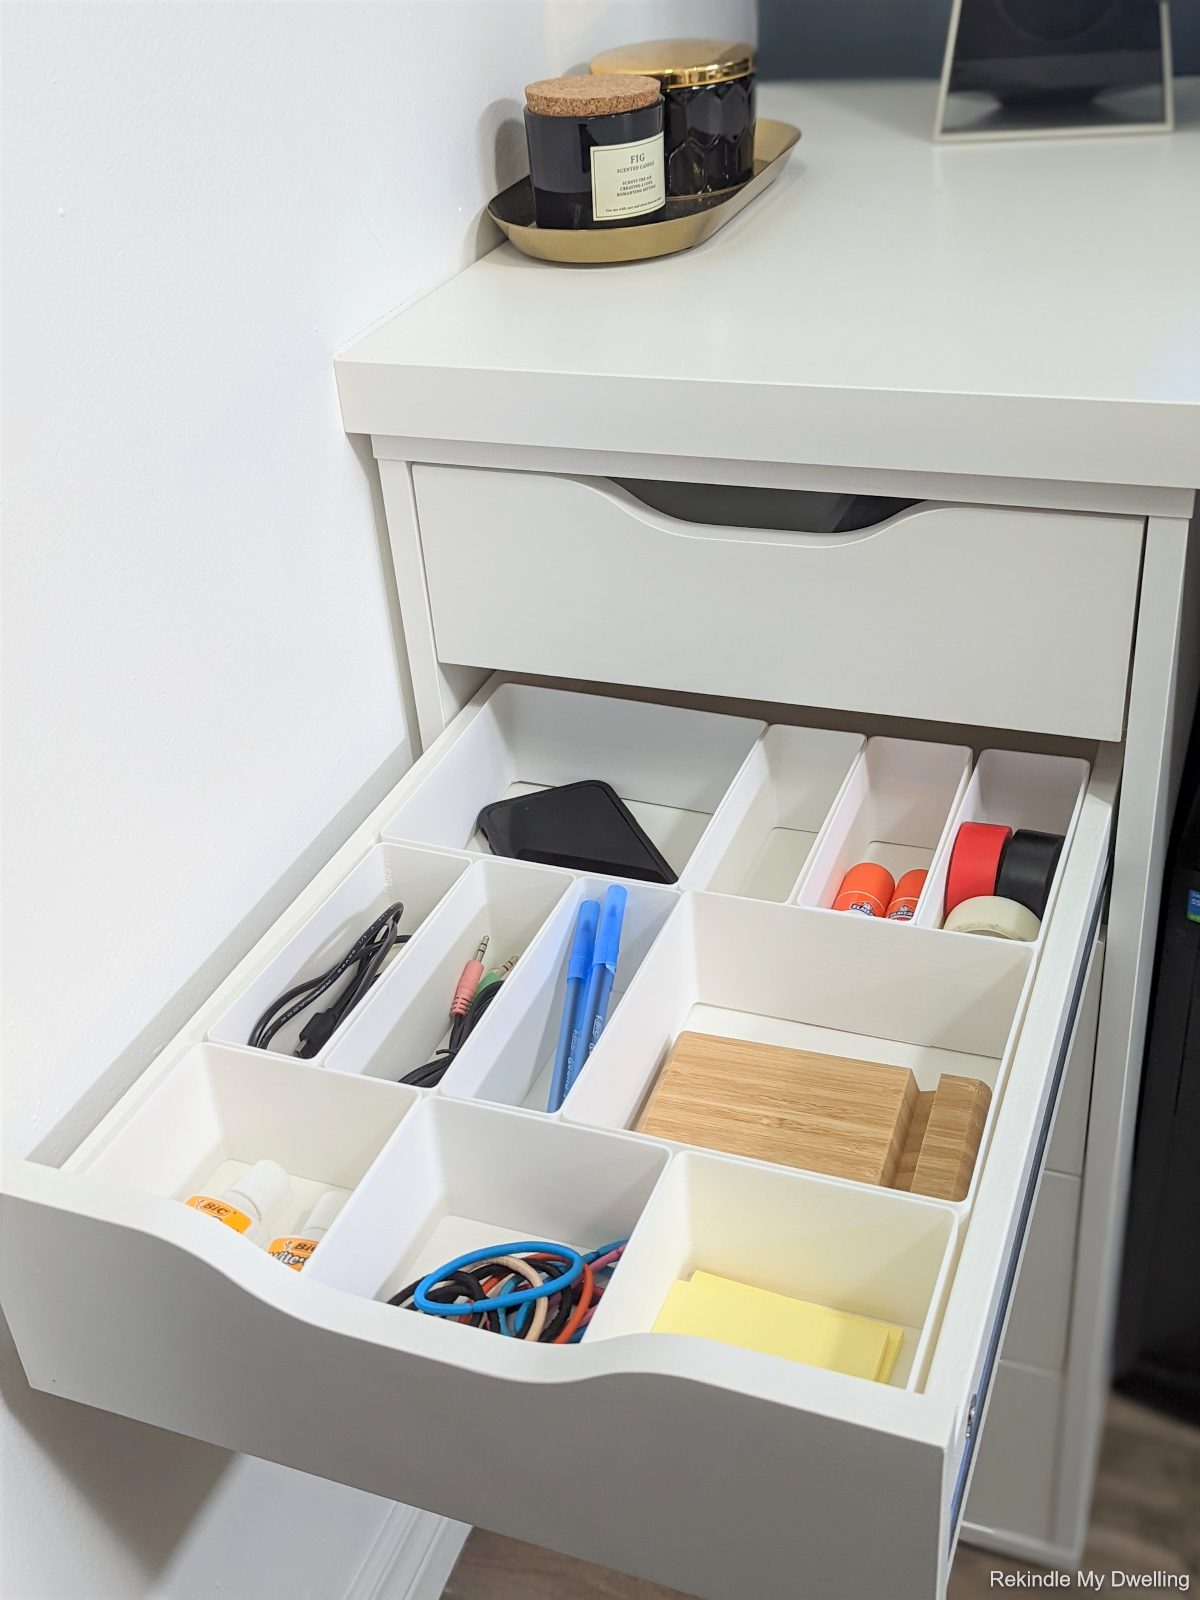
DIY Organizers for Ikea Drawers
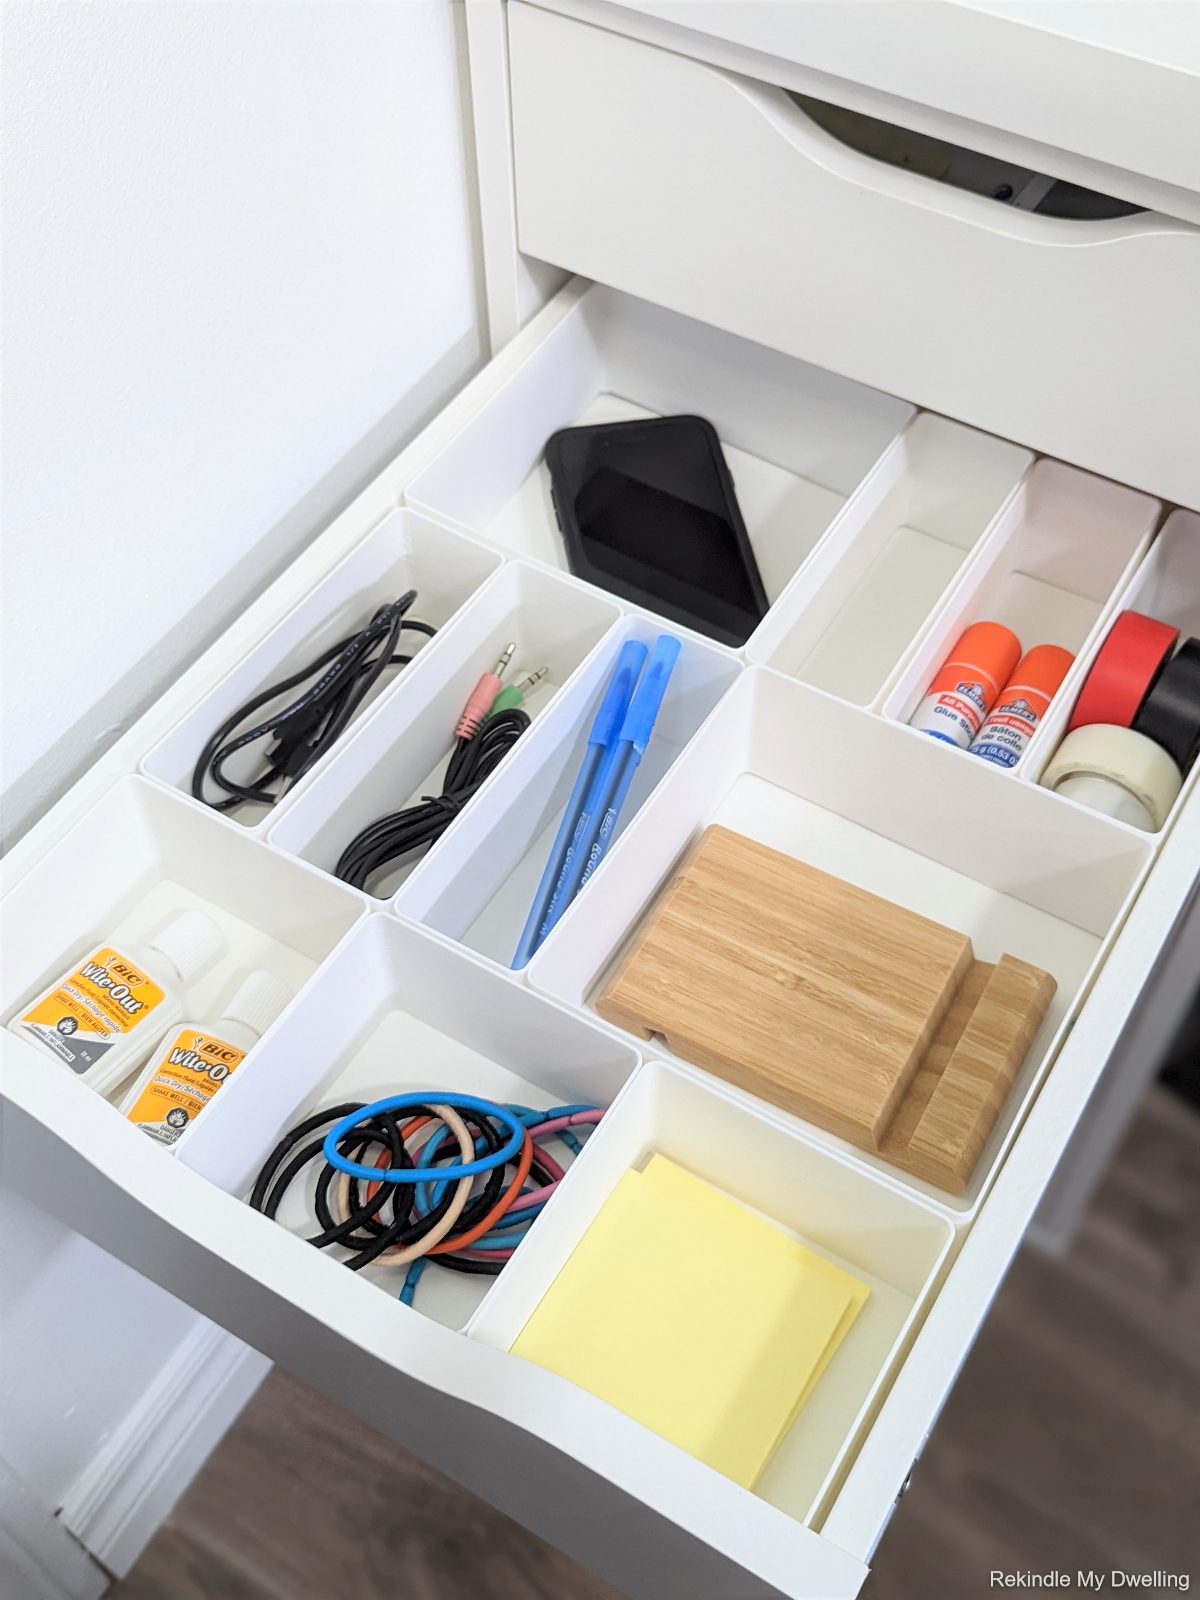
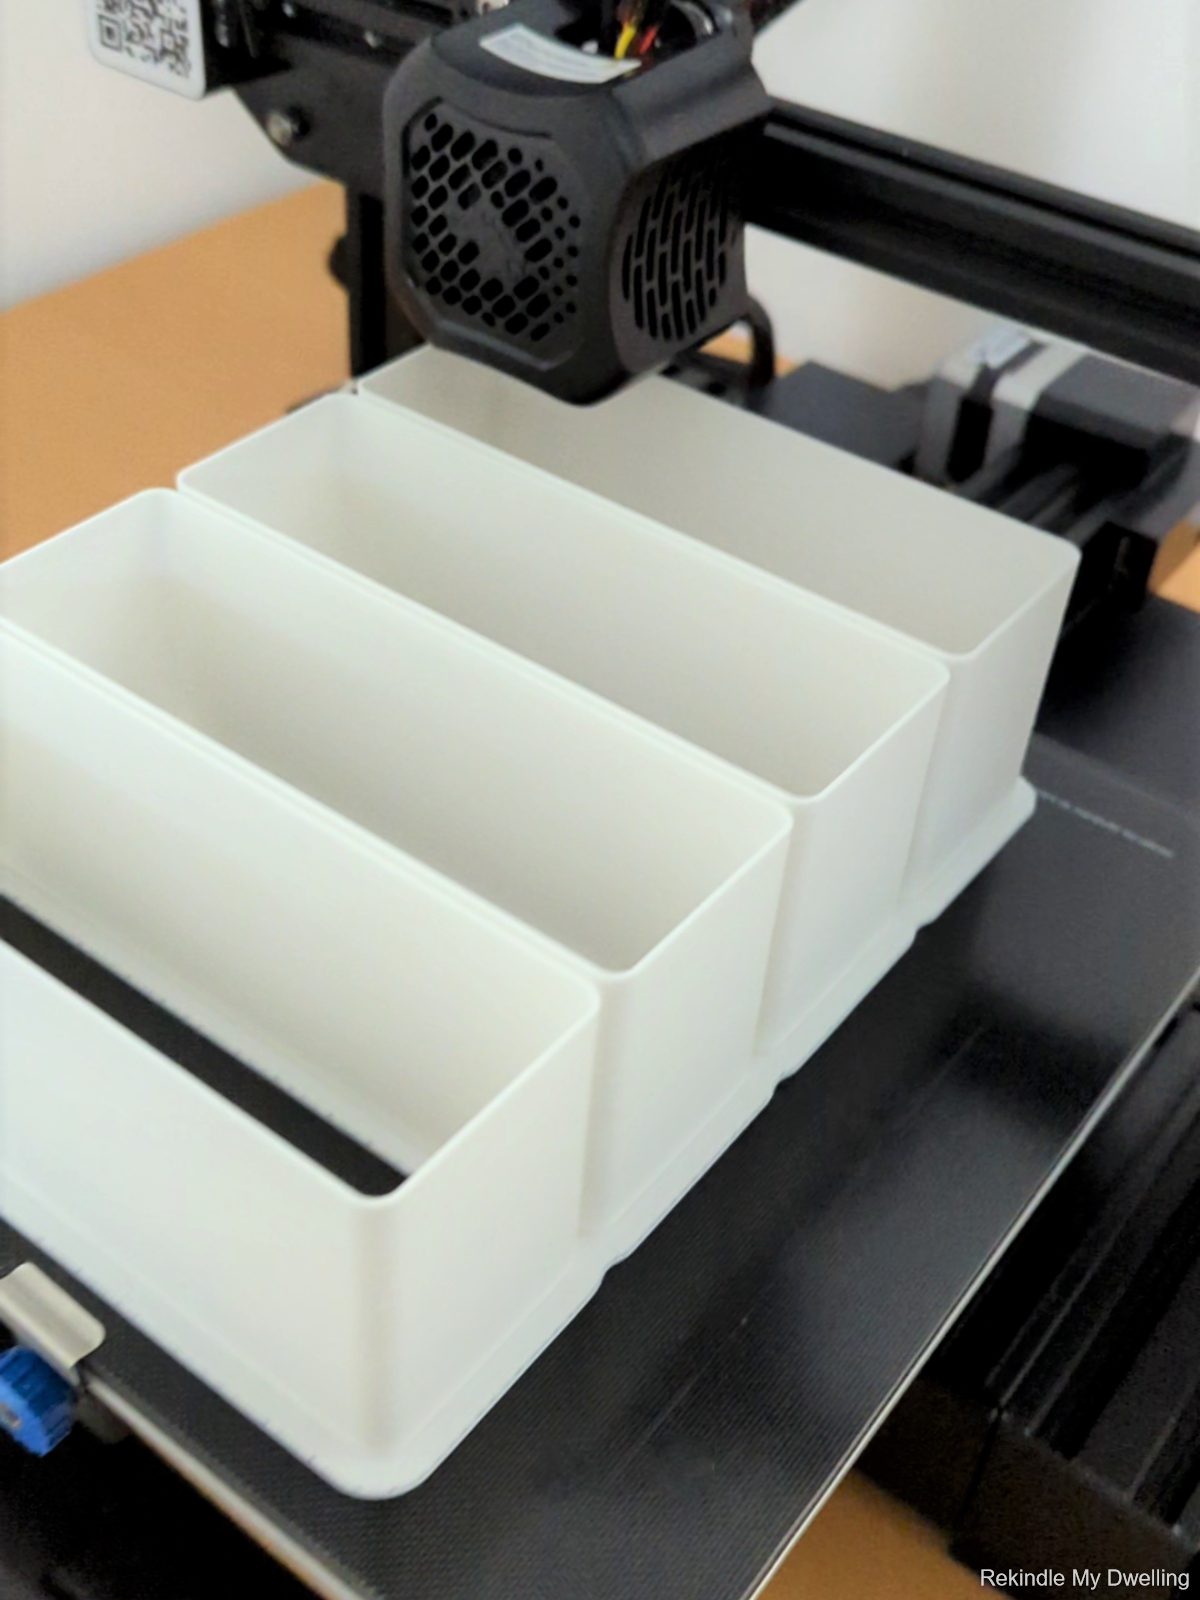
The great thing about this print is that the file is a universal and can be adjusted to fit most drawers. There is even a bottomless version (which is what we chose) that uses less filament and is faster to make.
Start by exporting your print file into a slicing program such as Slic3r and adjusting to your drawers. These fit our Ikea Alex Drawer perfectly and we didn’t need to adjust the parameters.
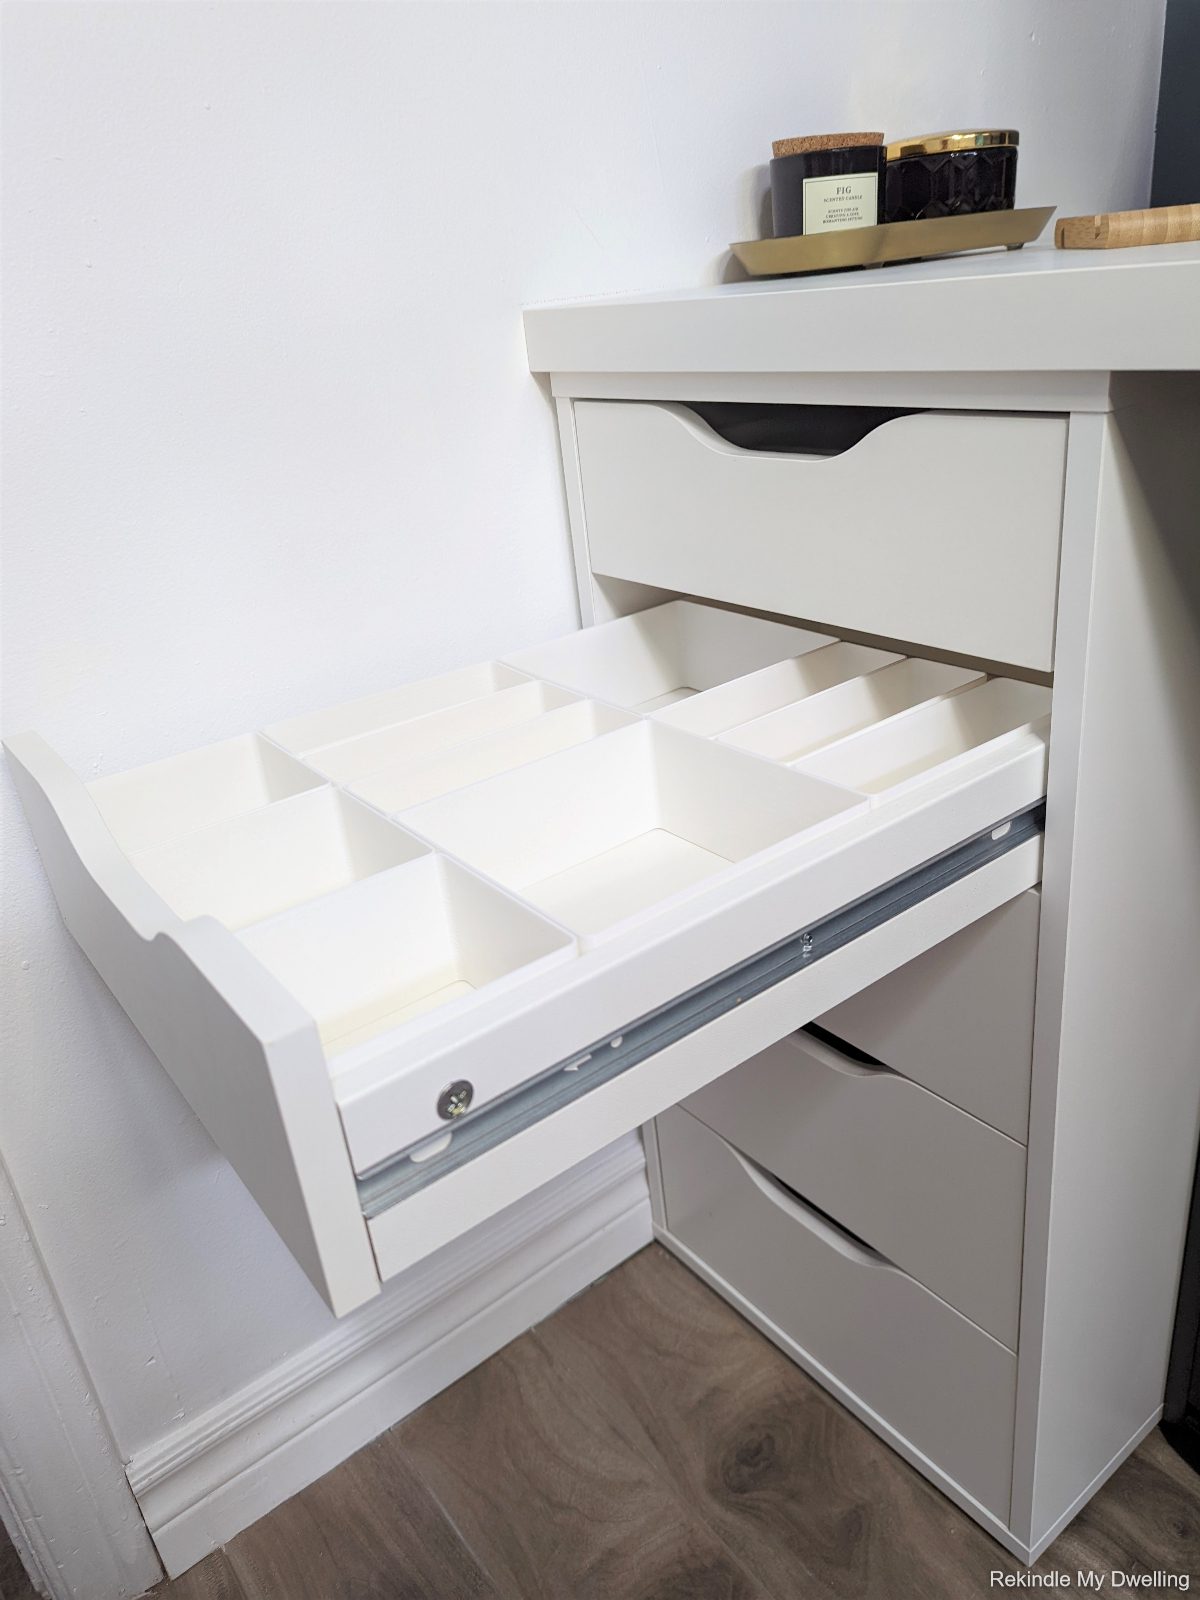
Then create a Gcode (this is the instructions for your printer) and set up your choice of filament and let your printer do the work! The printer will create your organizers layer by layer. Once started, each print takes about 1.5 hours or you can print multiples at the same time.
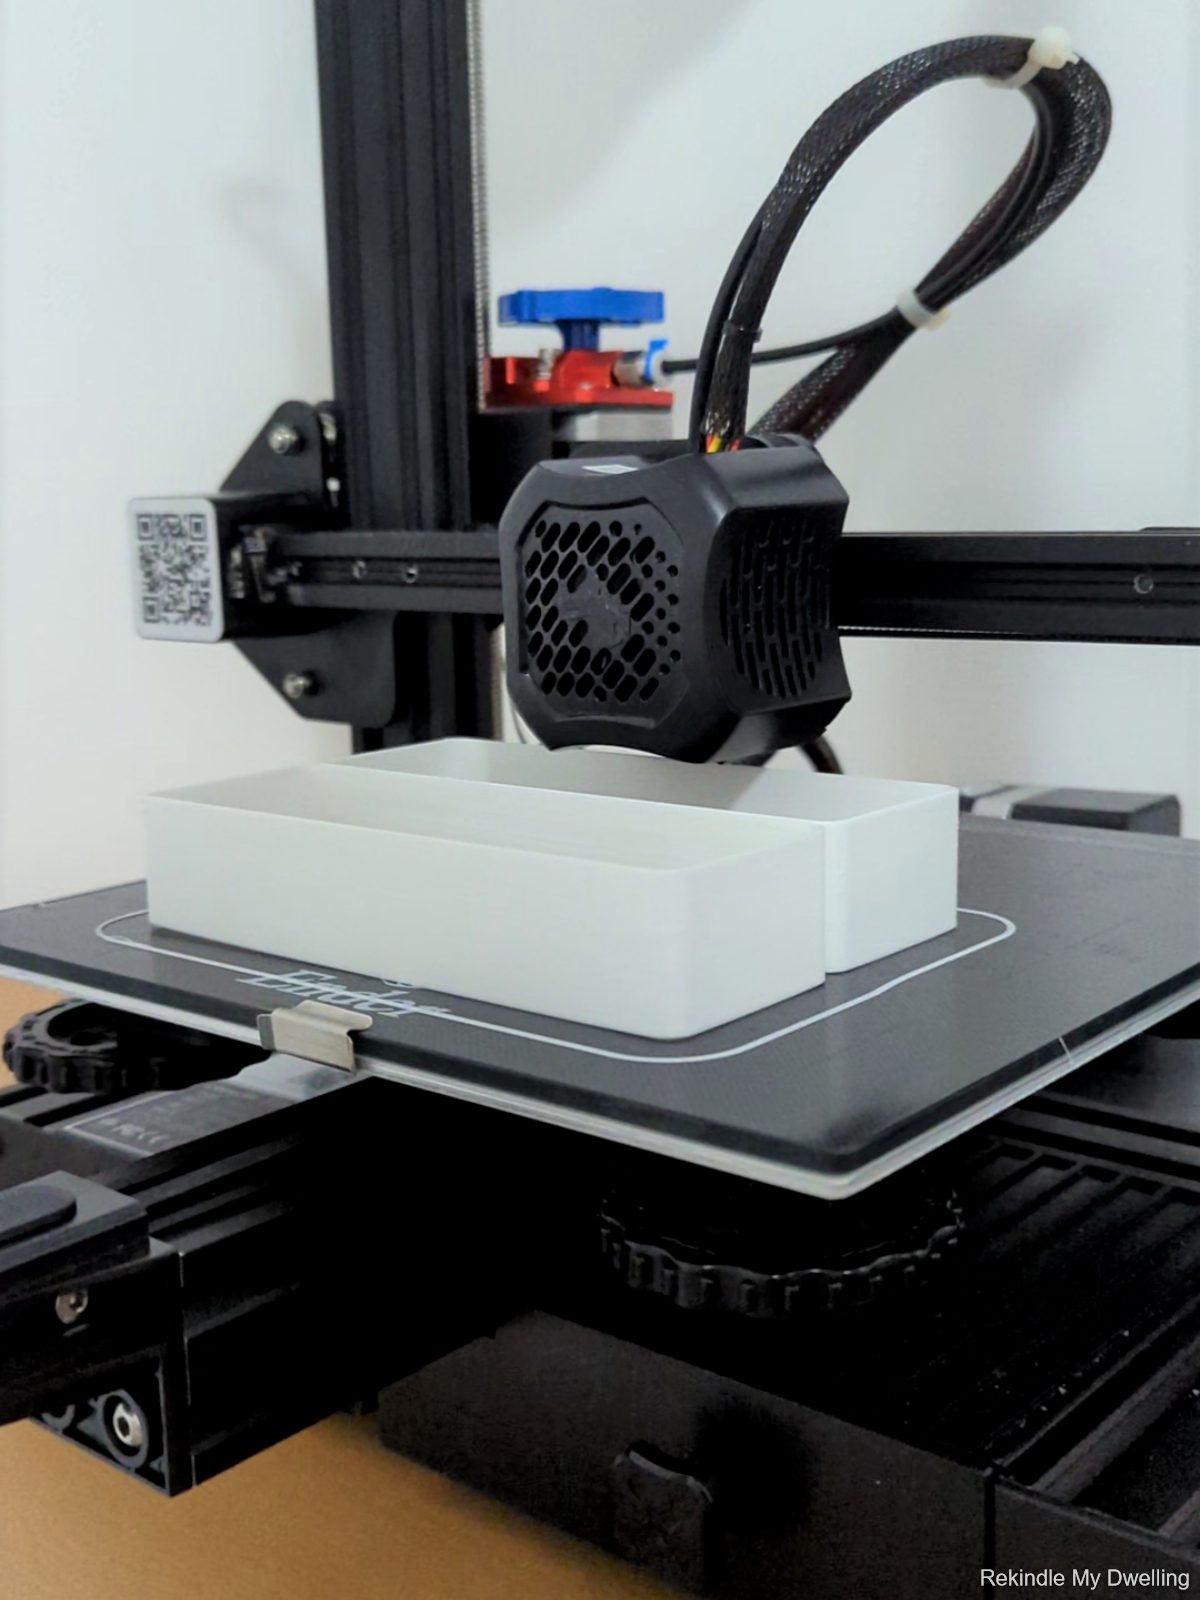
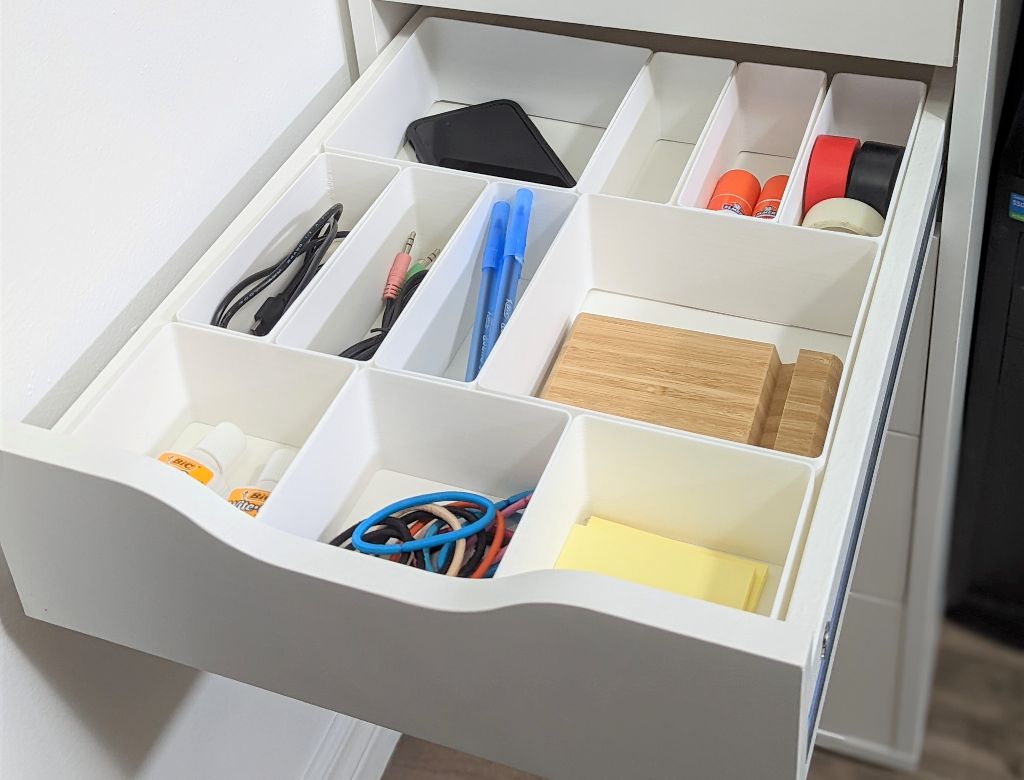
Once printing is done you just have to remove DIY organizers from the printing bed and set them up in your drawers.
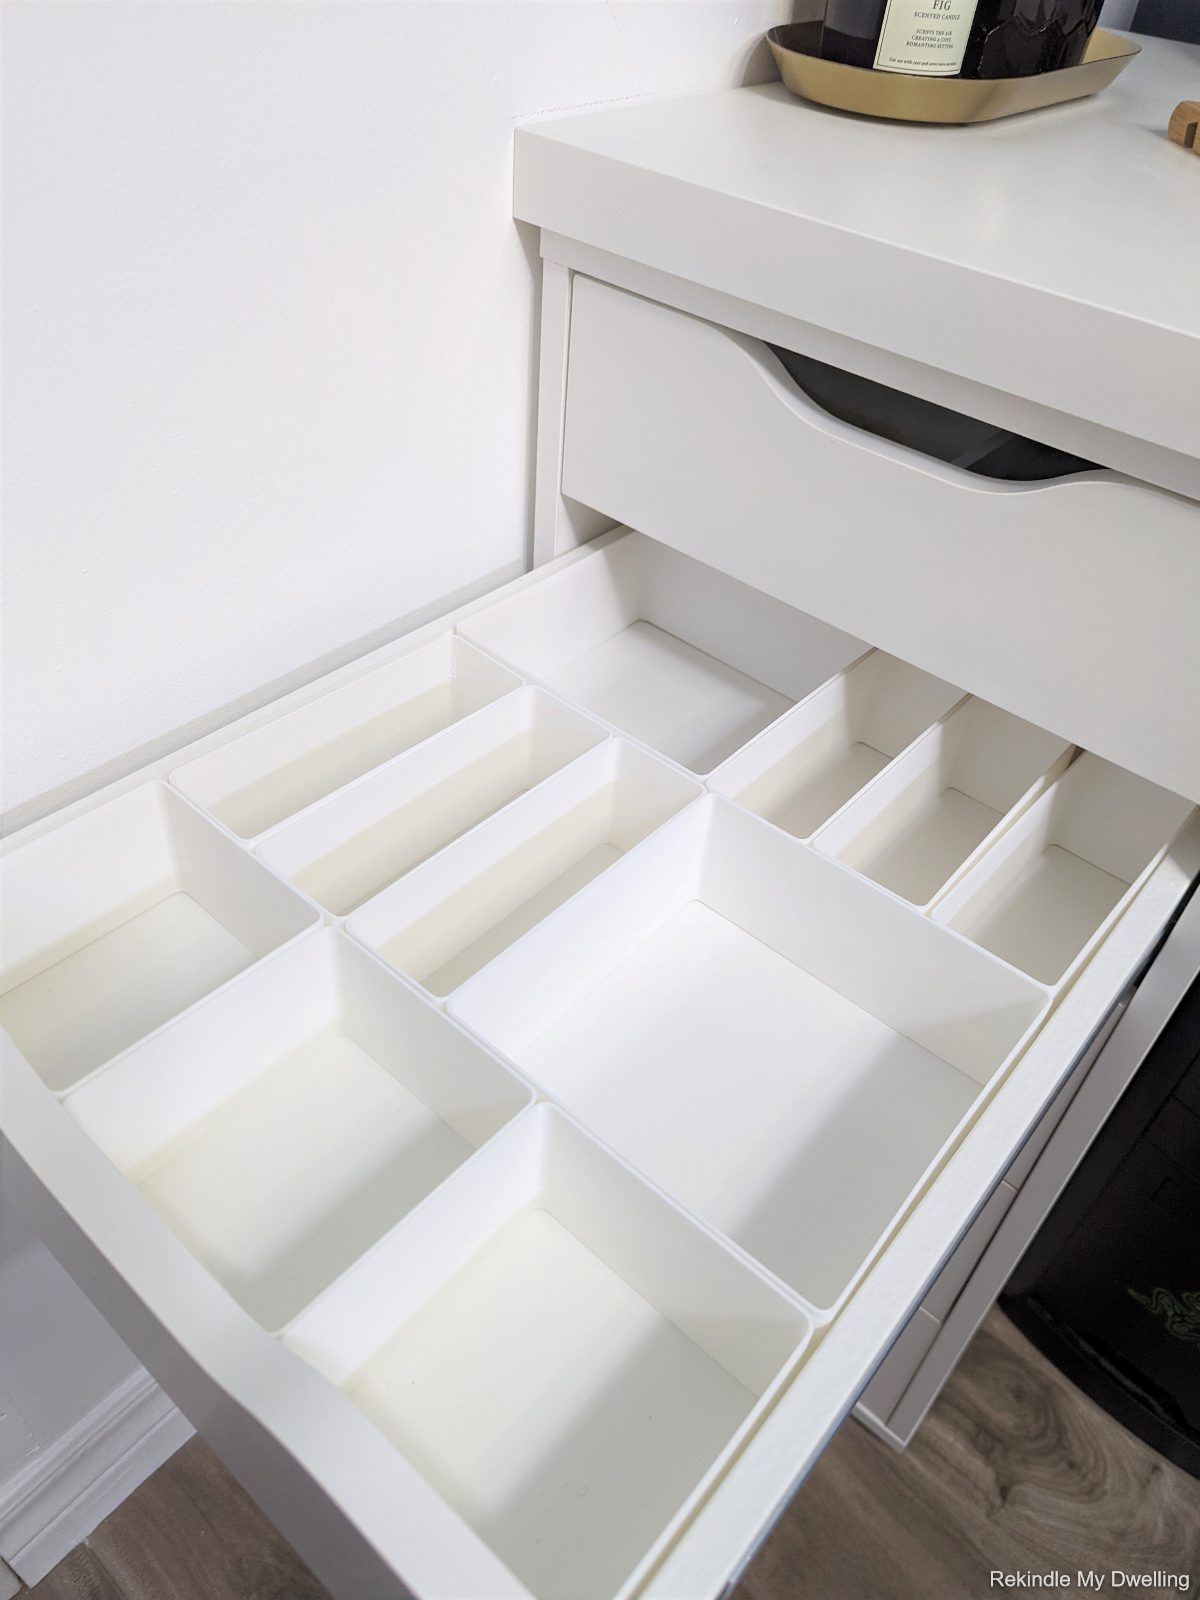
3D Printing is a great way to imagine and create what you need for your home. These diy organizers can be any color or shape so you can make whatever suits your style and needs.
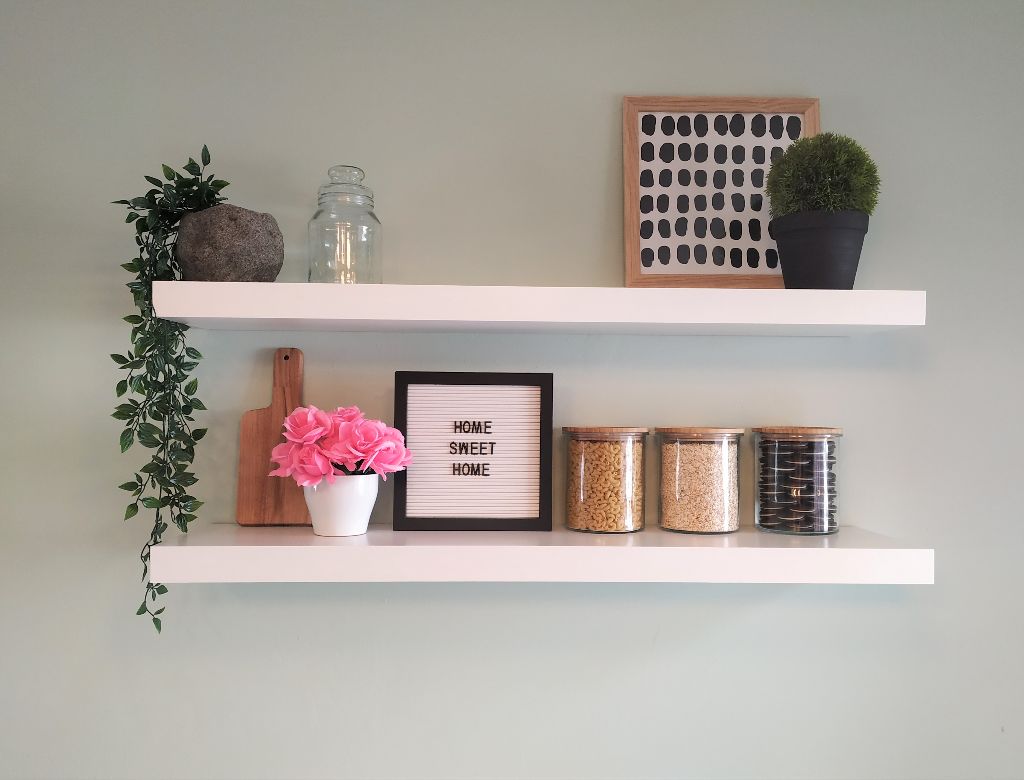
While you’re here, check out our small space makeover using Ikea storage!
Pin for Later!