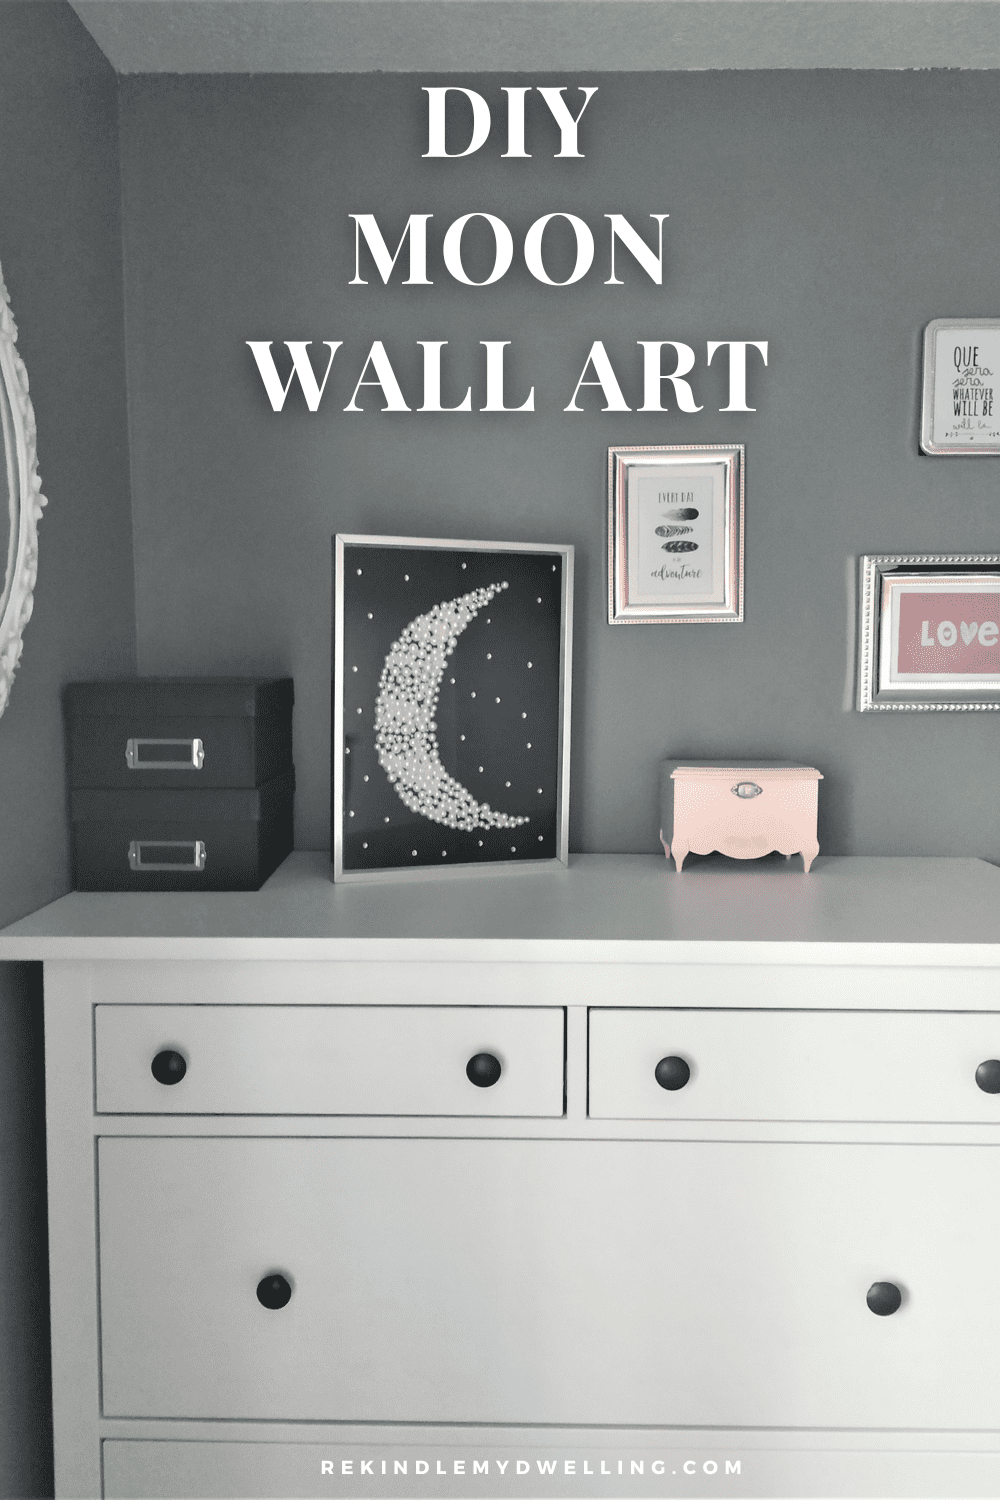
Follow this simple step-by-step tutorial for making your own DIY moon decor. Use anything from pearls, beads or buttons to add an extra touch of elegance or texture to your decorating.
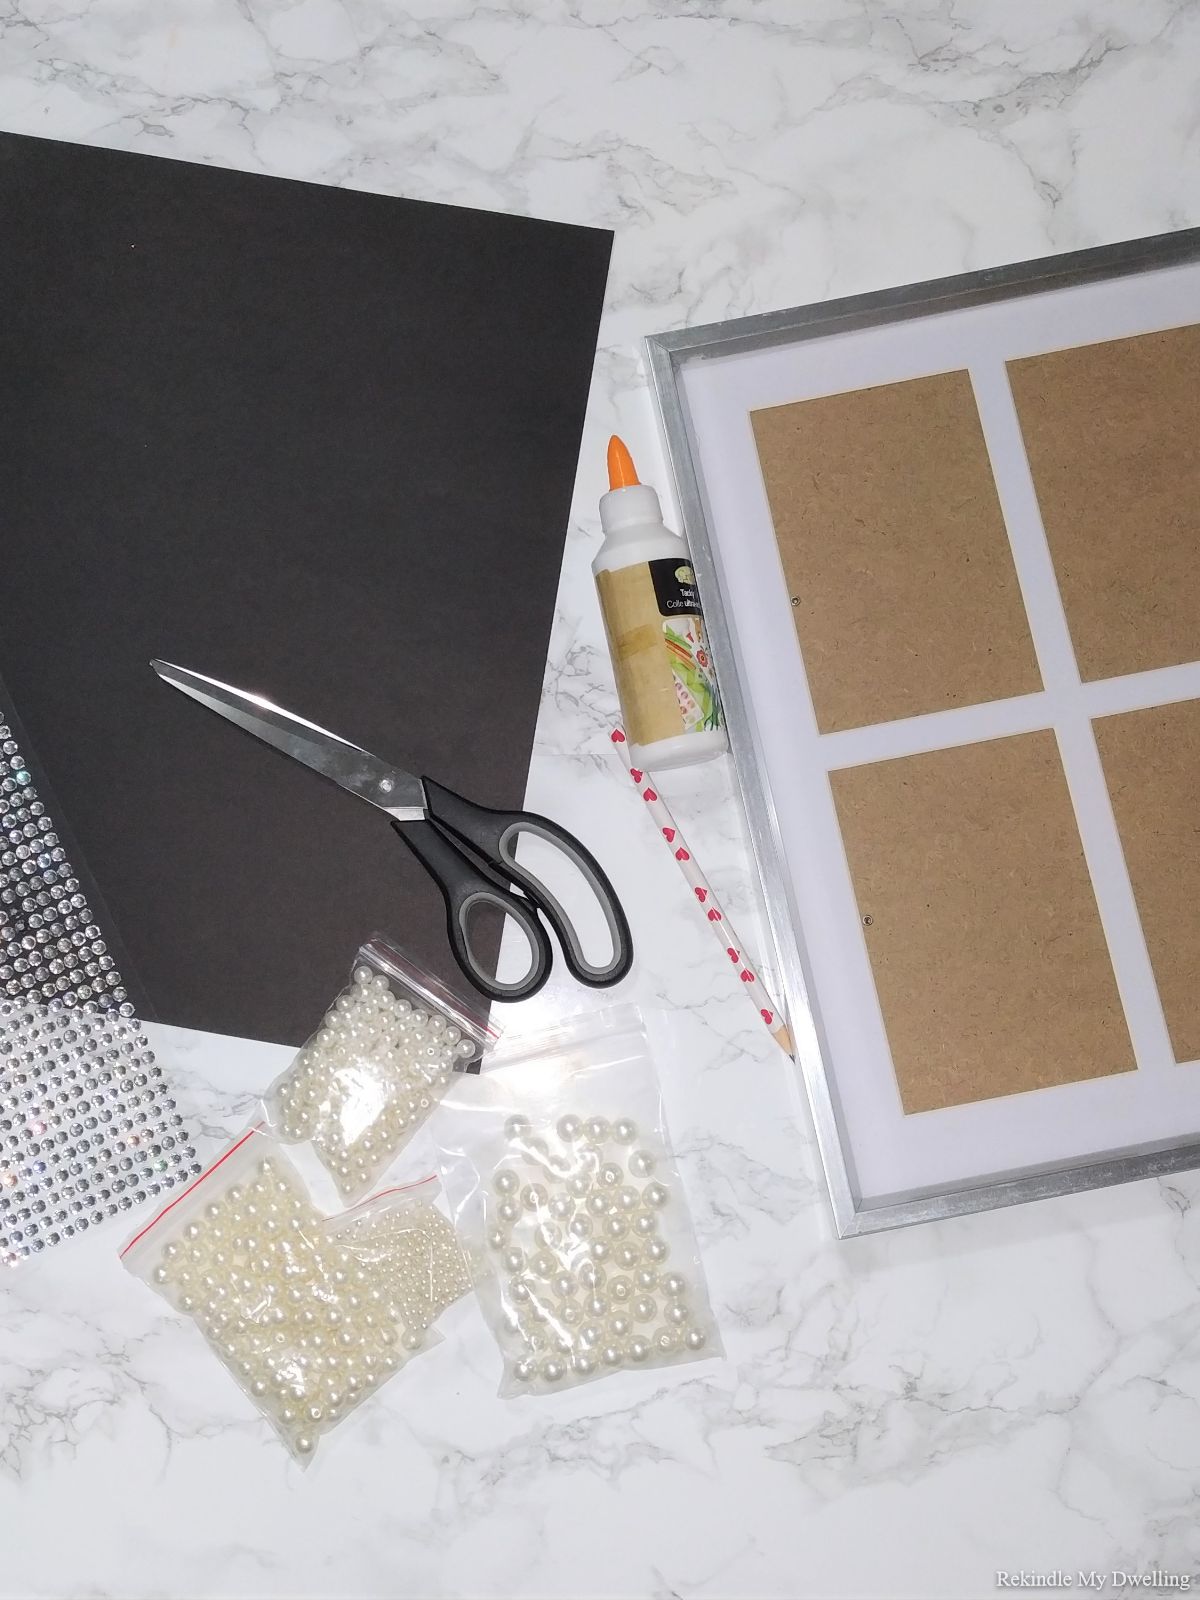
Materials Needed
This post contains affiliate links. We may earn a commission at no extra cost to you if you choose to purchase through them. Read our full policy here.
- Pearls (in different sizes)
- Black paper
- Glue
- Scissors and pencil
- Sticker gems
- Picture frame (ours was upcycled)
DIY Moon Decor
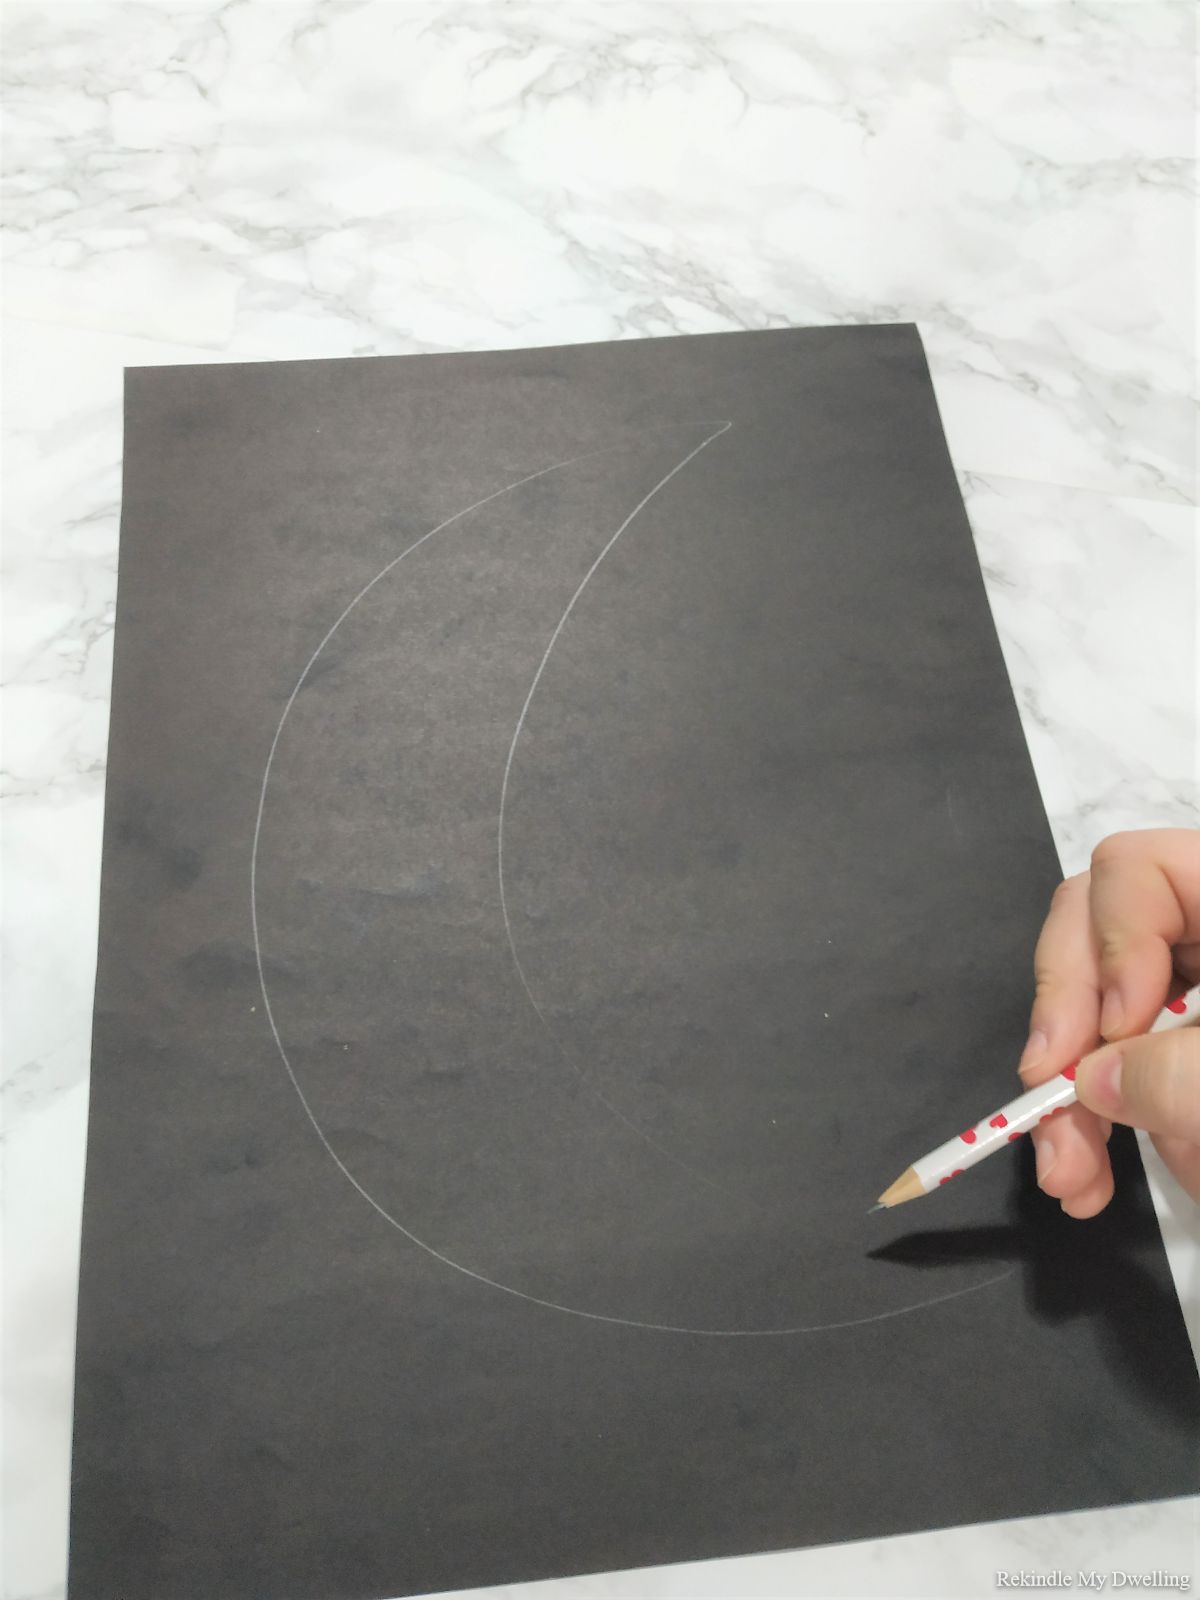
Take your black paper and outline it with a crescent moon shape as a guide for once you start gluing. I had black construction paper but I think that a harder card stock paper would work better for this.
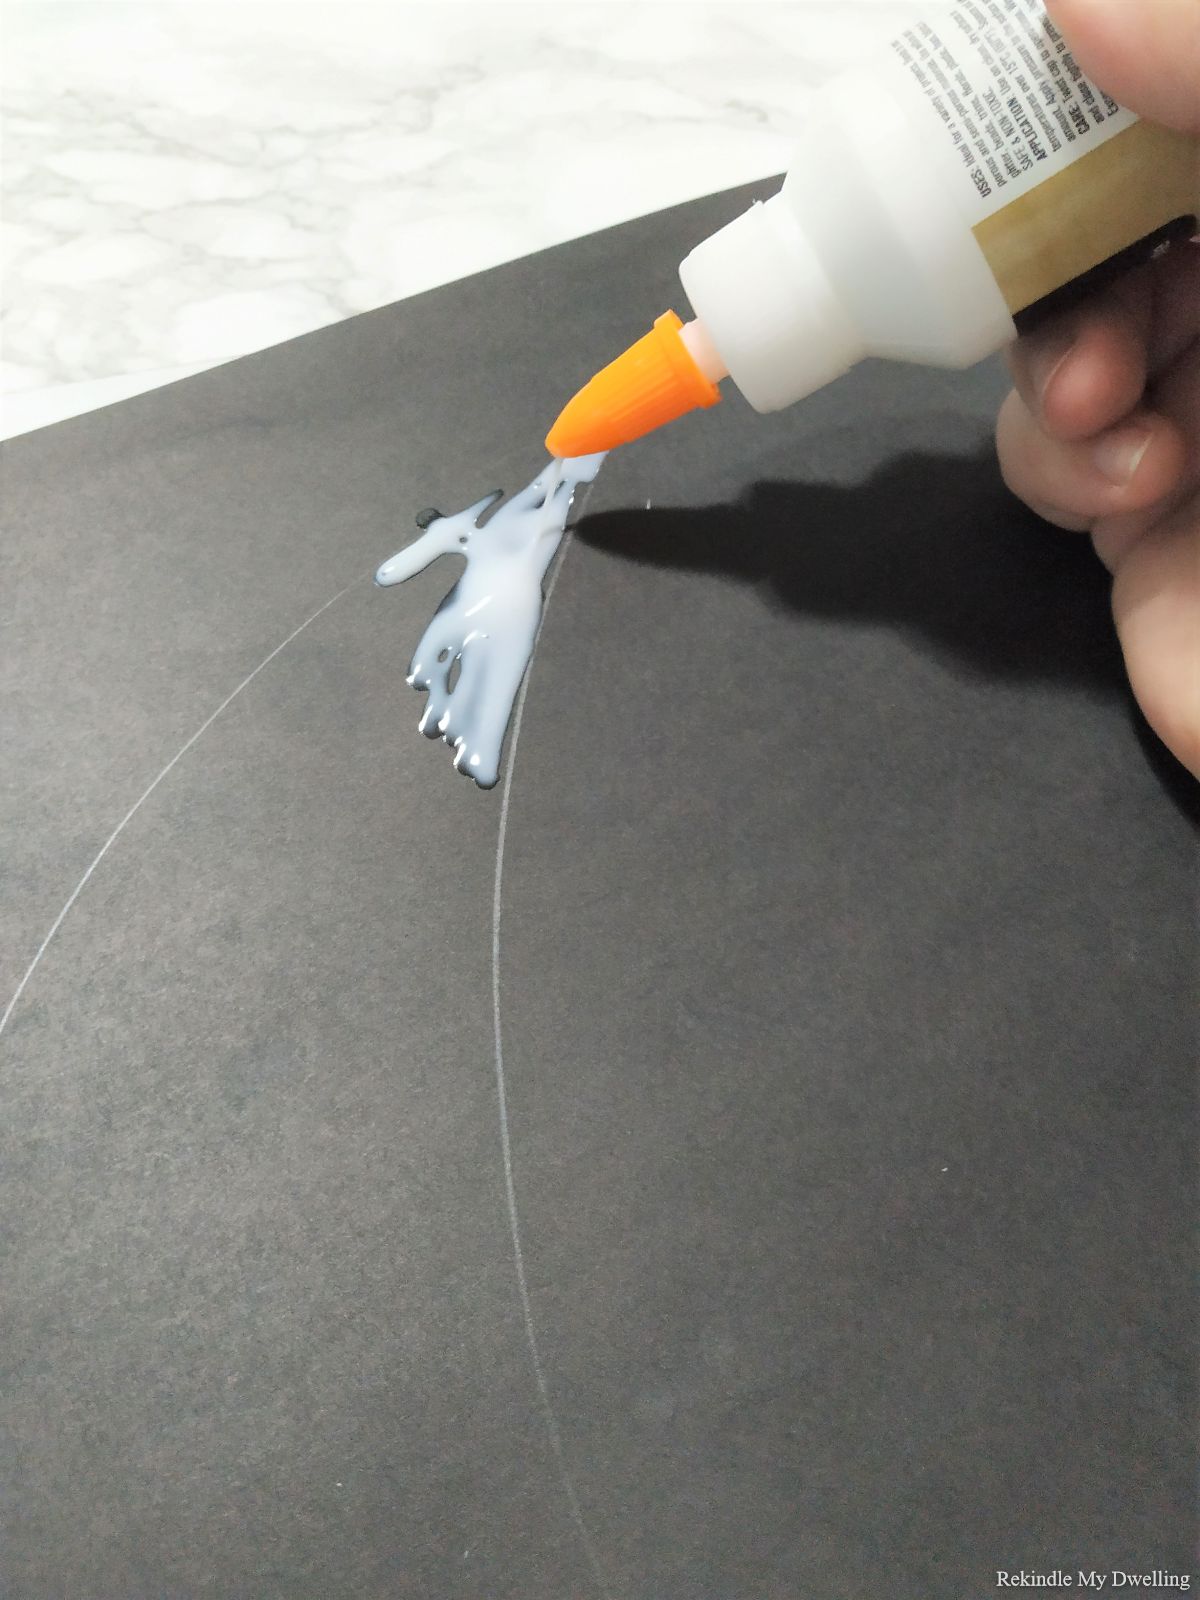
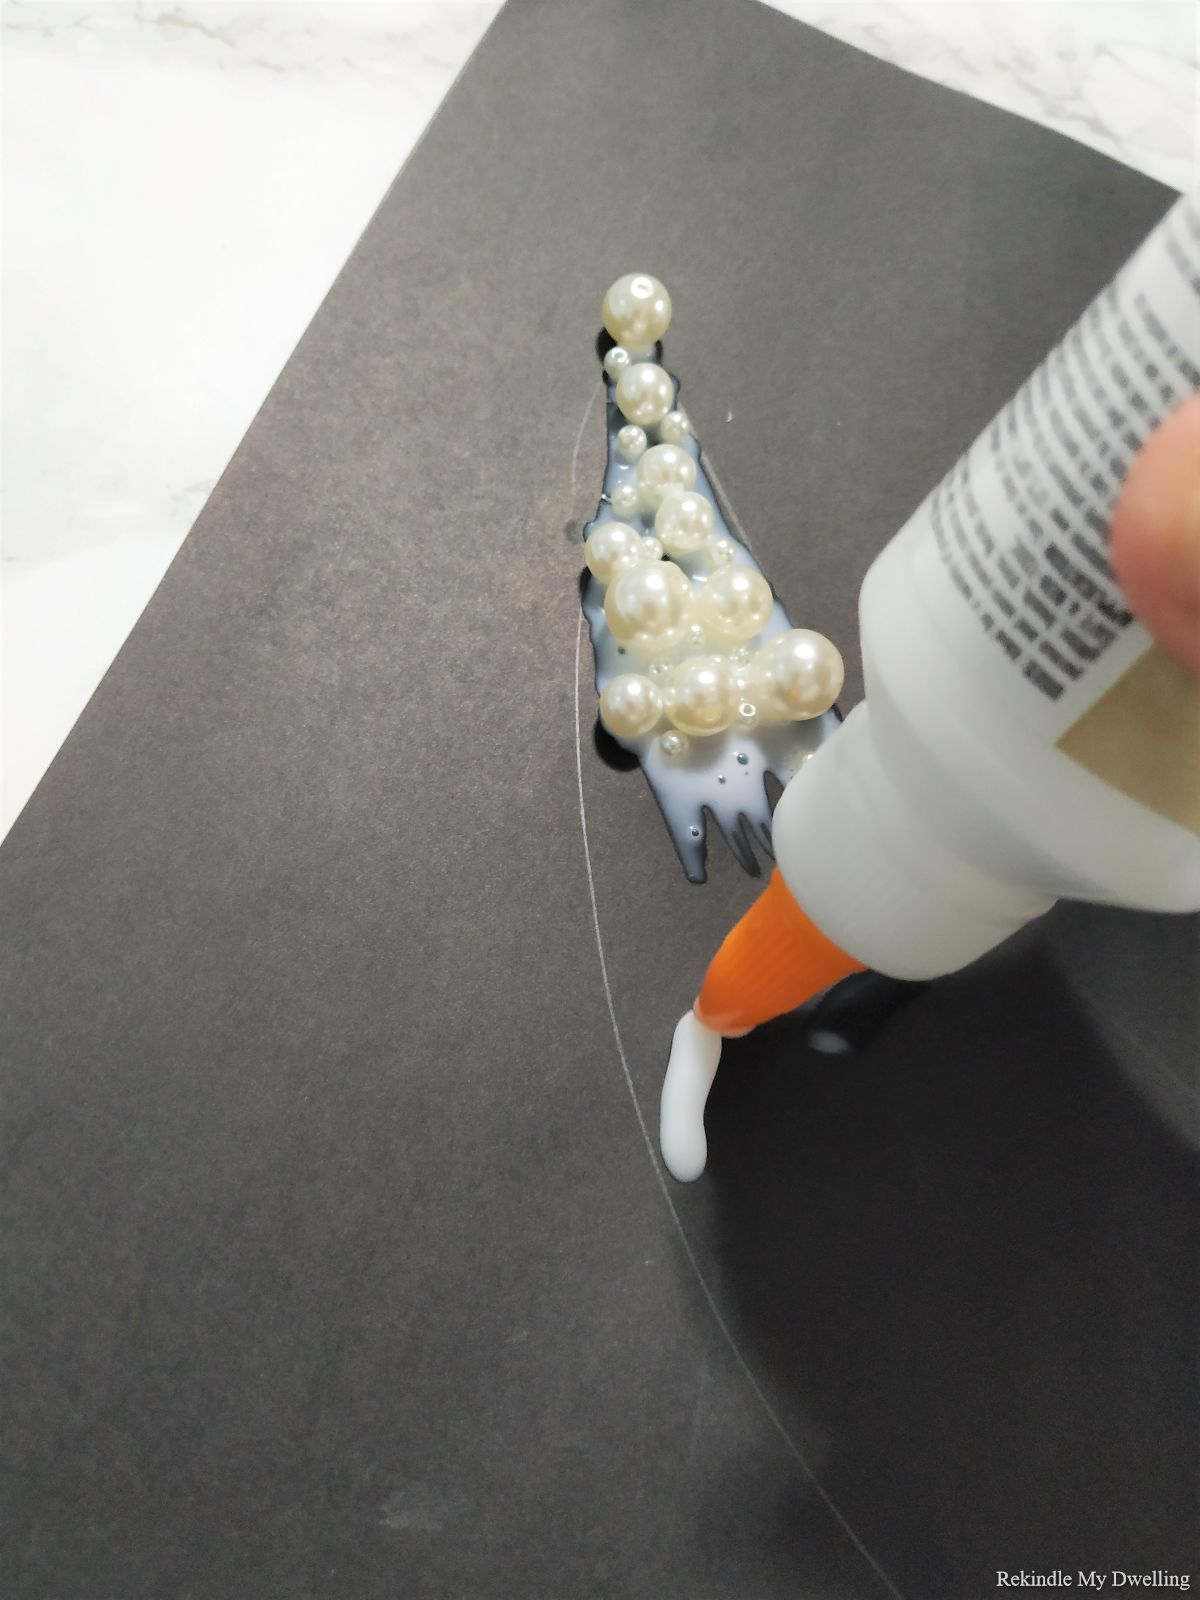
Working in sections, cover the inside of the moon outline with glue.
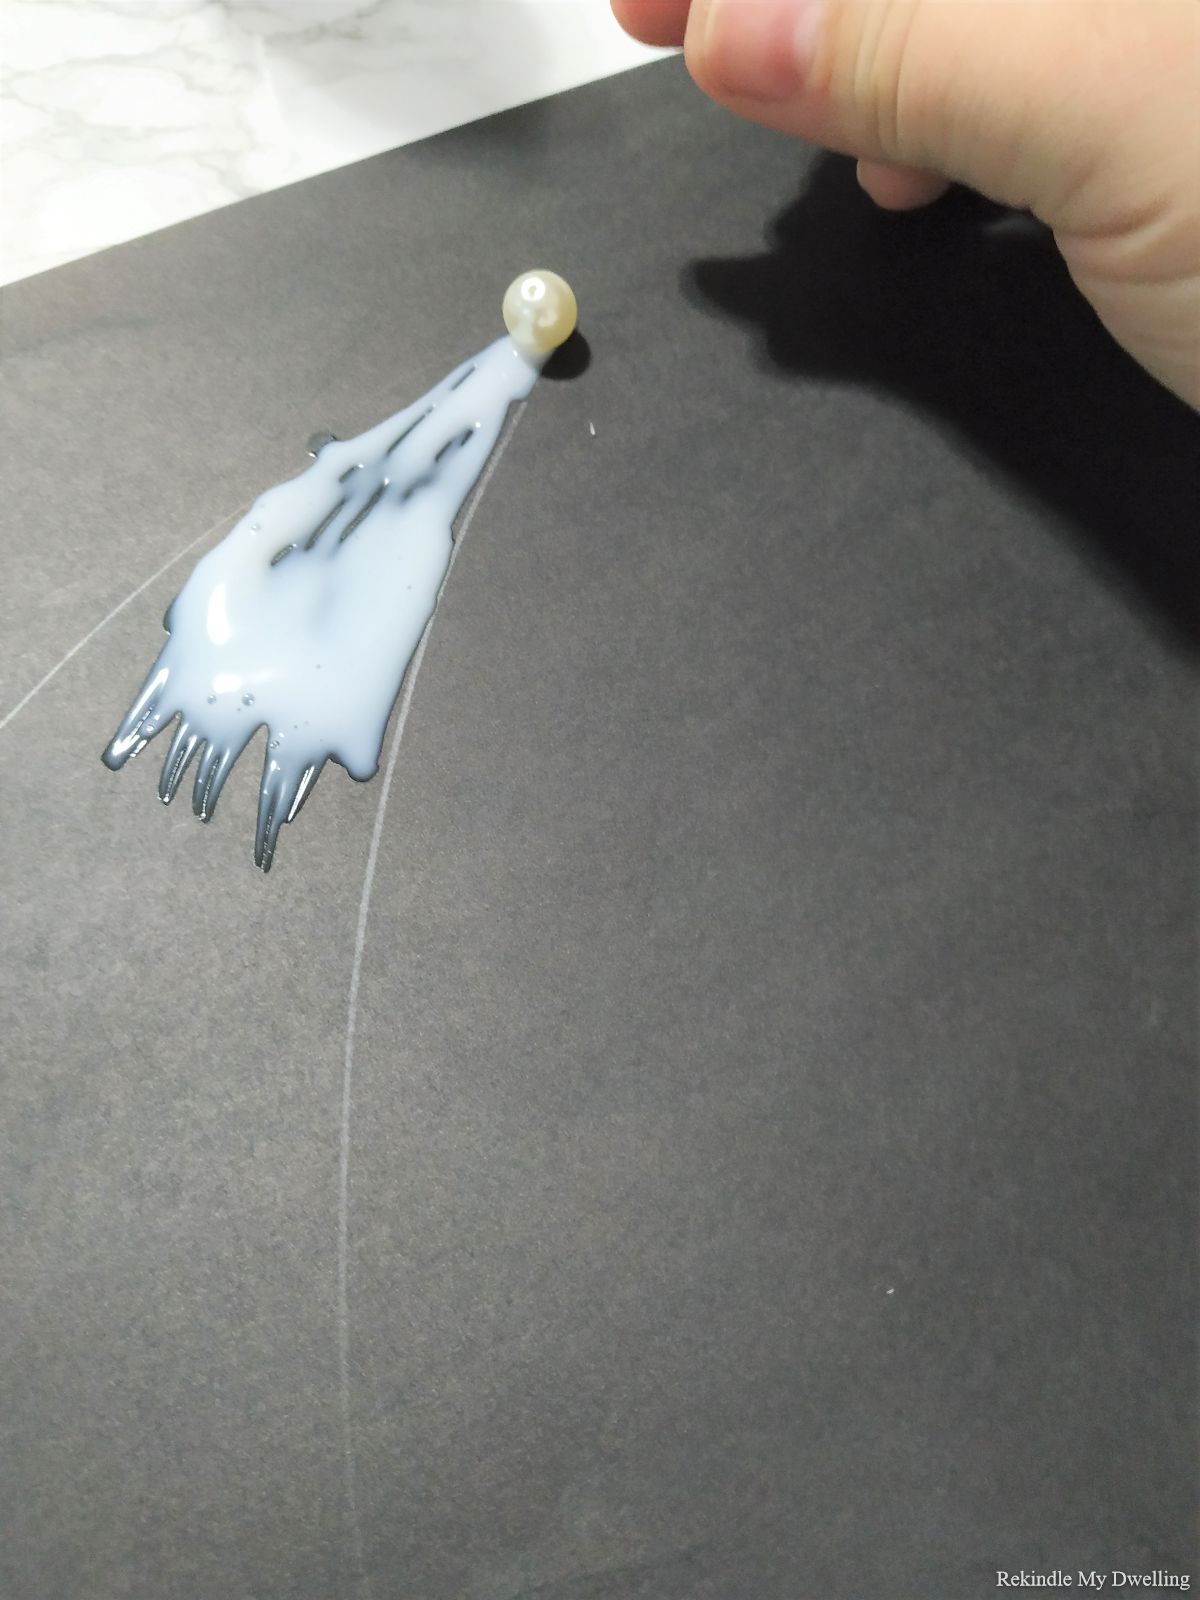
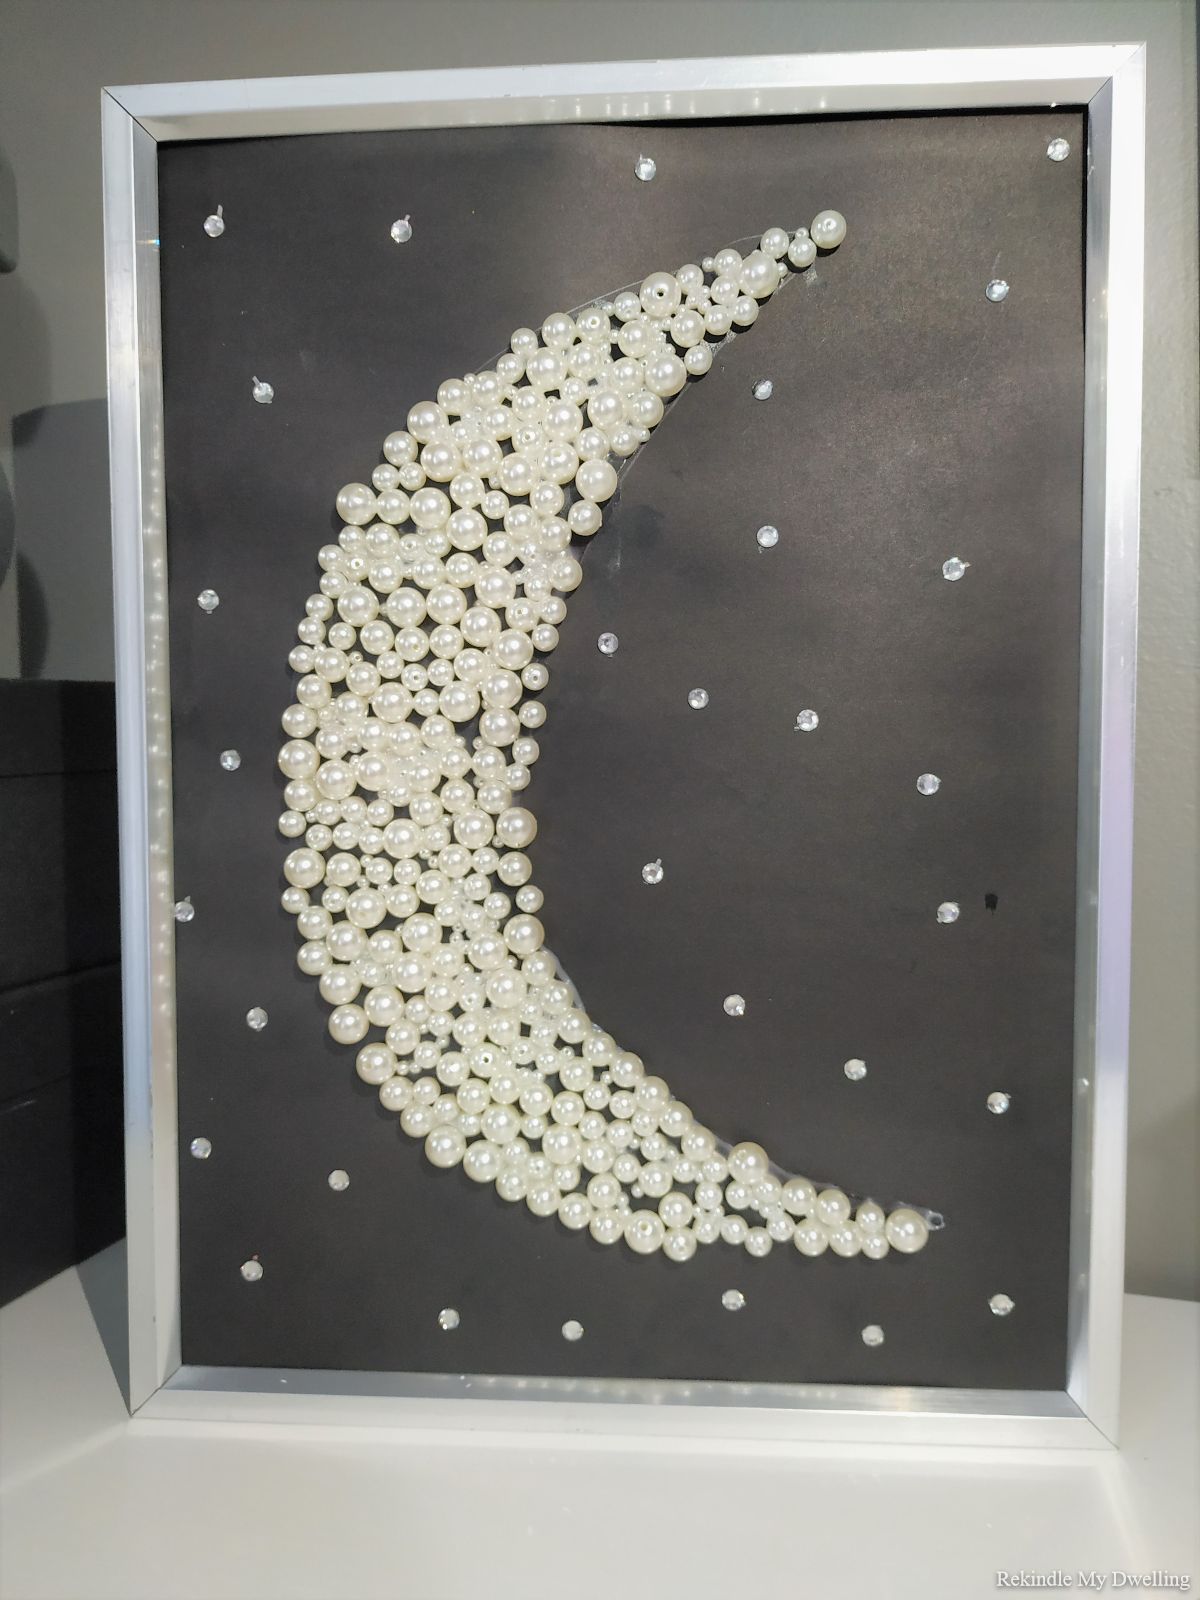
Add different sized pearls until the glue is completely covered.
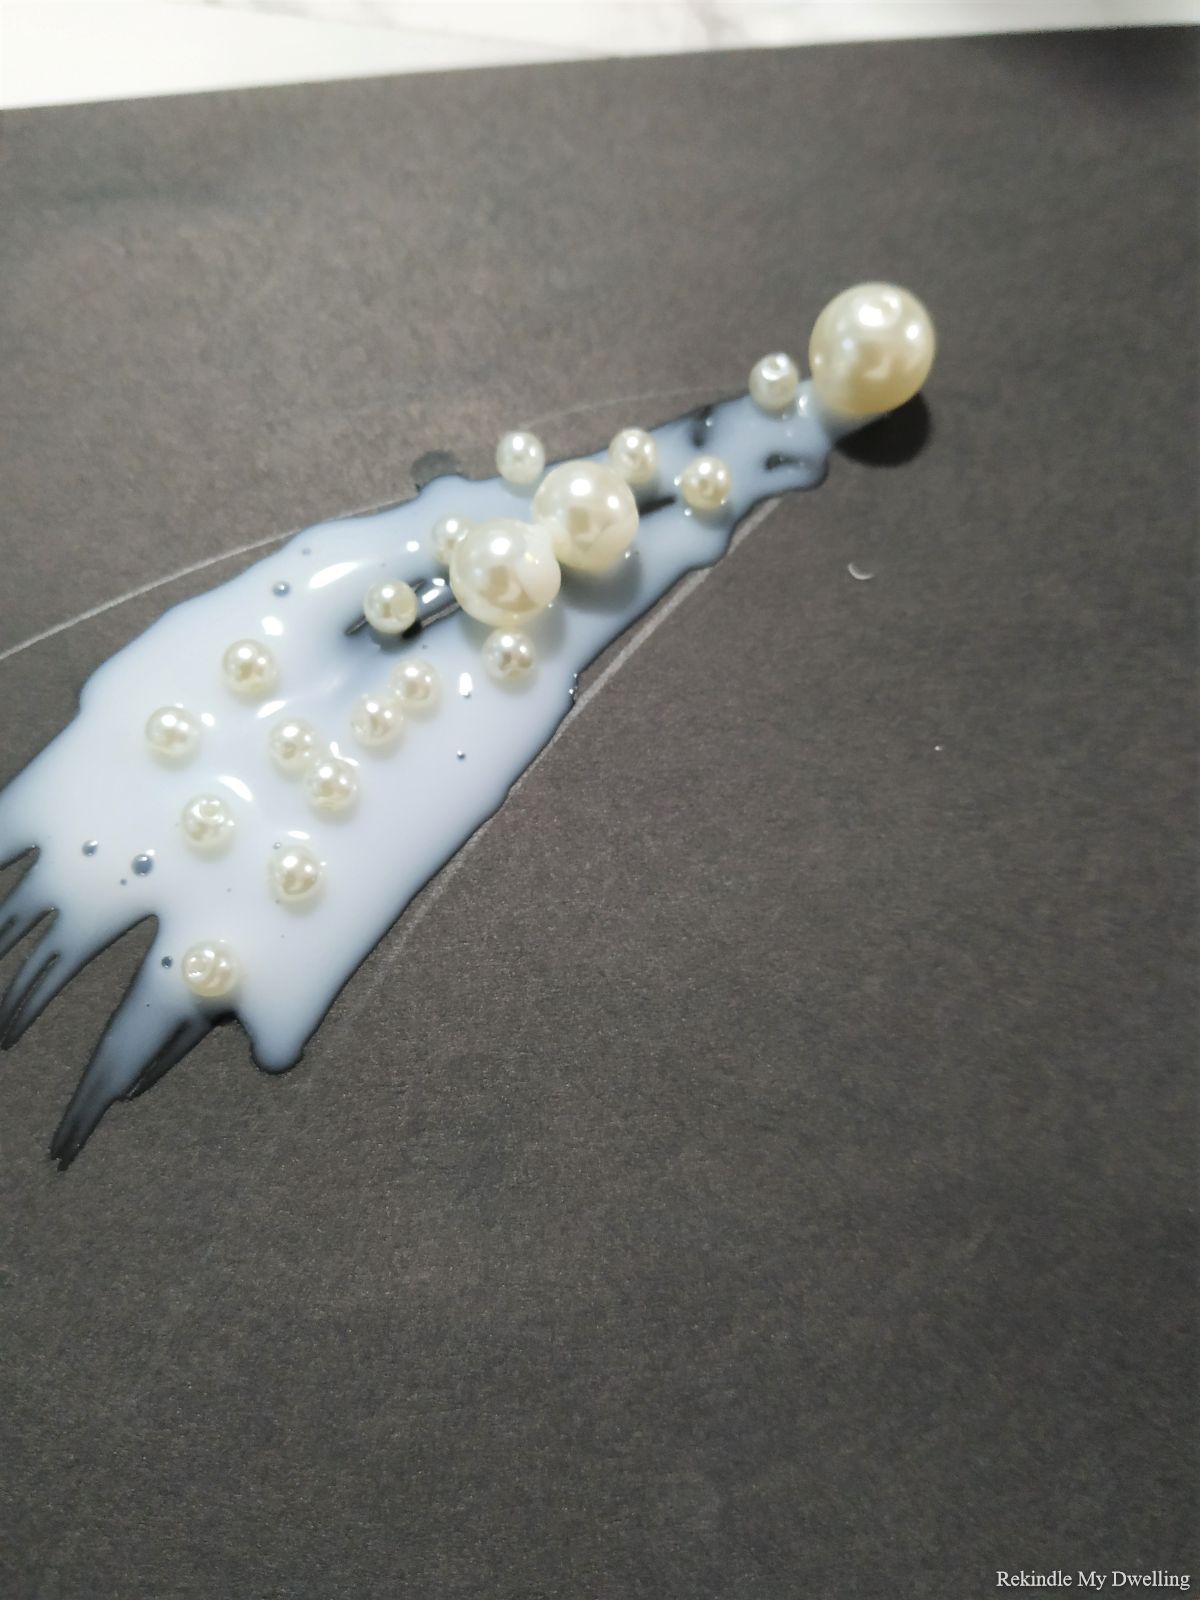
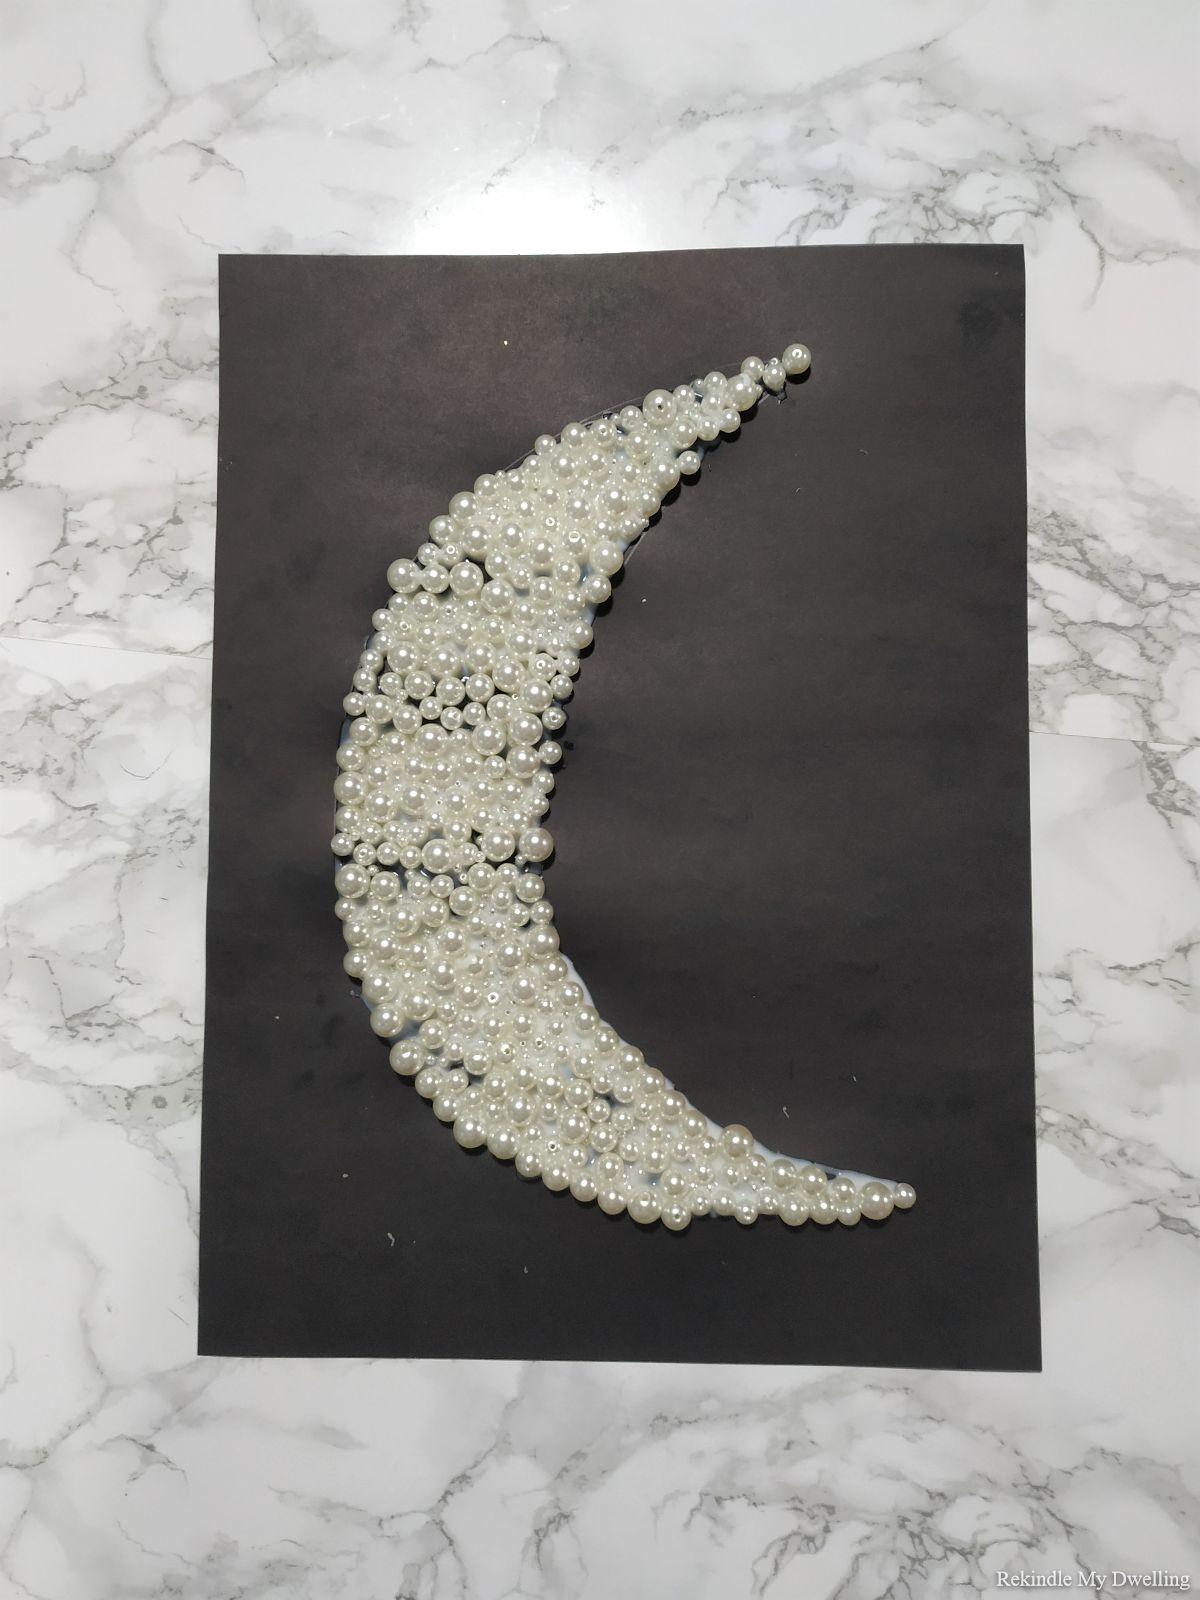
Continue gluing until your moon shape has formed.
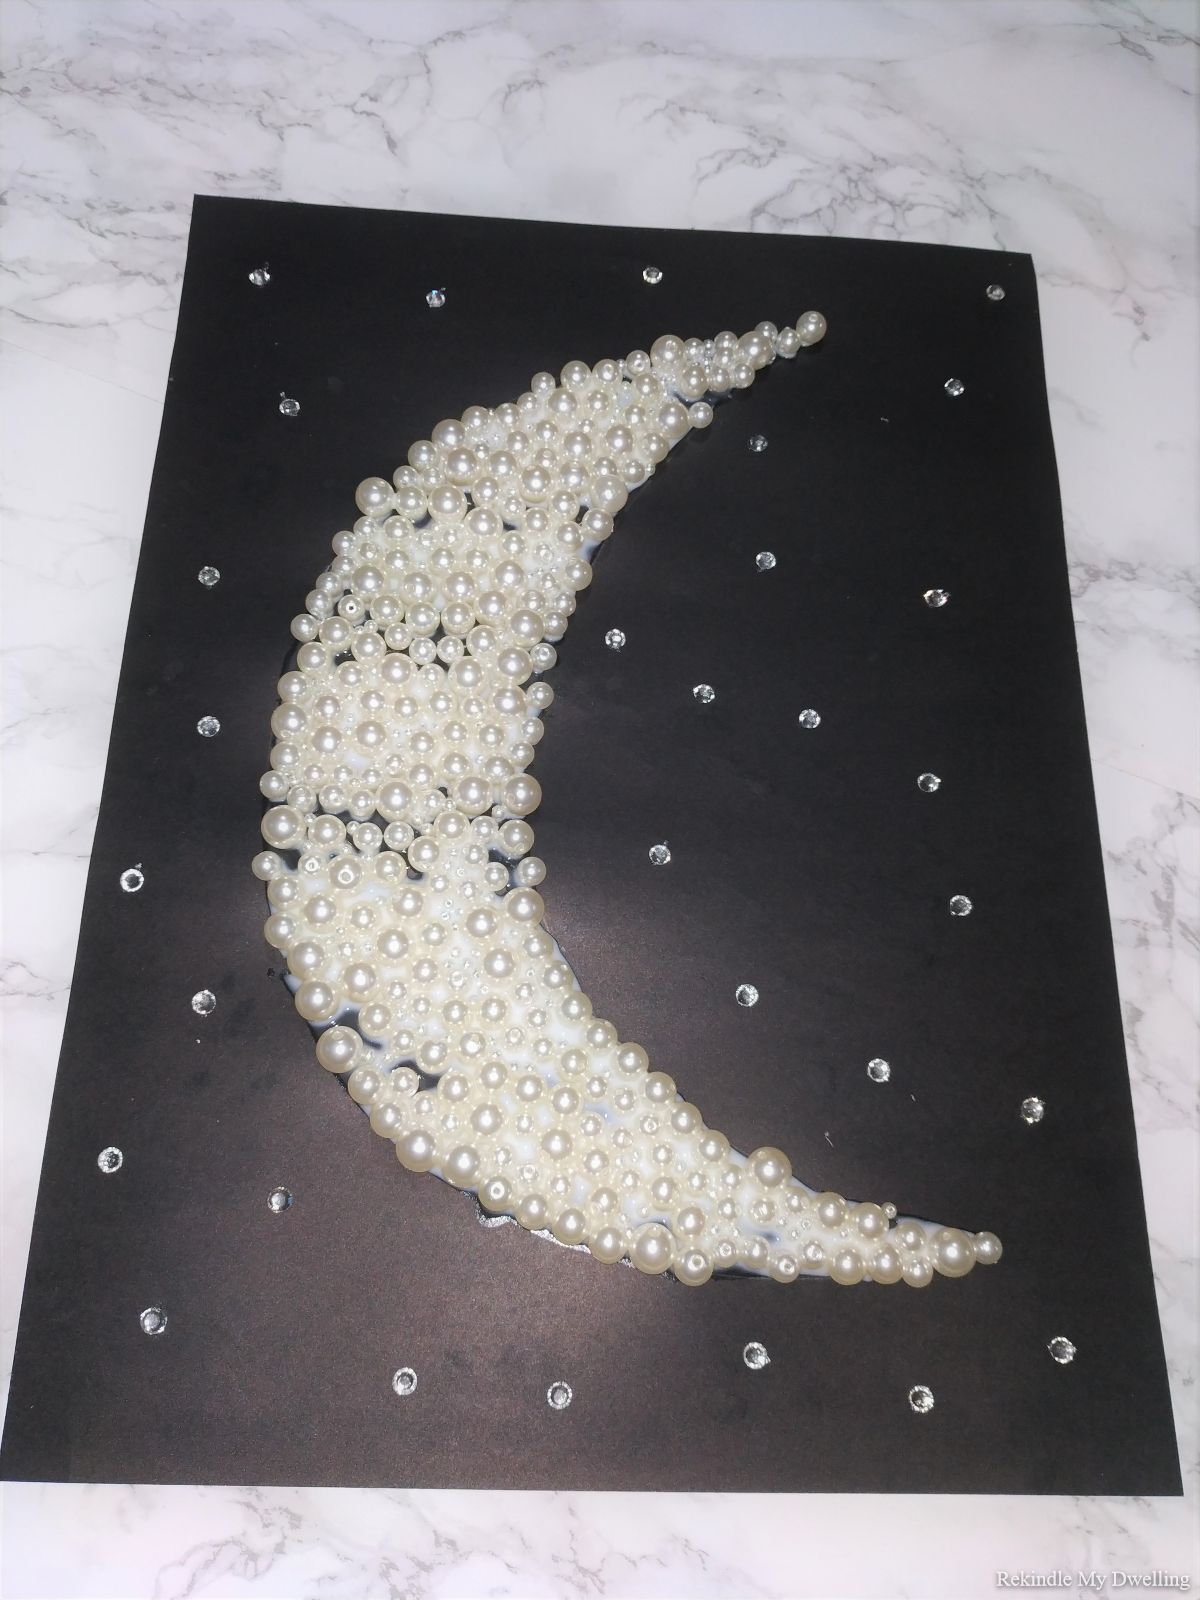
Add a few sticker gems around the crescent moon to resemble twinkling stars. Wait until the glue is completely dry. This will probably take a day, especially if a large portion of the page is covered with glue!
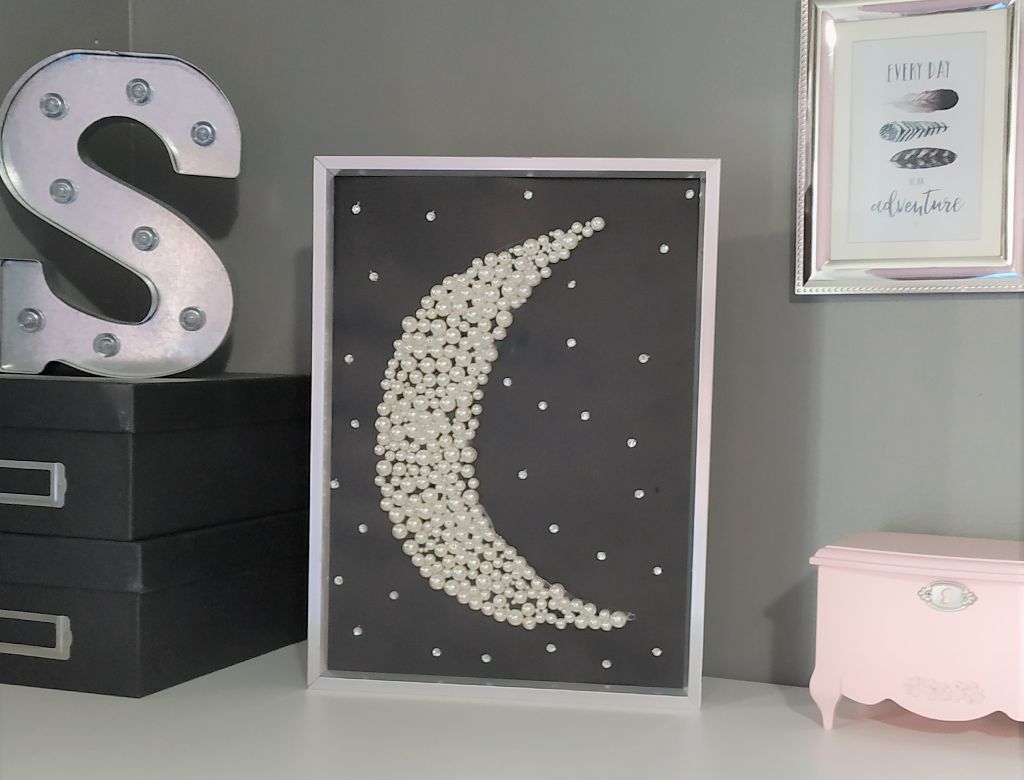
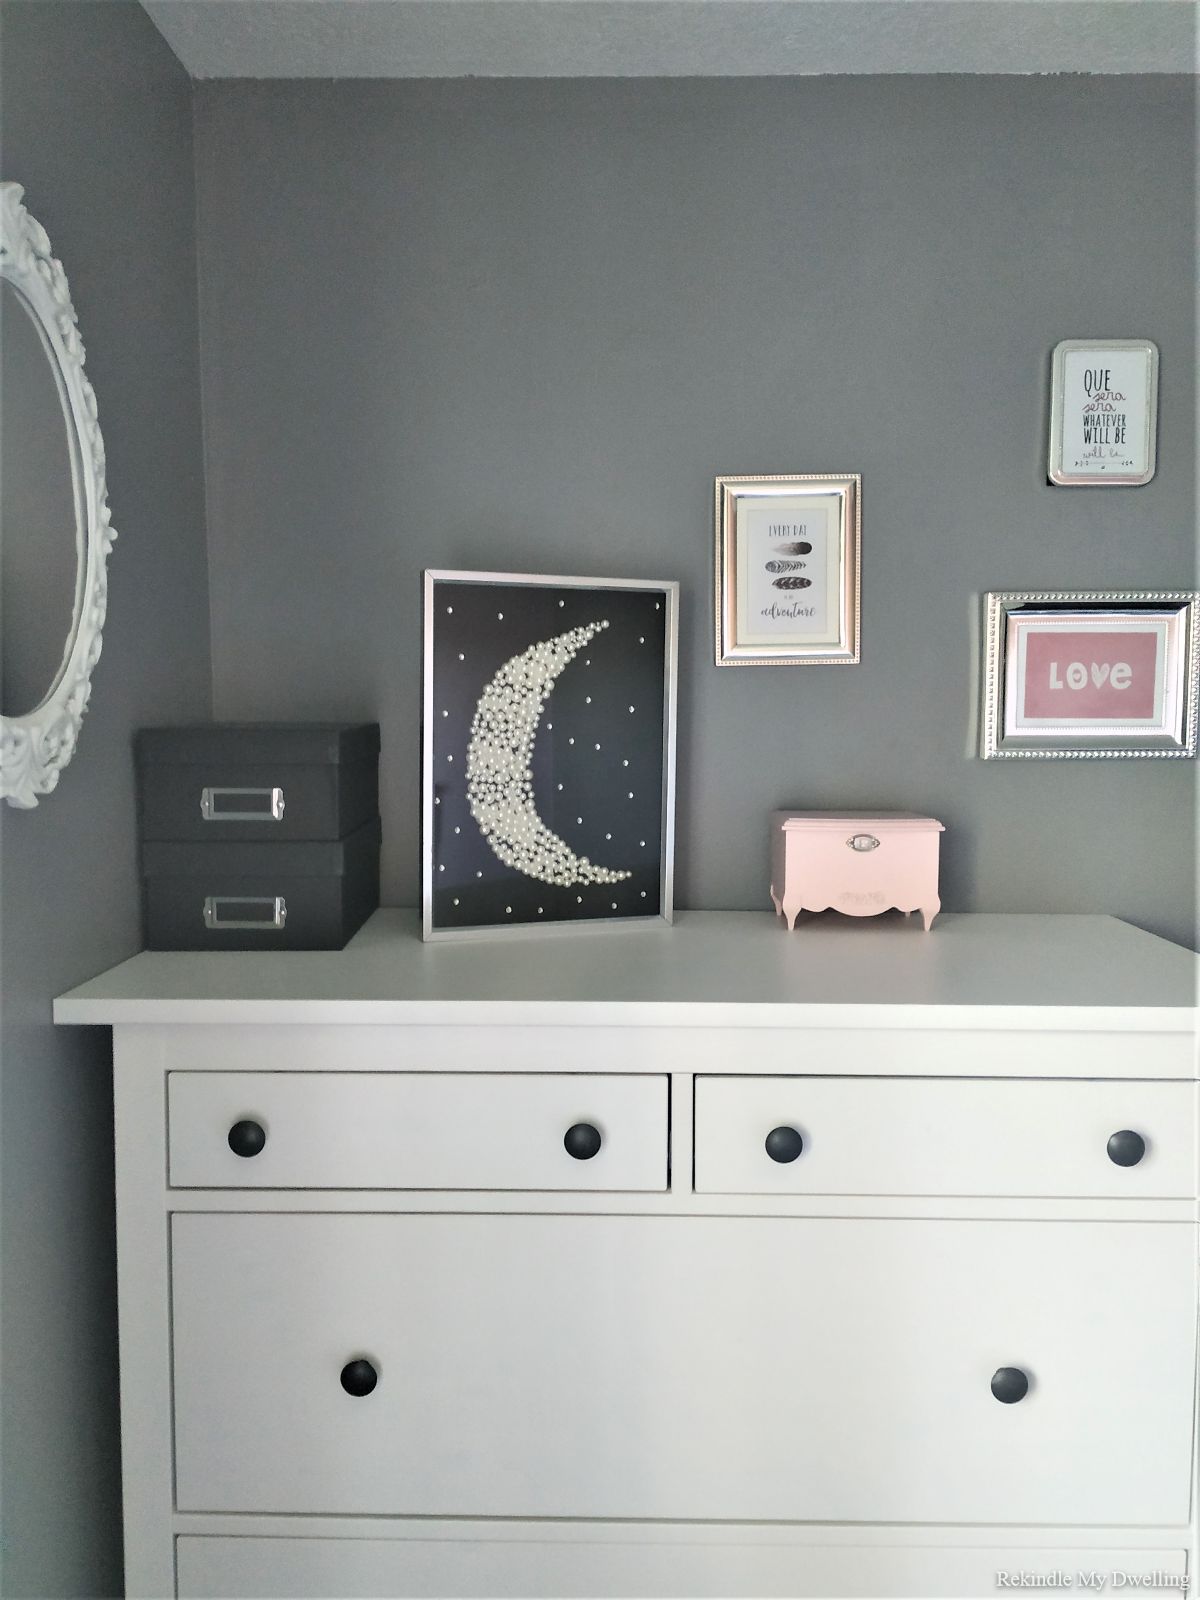
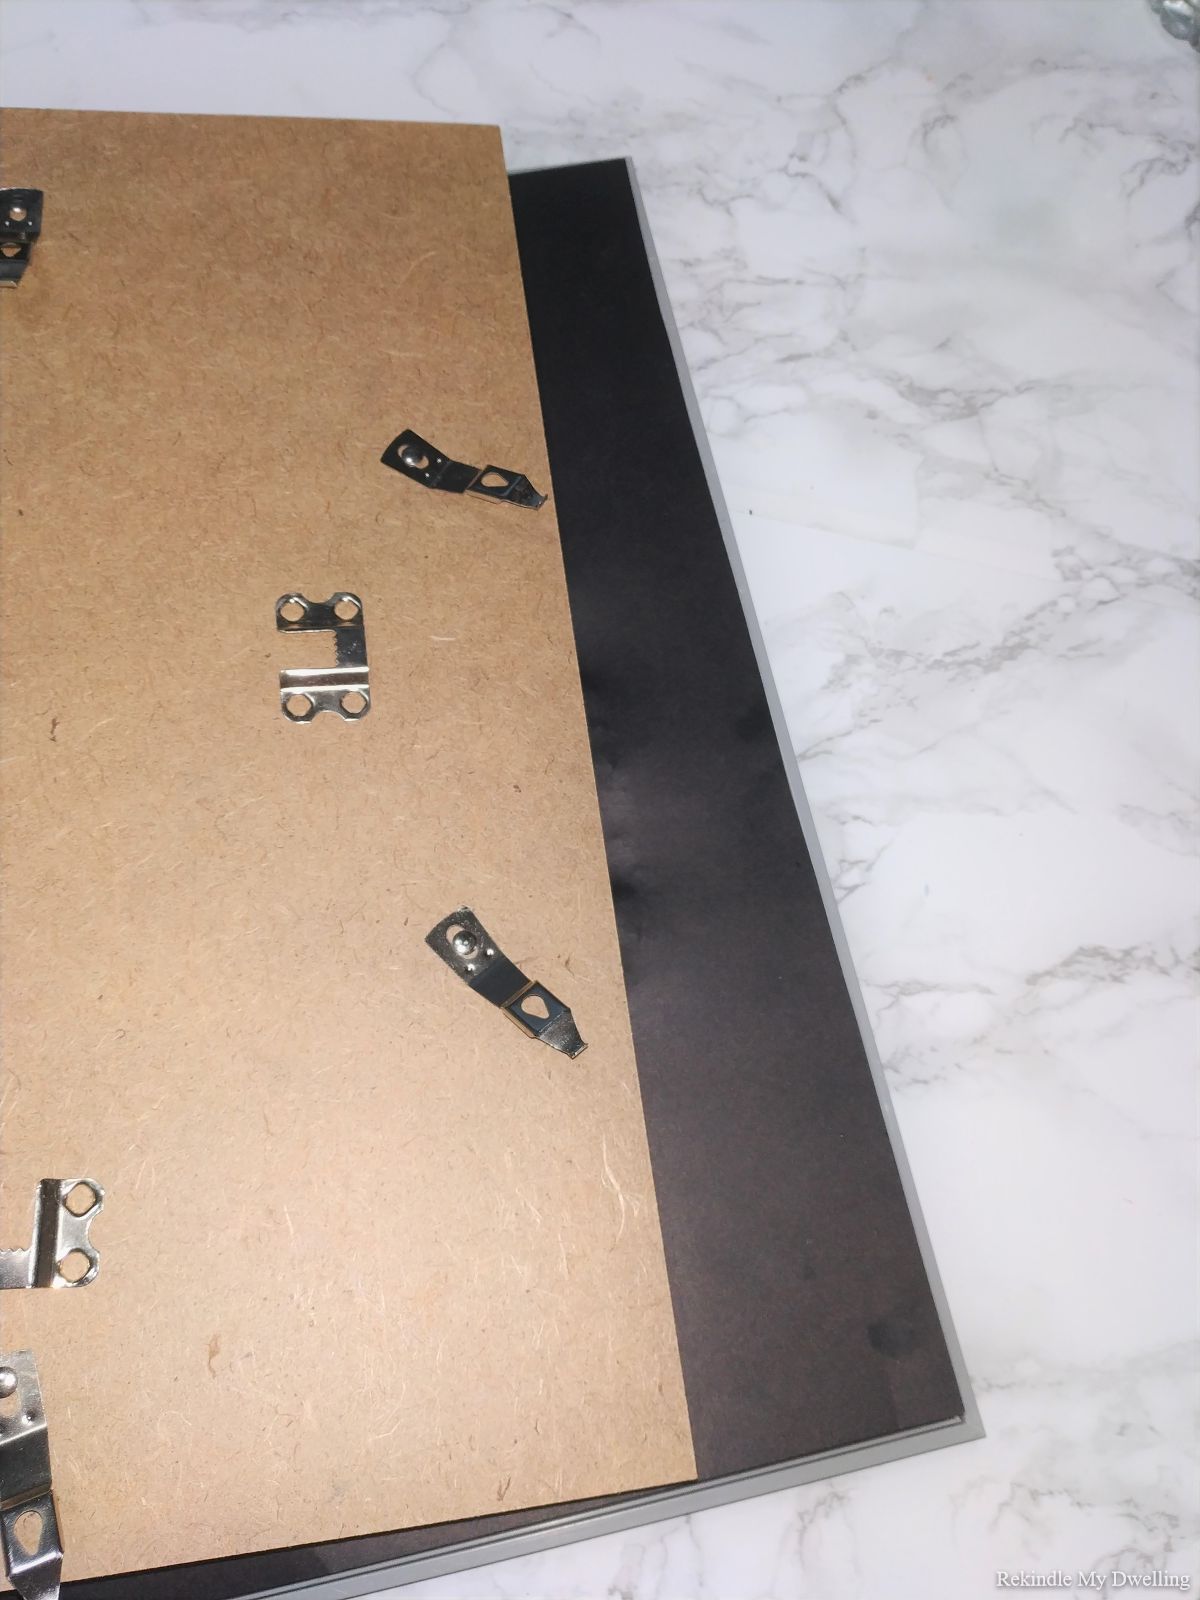
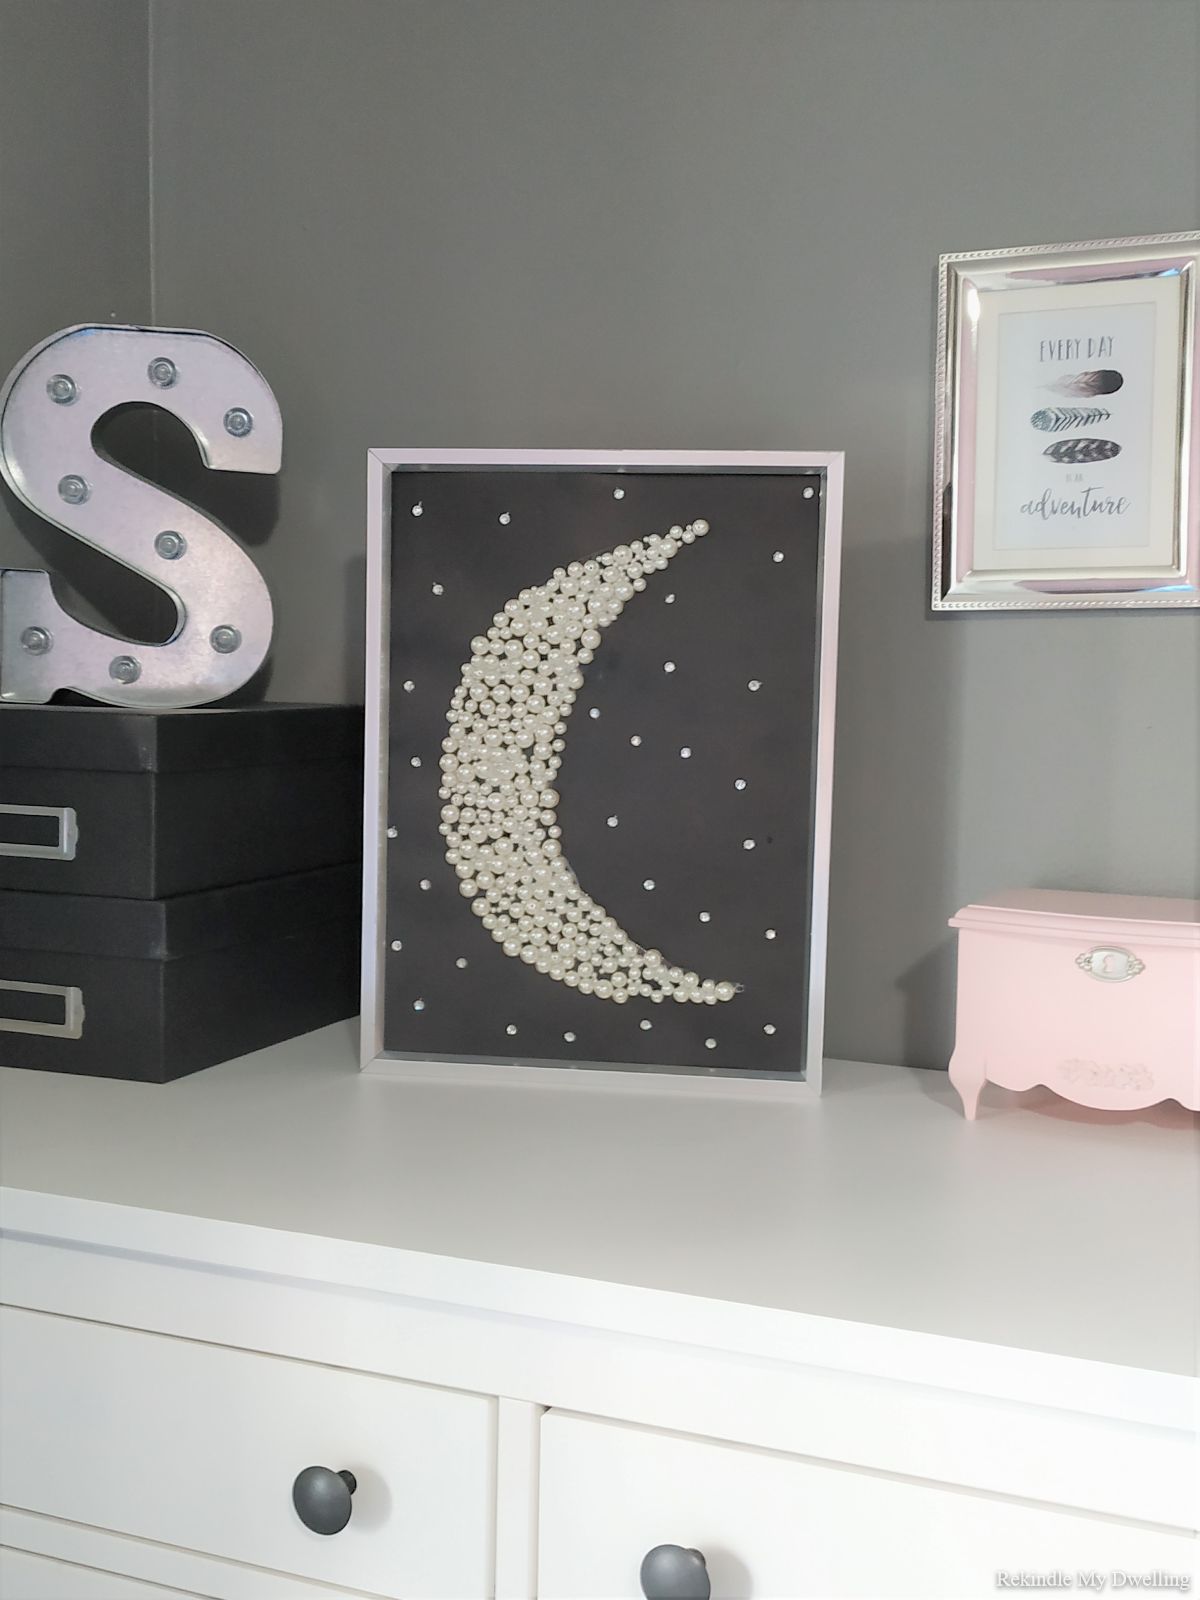
Once everything is dry, place the finished moon decor inside of a frame.
This DIY is super easy and fun to make! You can work with kids to make their own moon, and you can change the sizes depending on the frame!
Display and enjoy your moon decor!
More DIY Decor
Looking for more home decor ideas? Check out these simple and beautiful DIY’s:

Pin for Later!