Makeup organizers don’t have to be expensive! Make your own by upcycling tin cans and using scrap fabric. This project only takes a few minutes so you’ll be able to display your makeup brushes, lipsticks or liners right on your vanity or bathroom sink in no time.
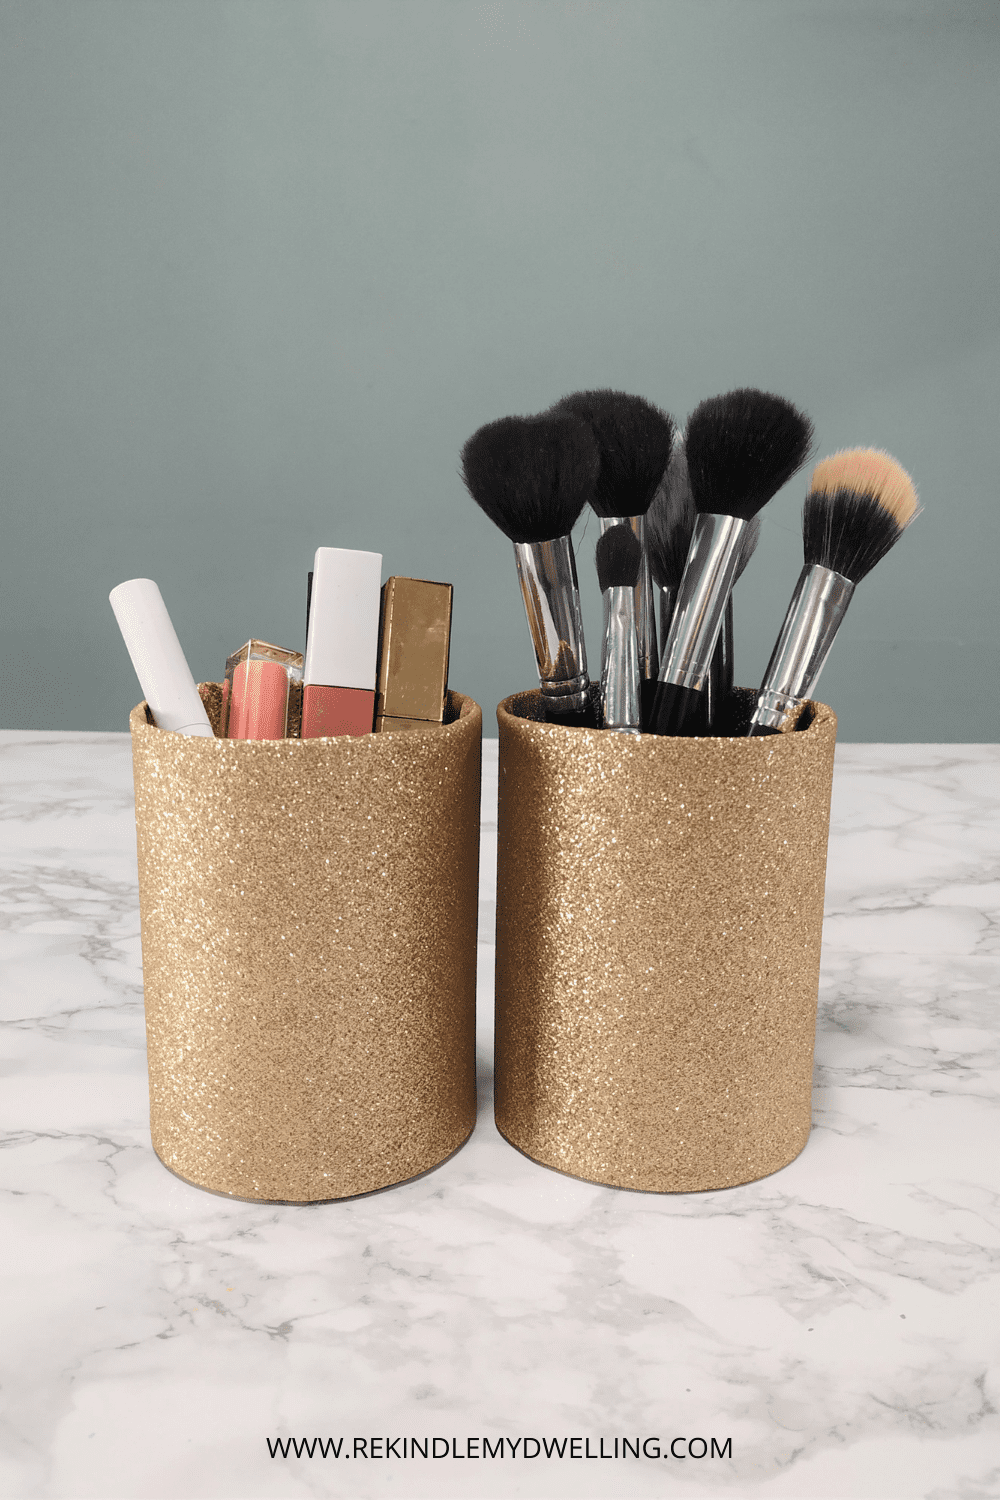
DIY Makeup Organizers
Tin can projects are one of my favourites. They’re budget friendly and you can get creative making organizers, vases, utensil holders or planters. For this you’ll need:
Materials Needed
This post contains affiliate links. We may earn a commission at no extra cost to you if you choose to purchase through them. Read our full policy here.
- Tin cans
- Fabric (large scraps, I got mine from the dollar store)
- Hot glue gun and glue sticks
- Scissors
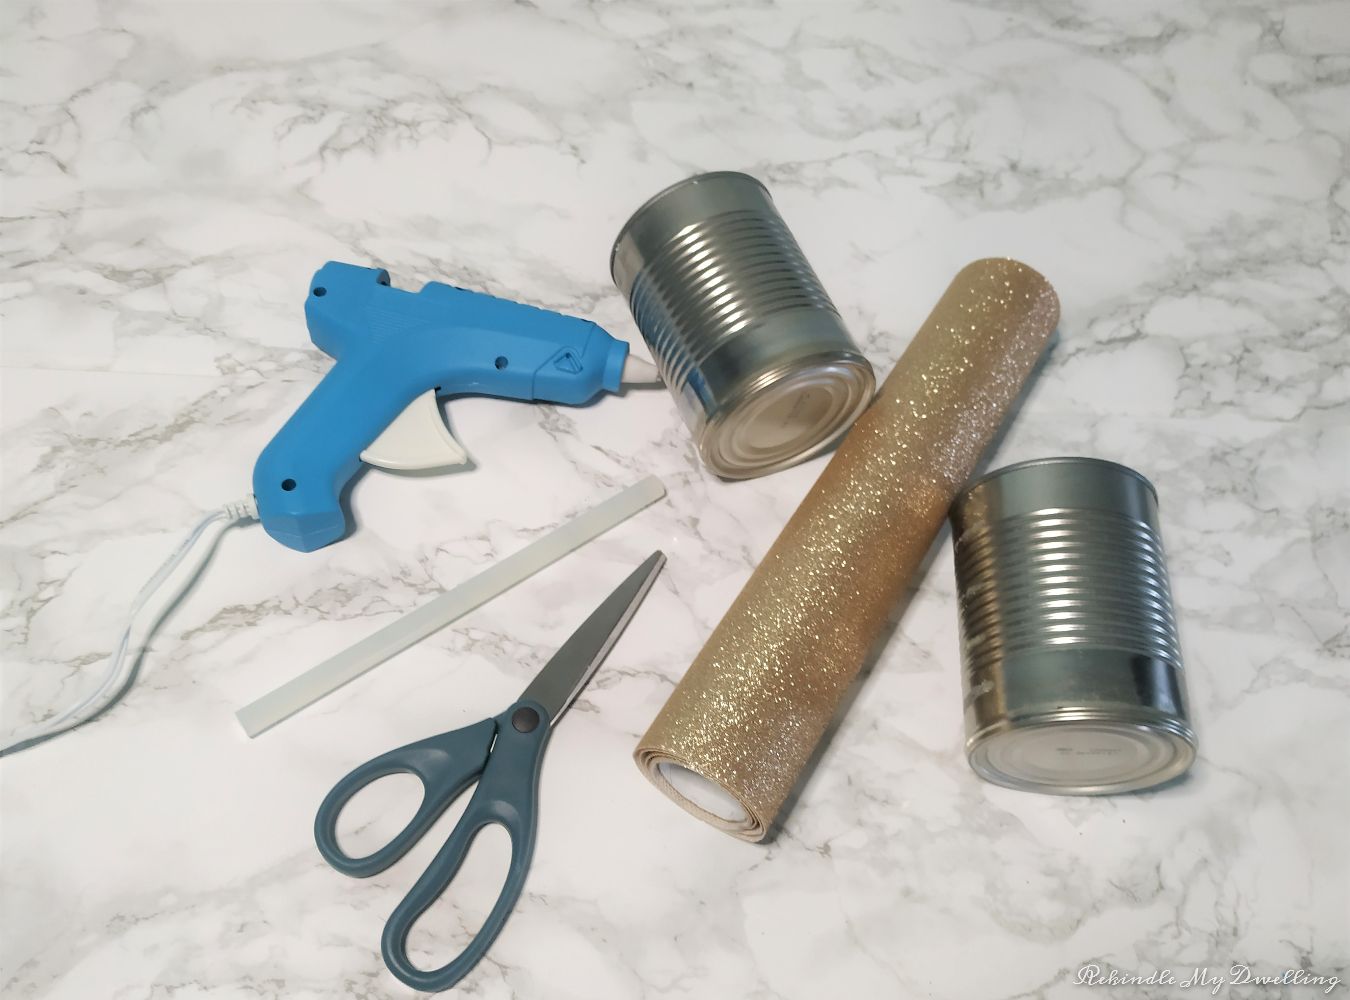
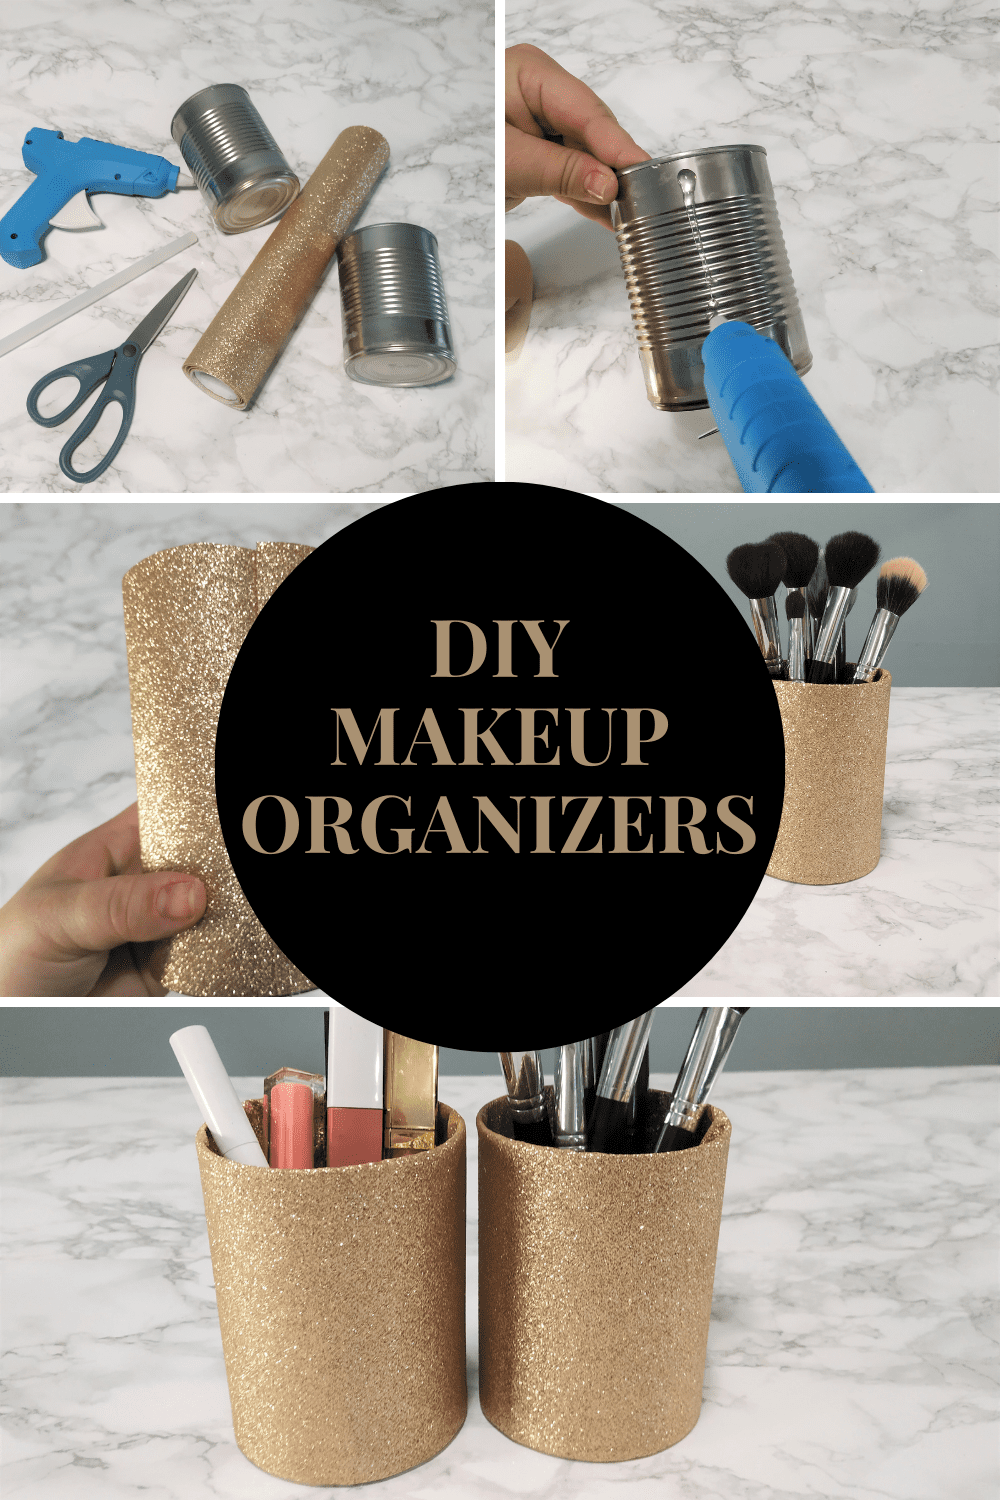
Start off making your makeup organizers by making sure your tin cans are clean and have no sharp edges. Measure the fabric around your tin can and cut the piece you need.
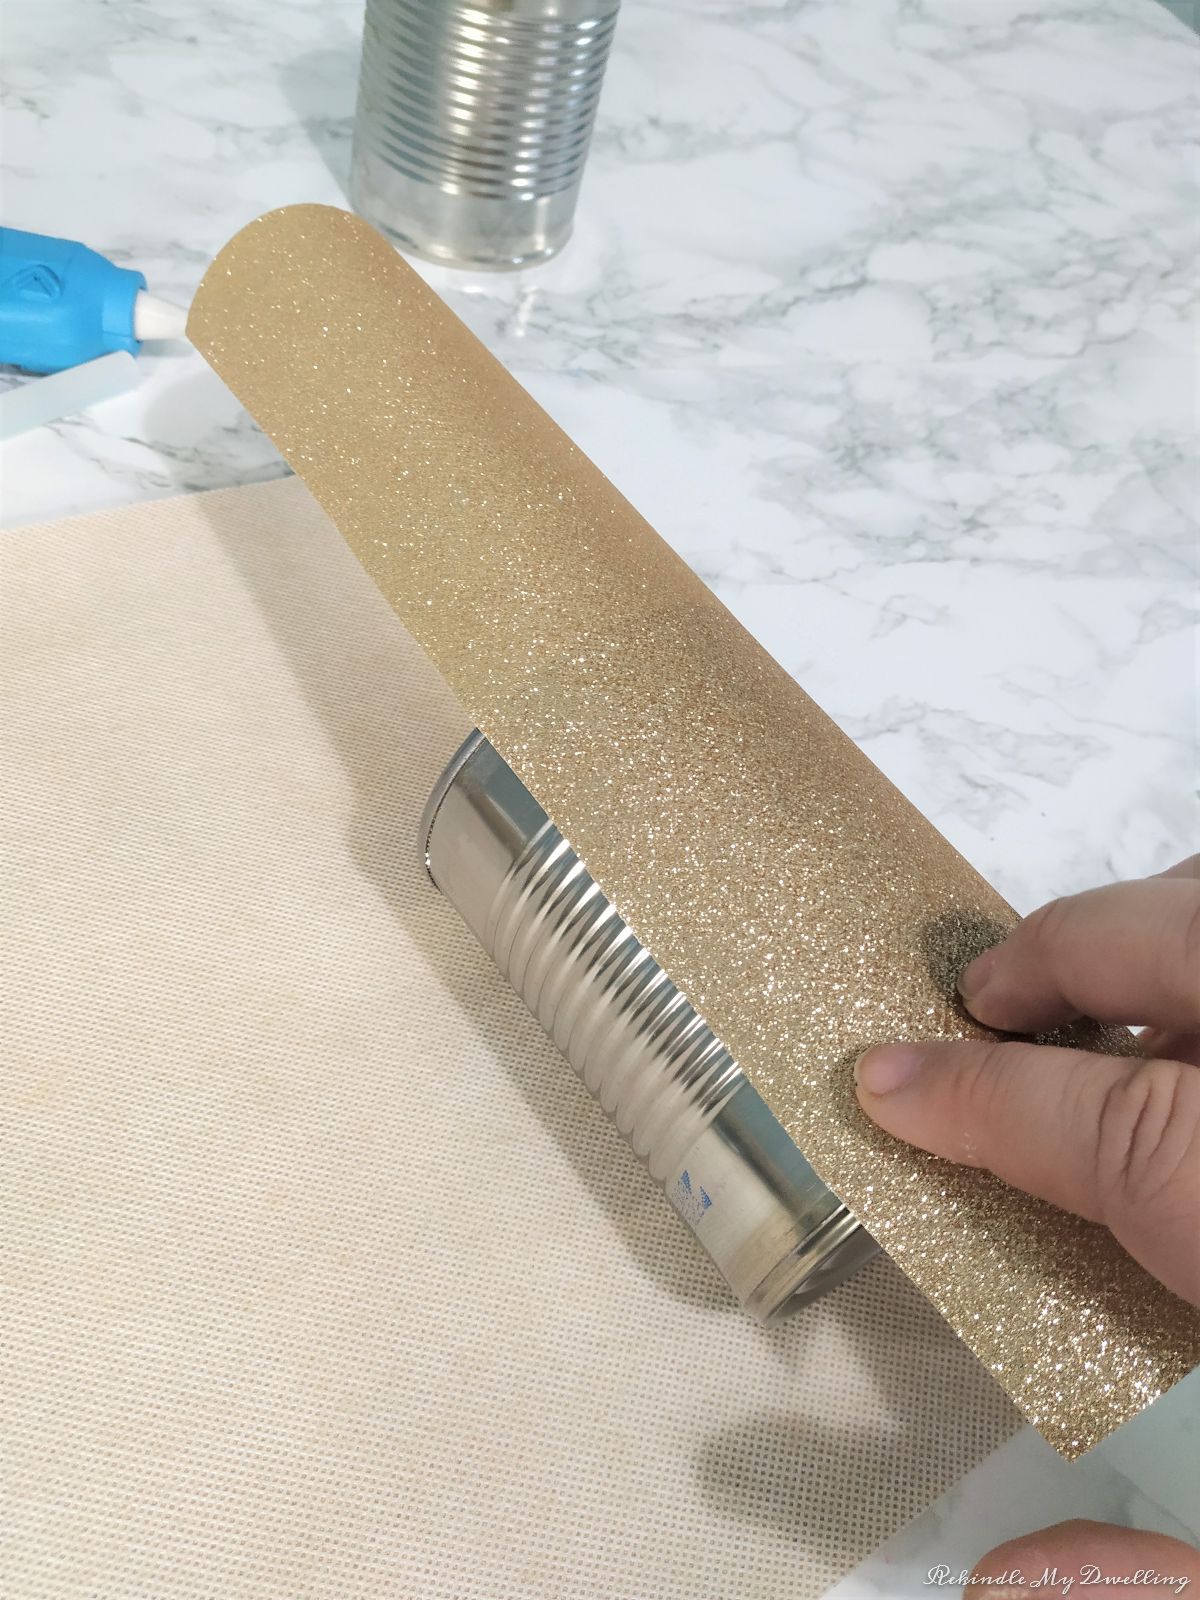
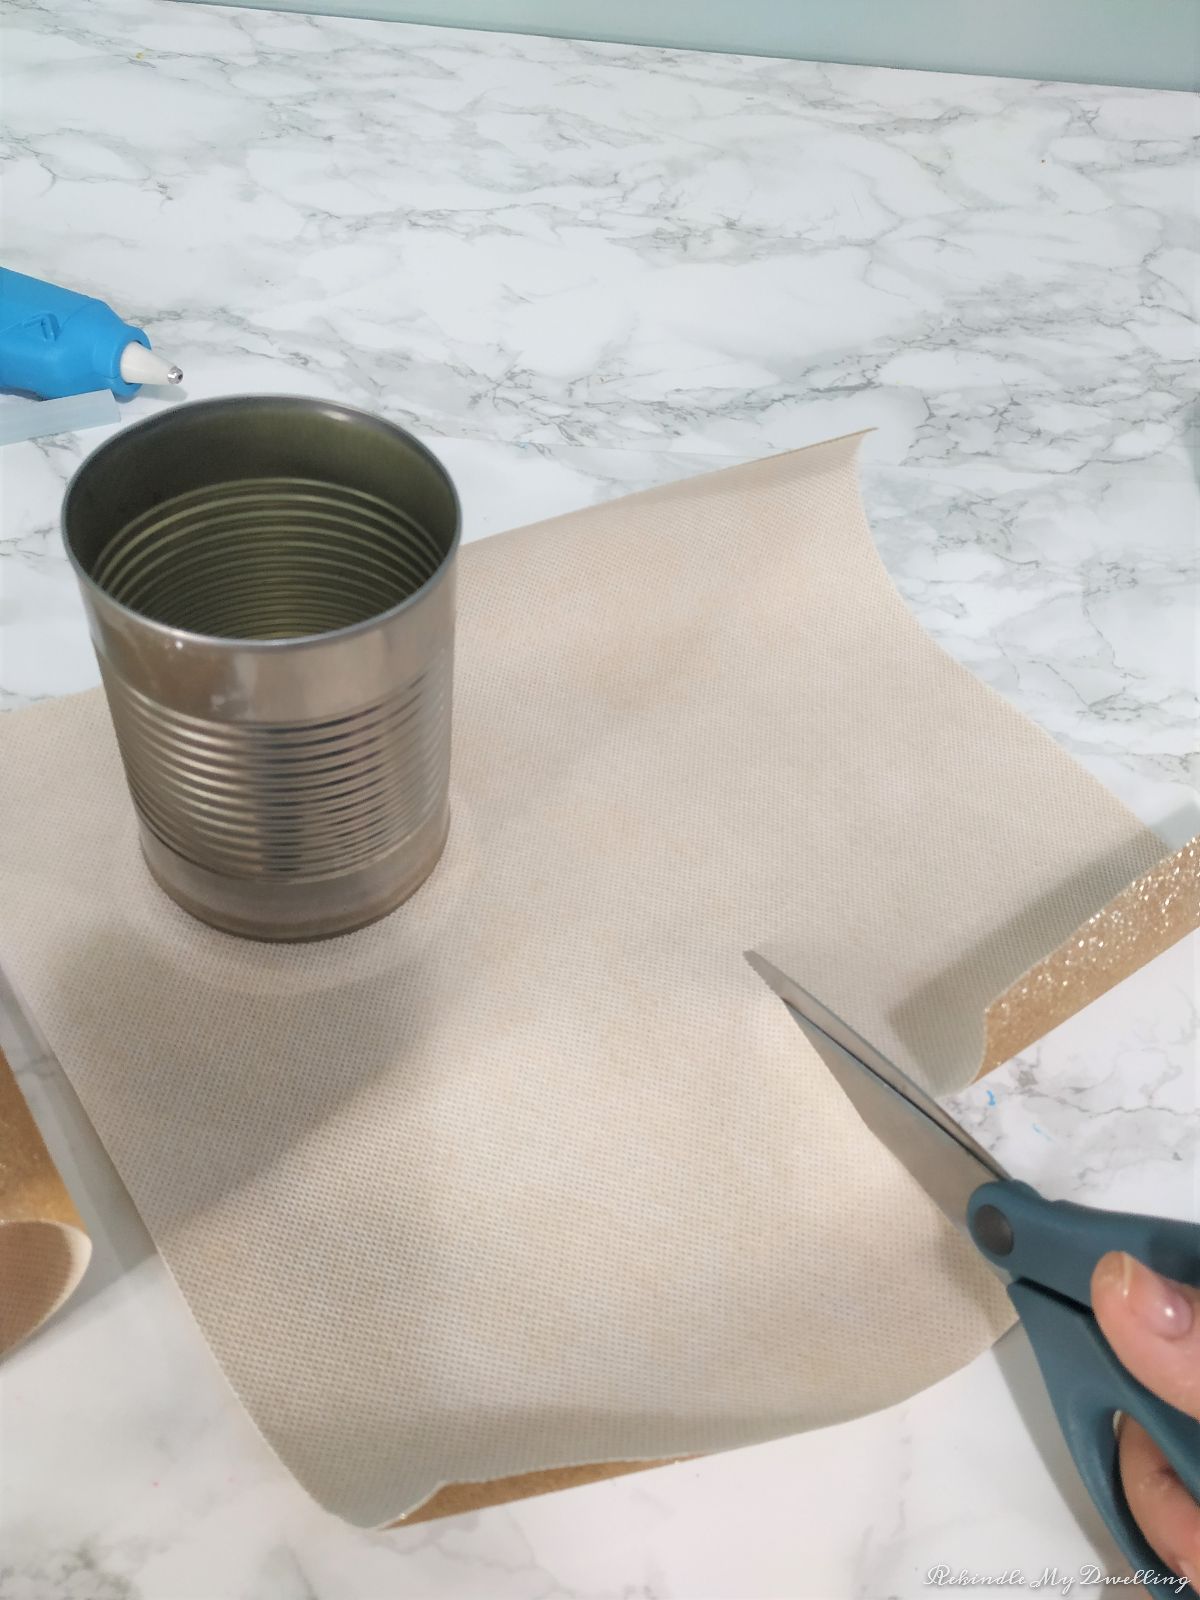
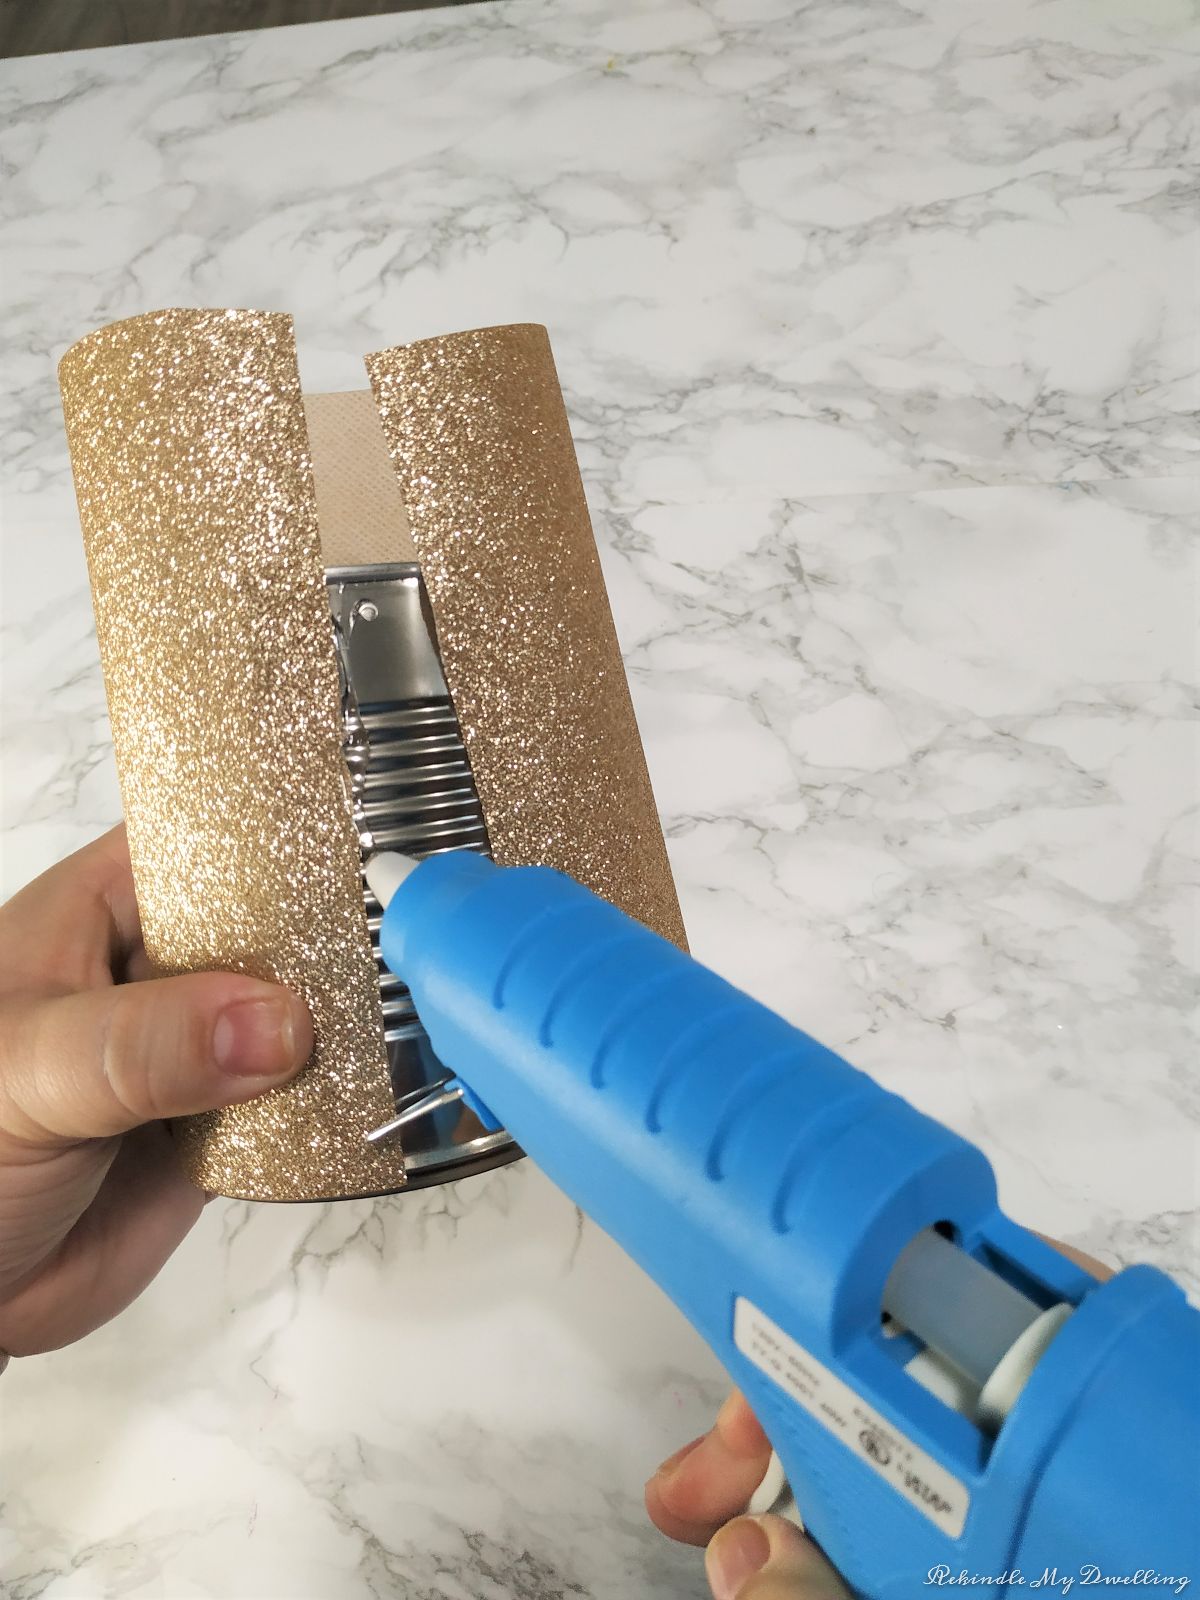
Warm up your hot glue gun and add a line of glue down the side of your tin can.
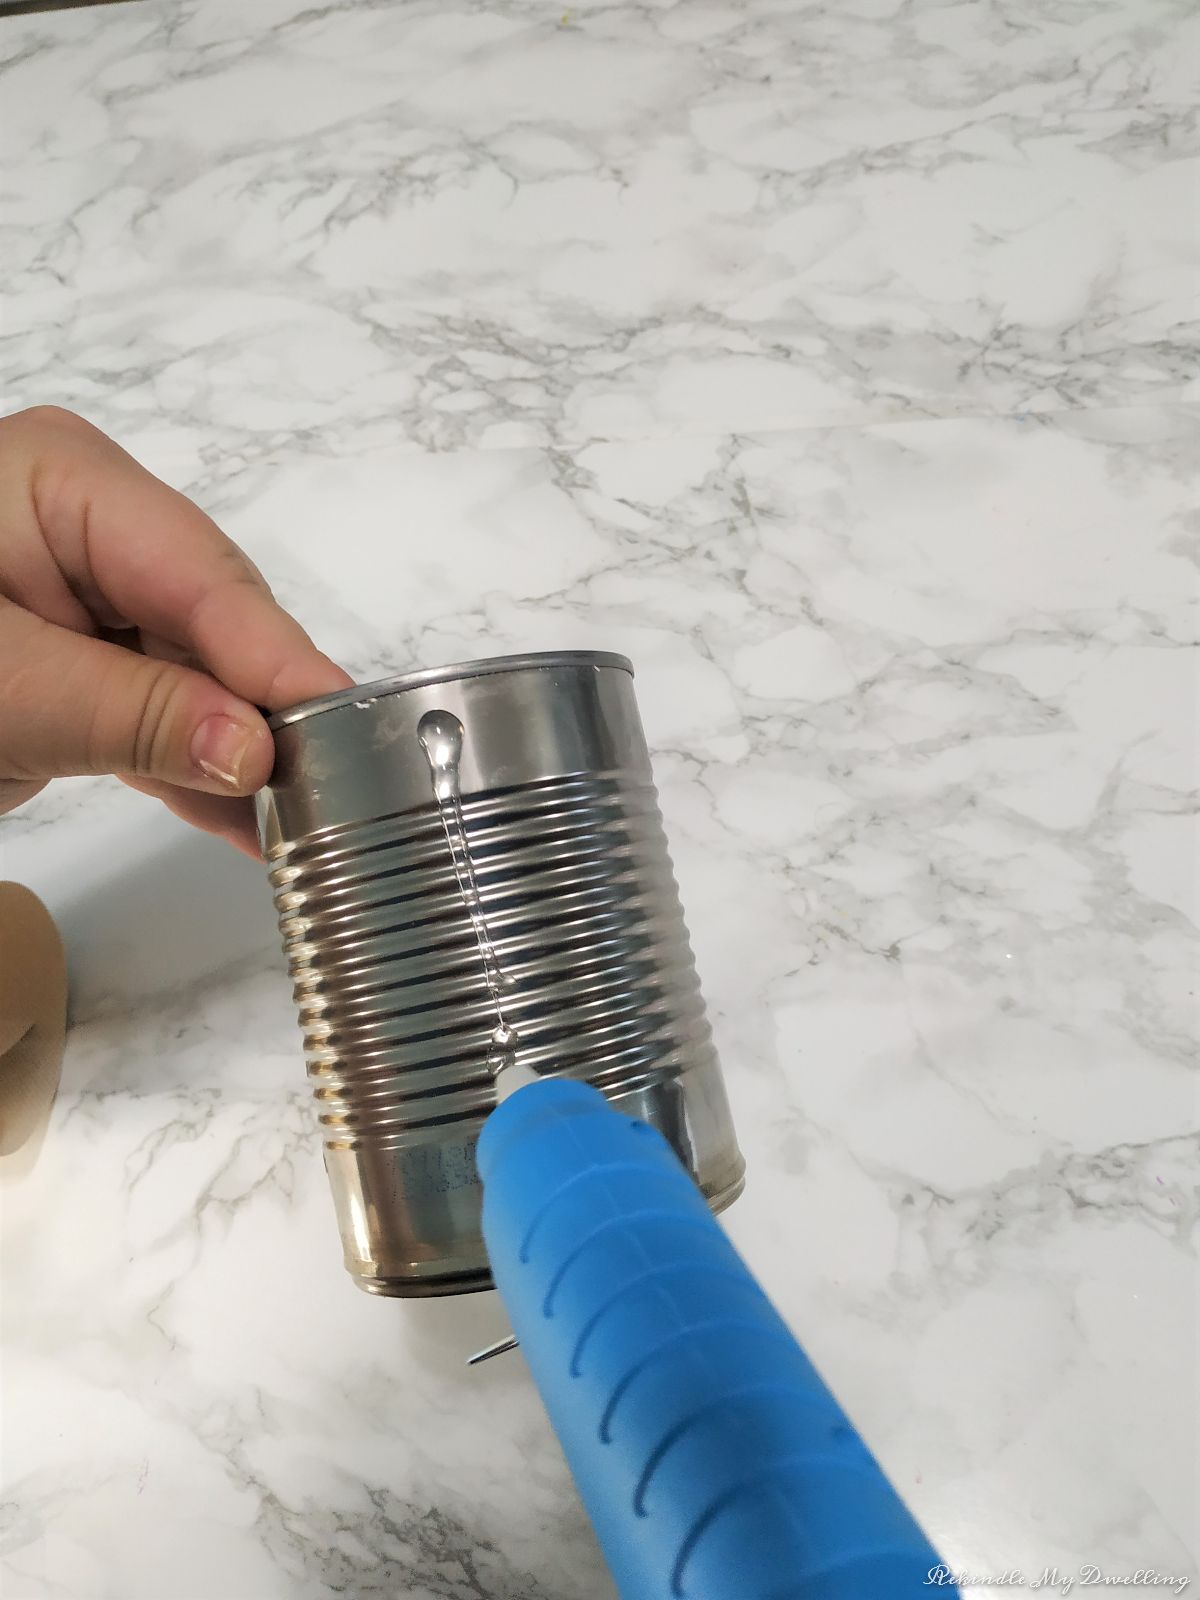
Next, carefully glue one side of your fabric onto the tin can.
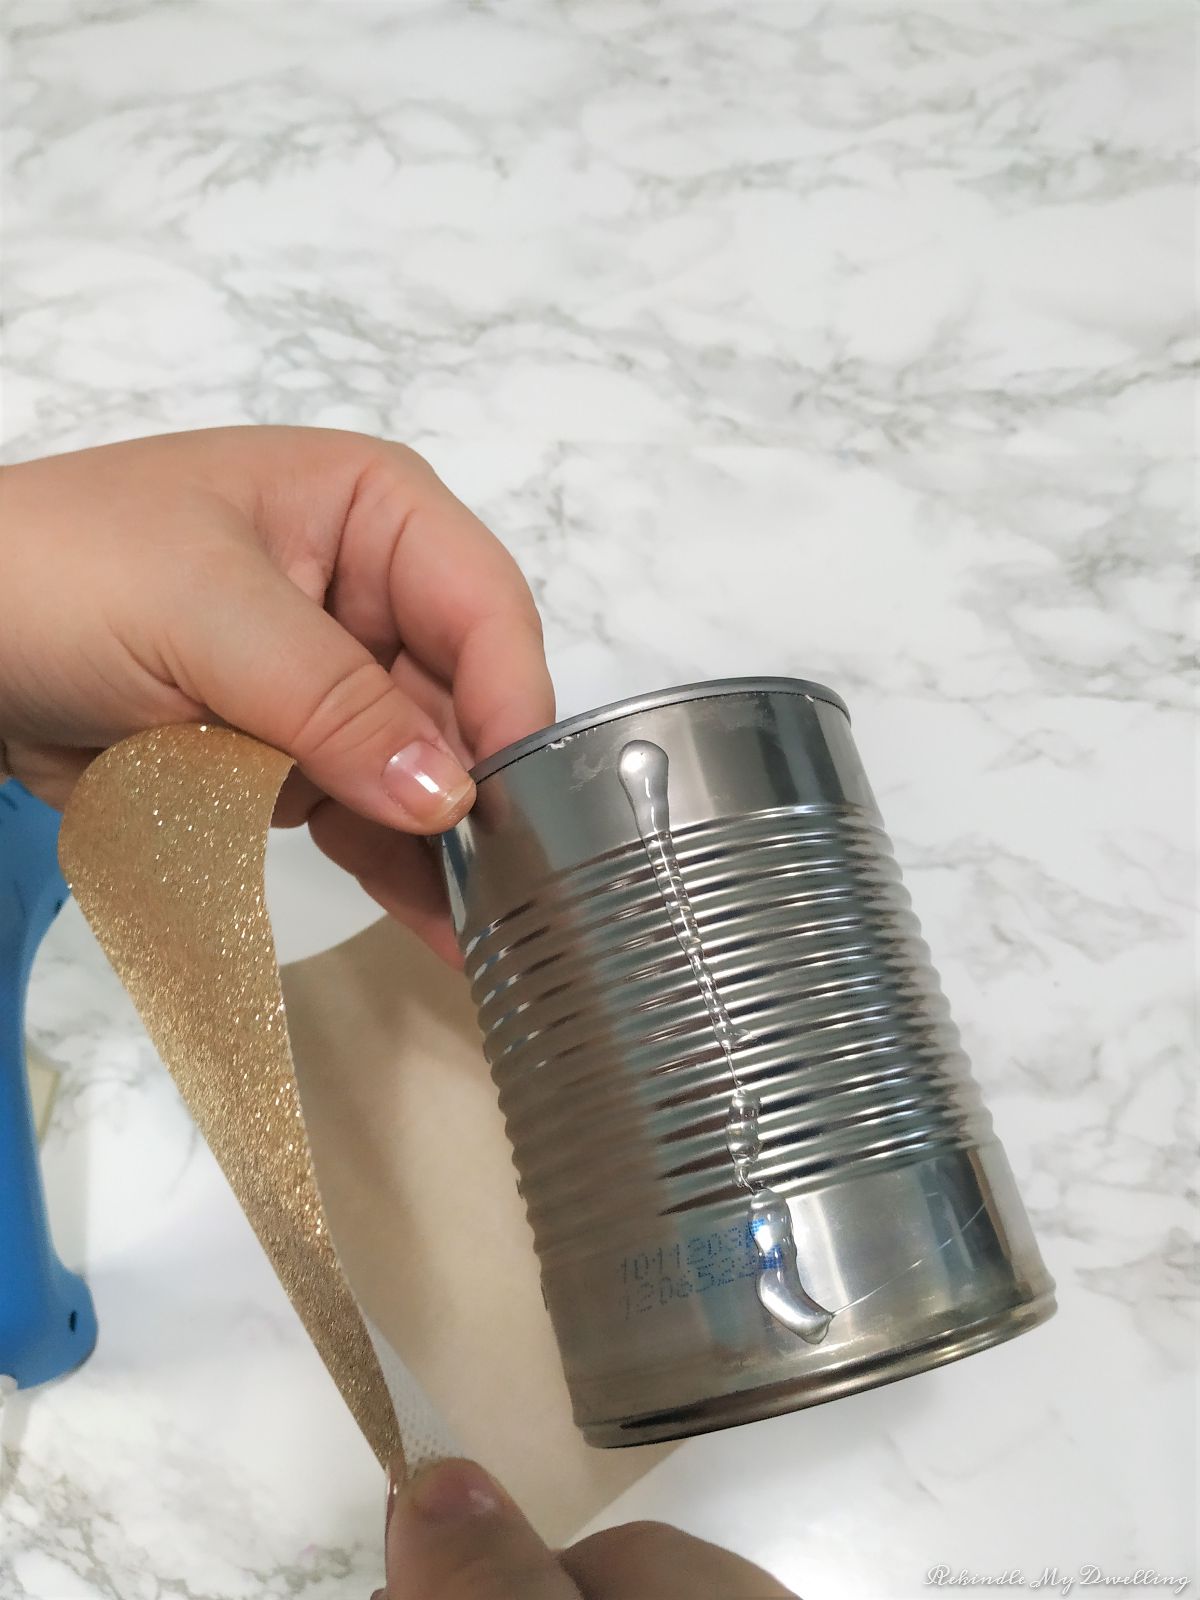
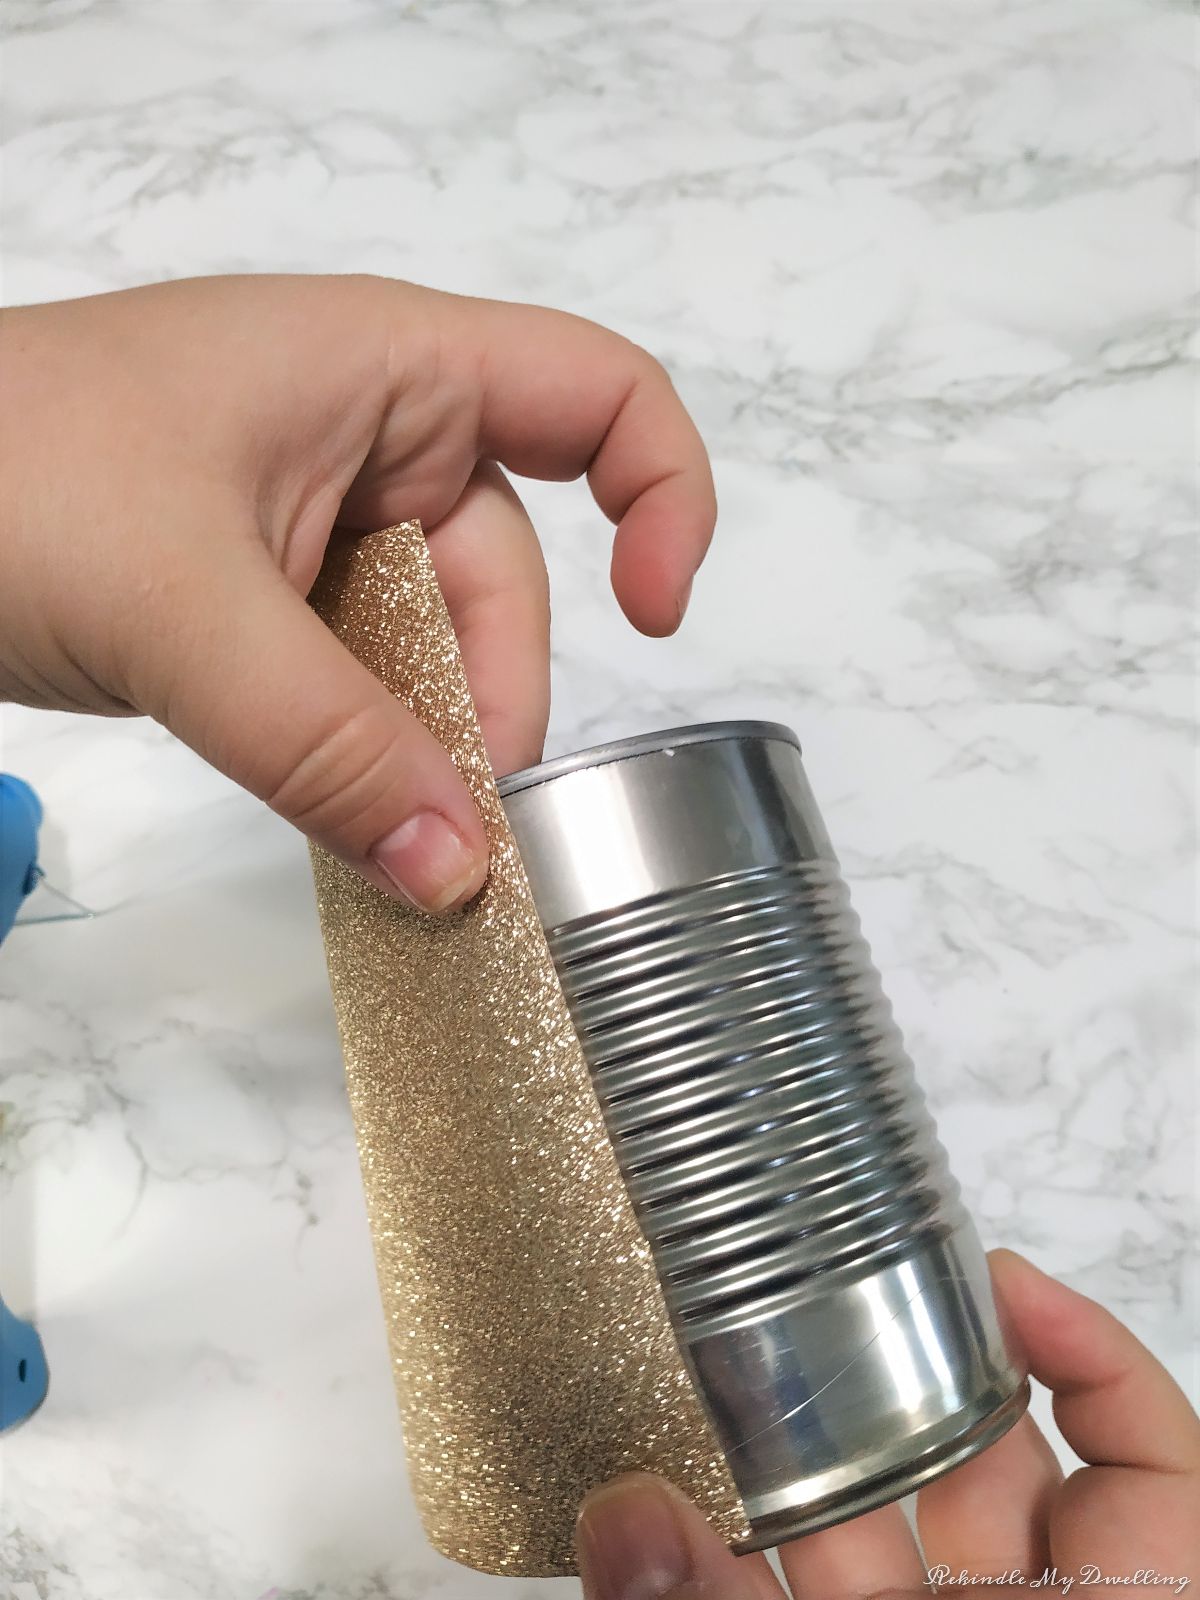
Add more hot glue as you are wrapping your fabric around the can.
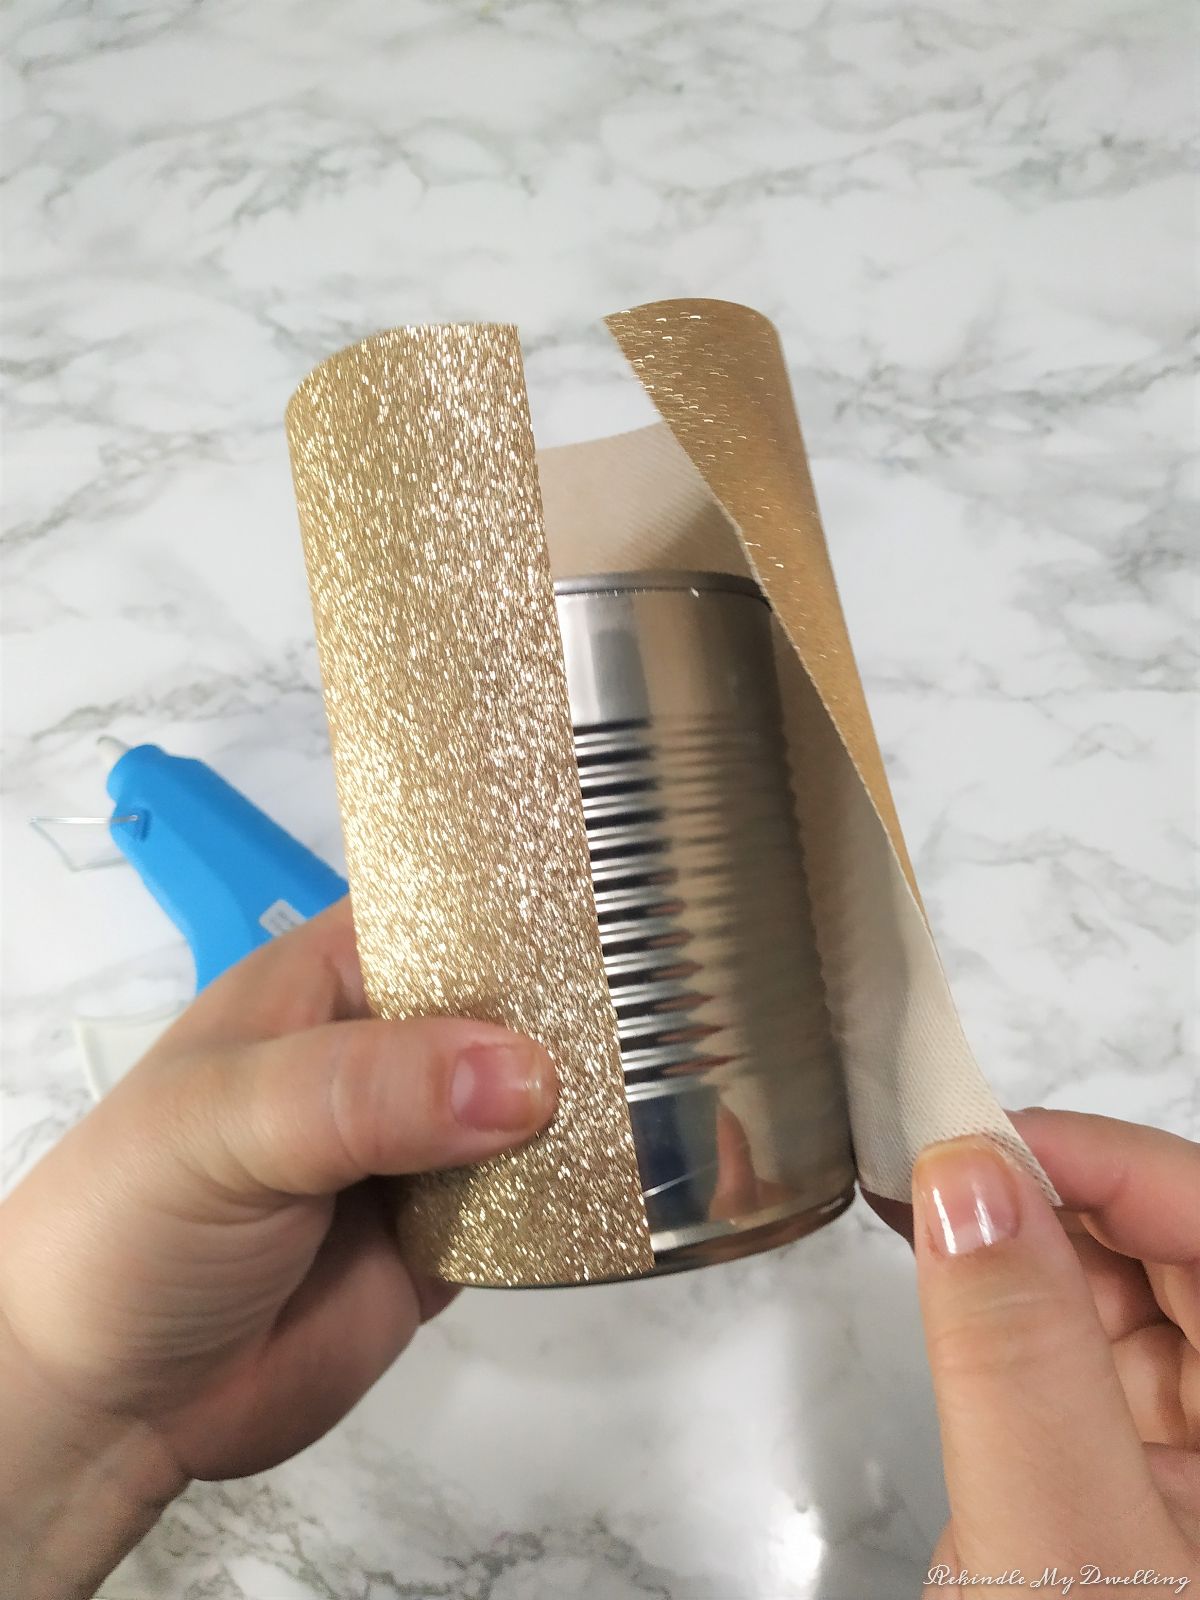
Once you reach the end add another line of glue and press the fabric down. Do the same to your other tin can.
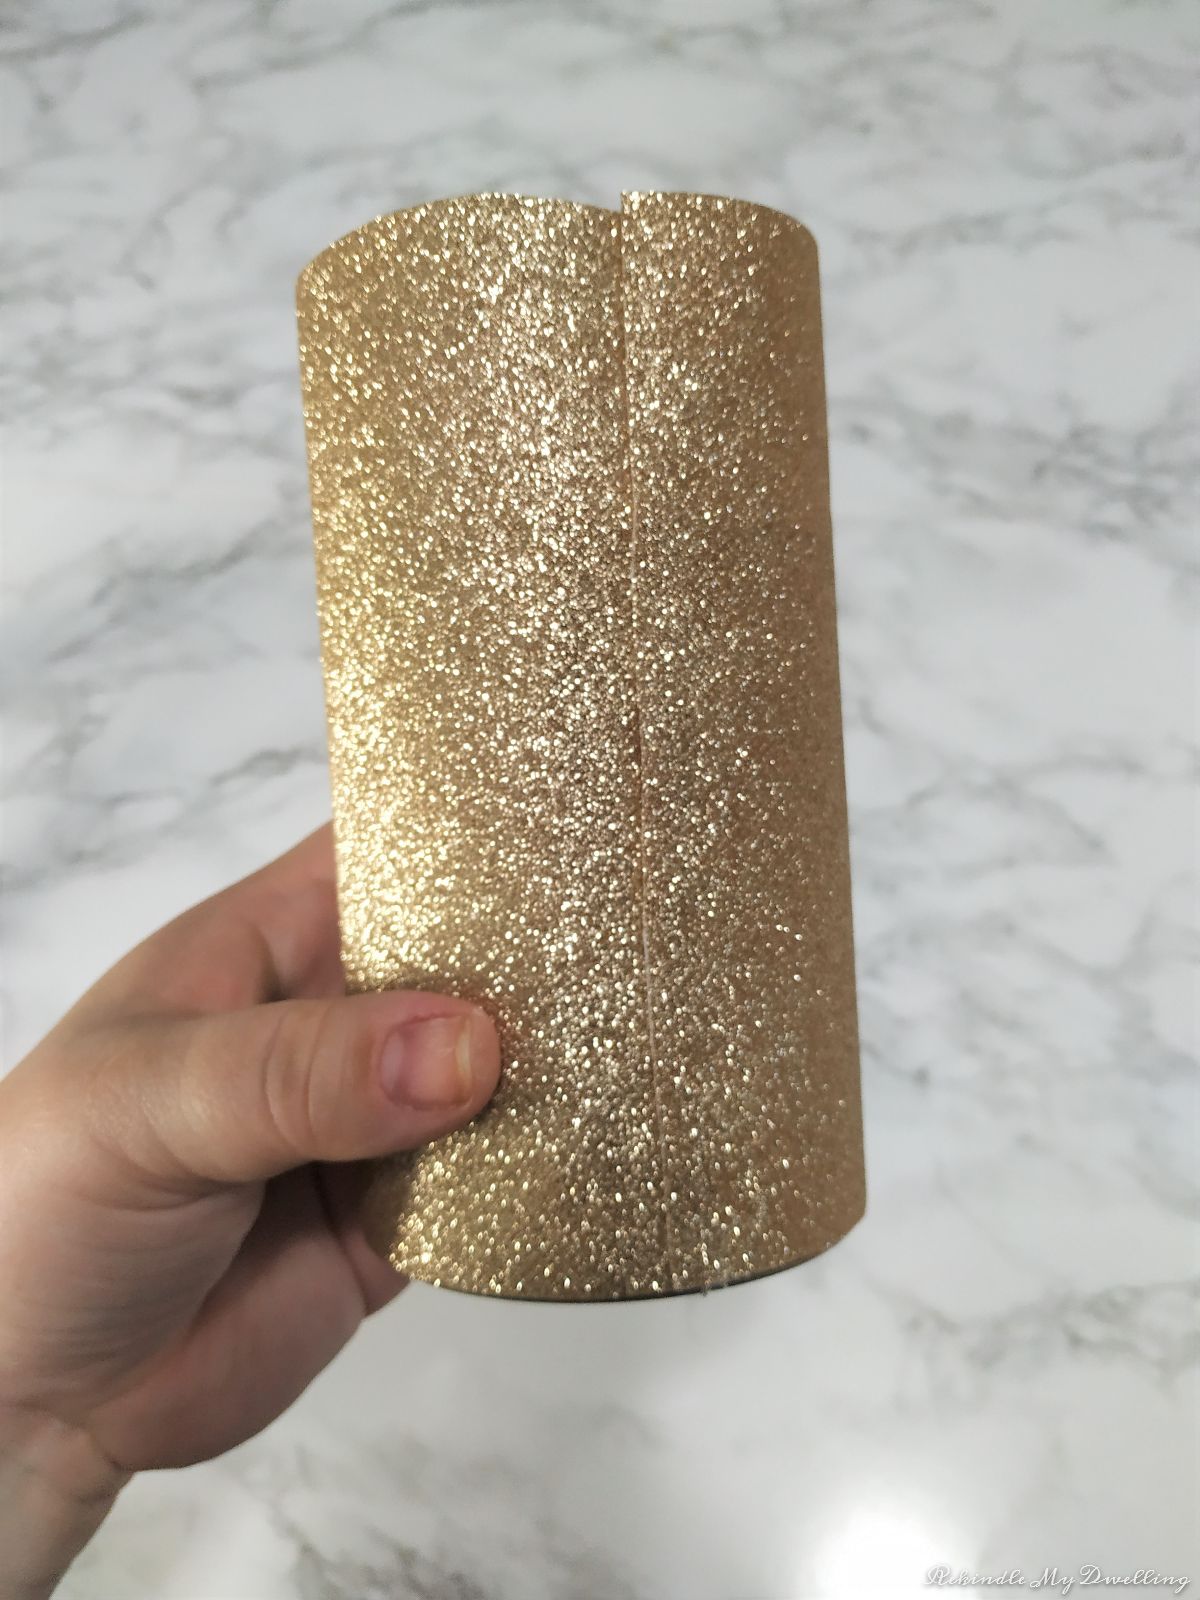
At this point you will probably have excess fabric at the top which you can cut, but I chose to bend it so that it fits inside the tin can.
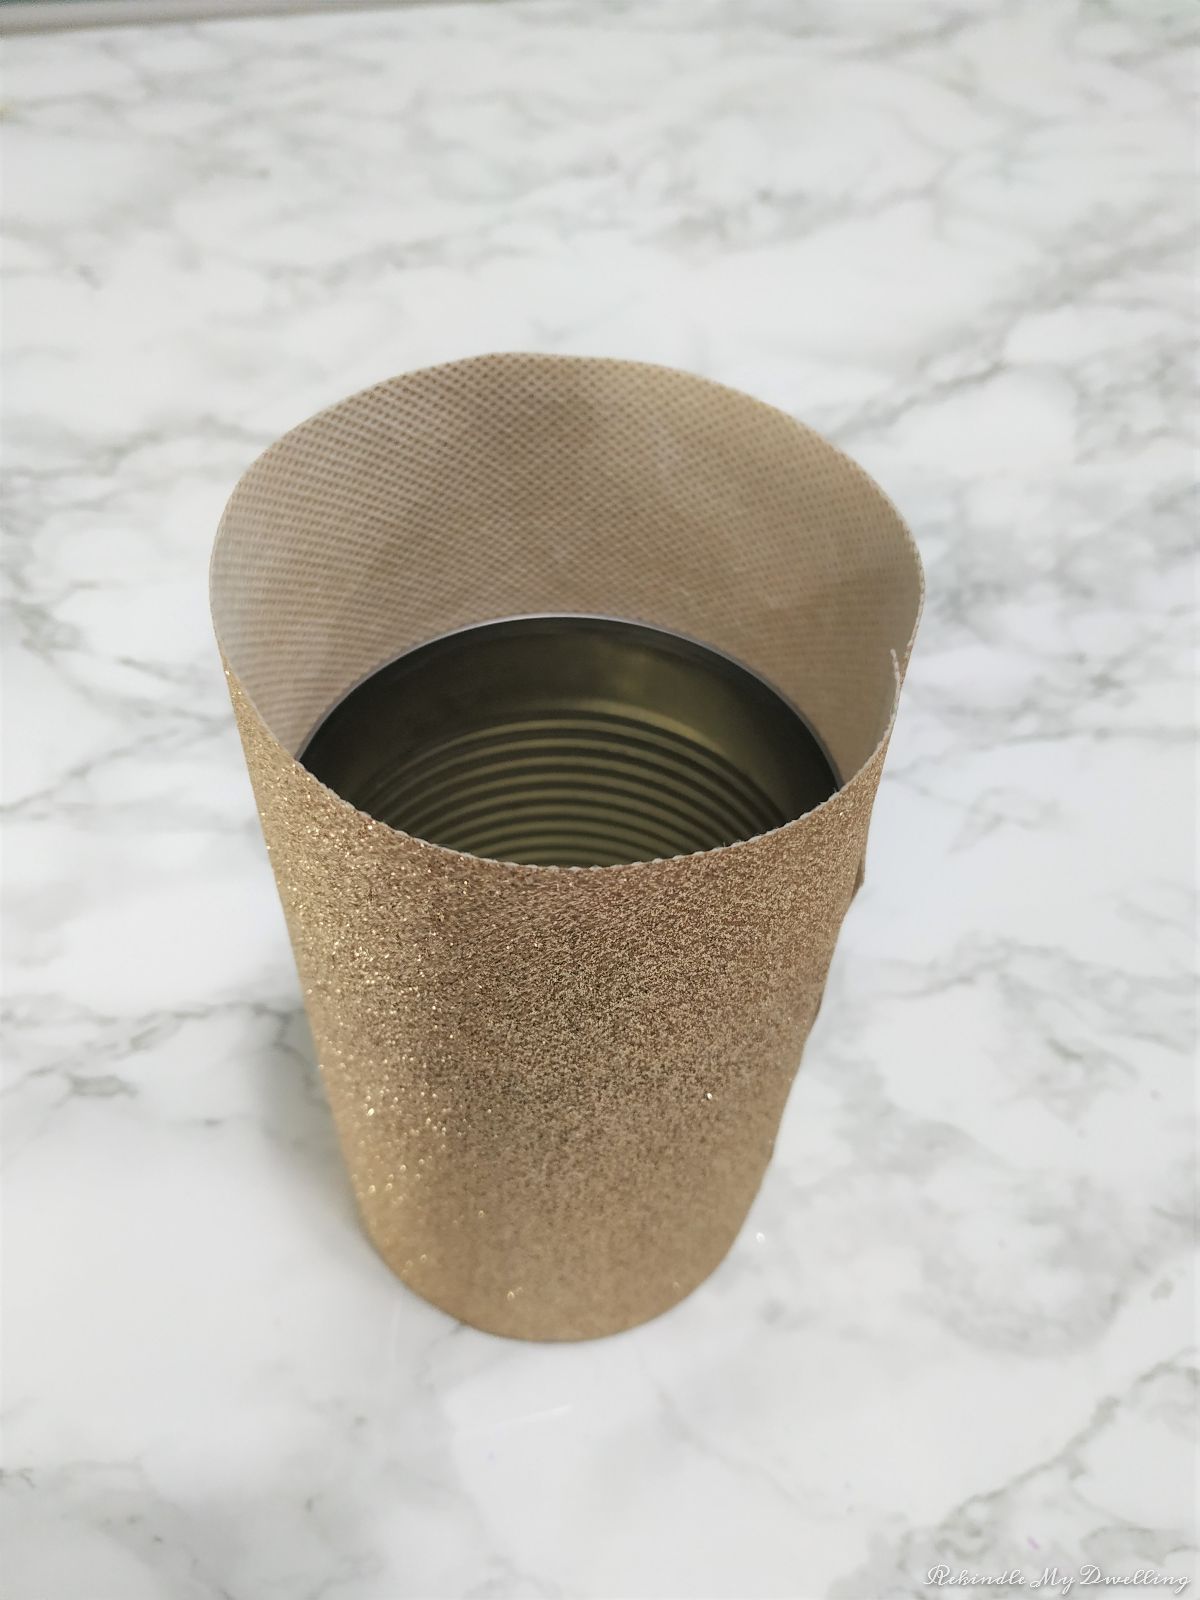
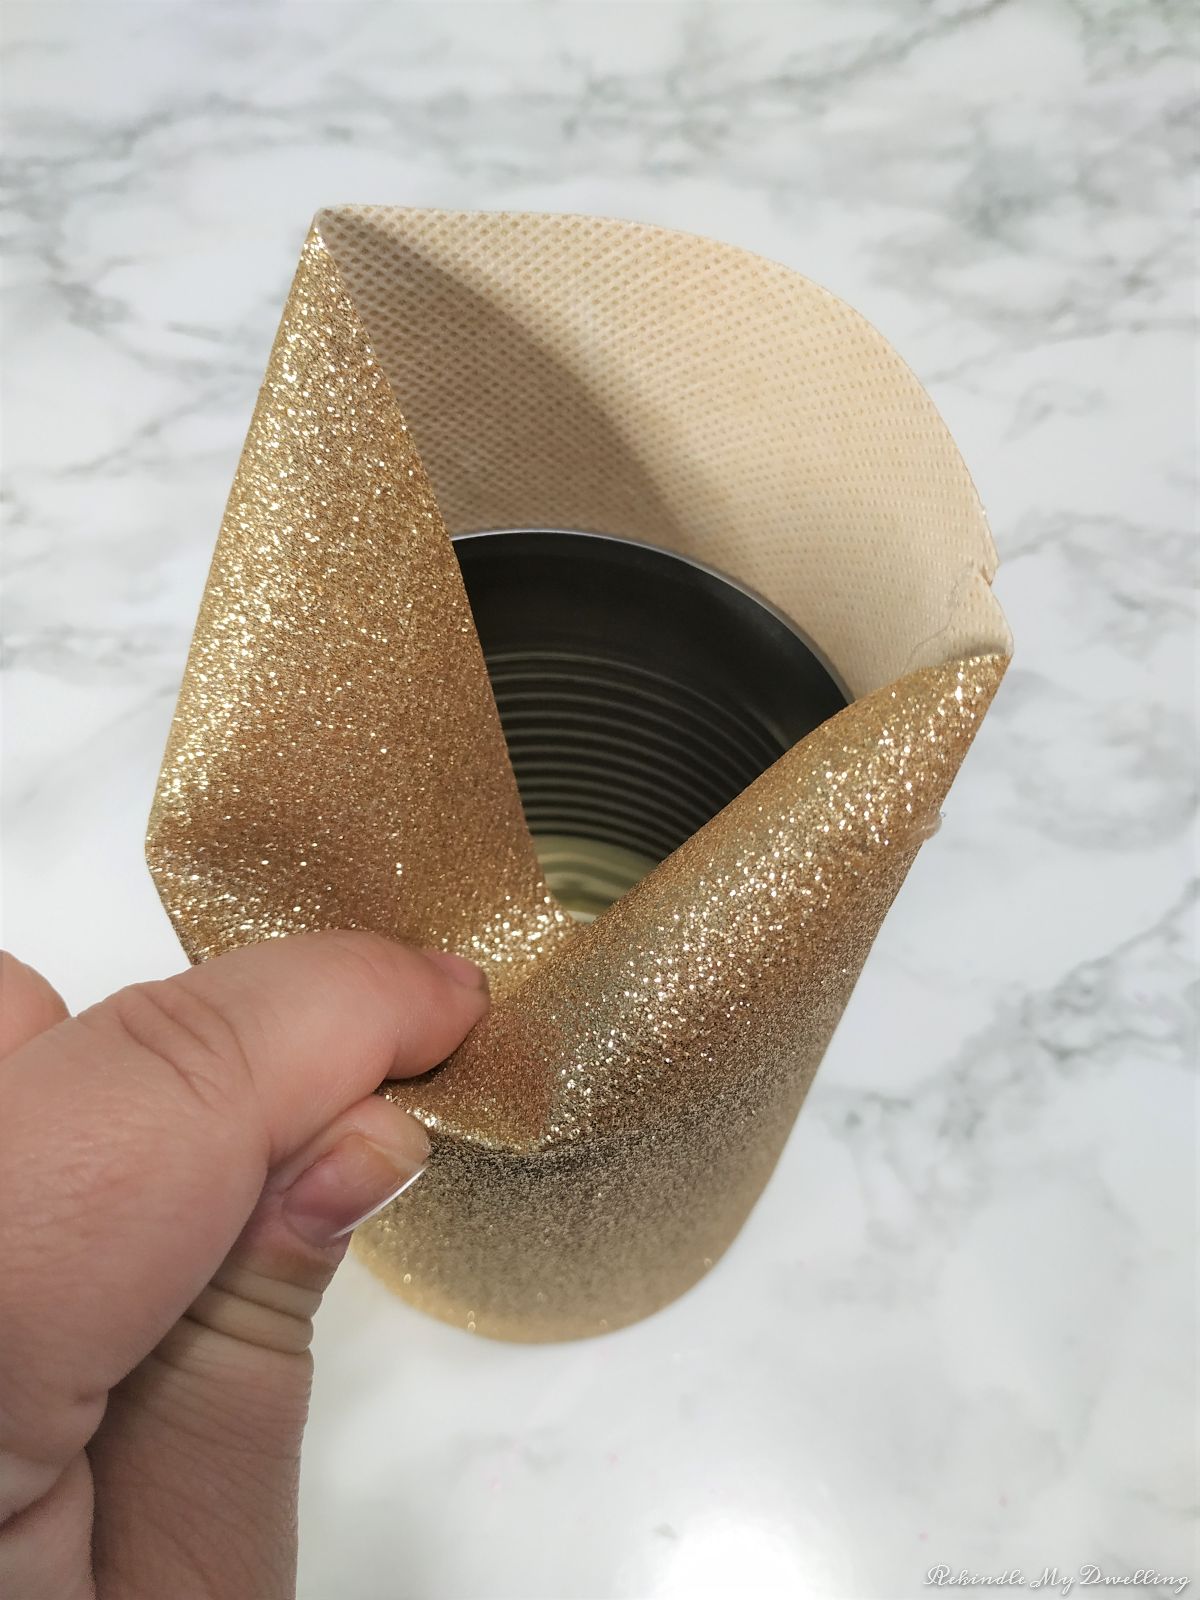
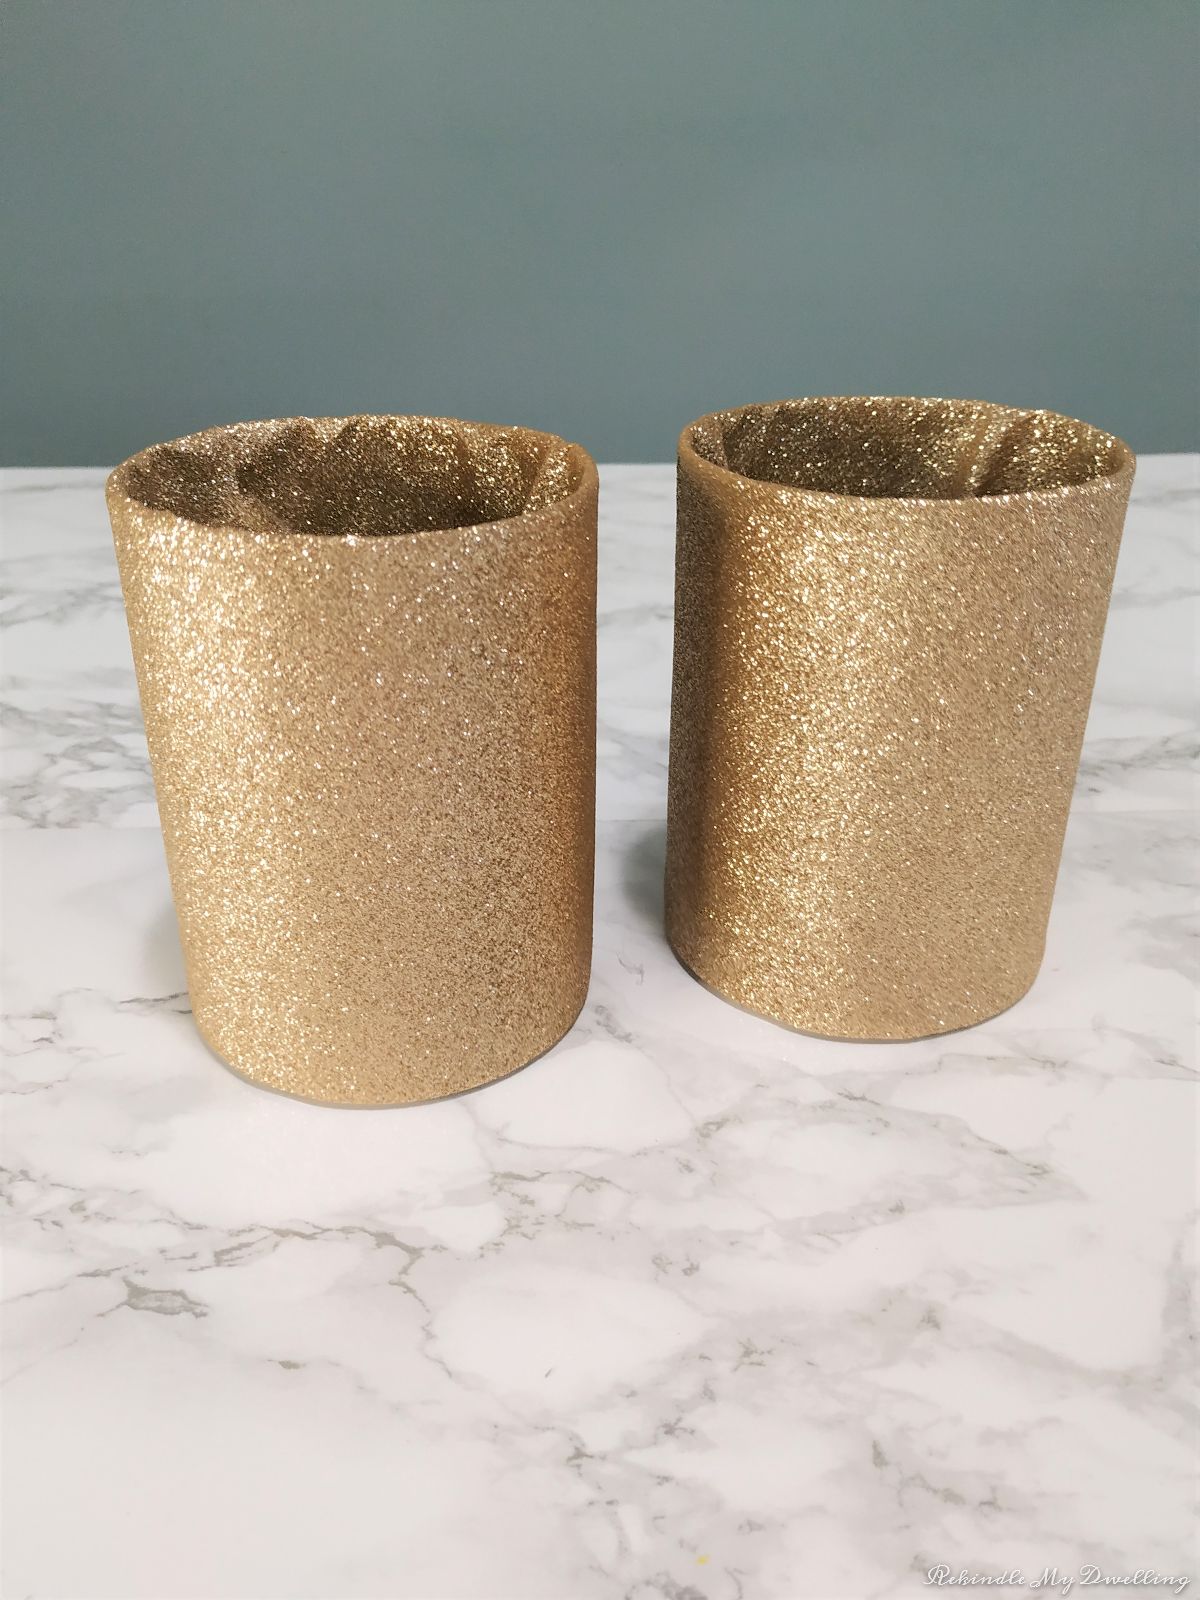
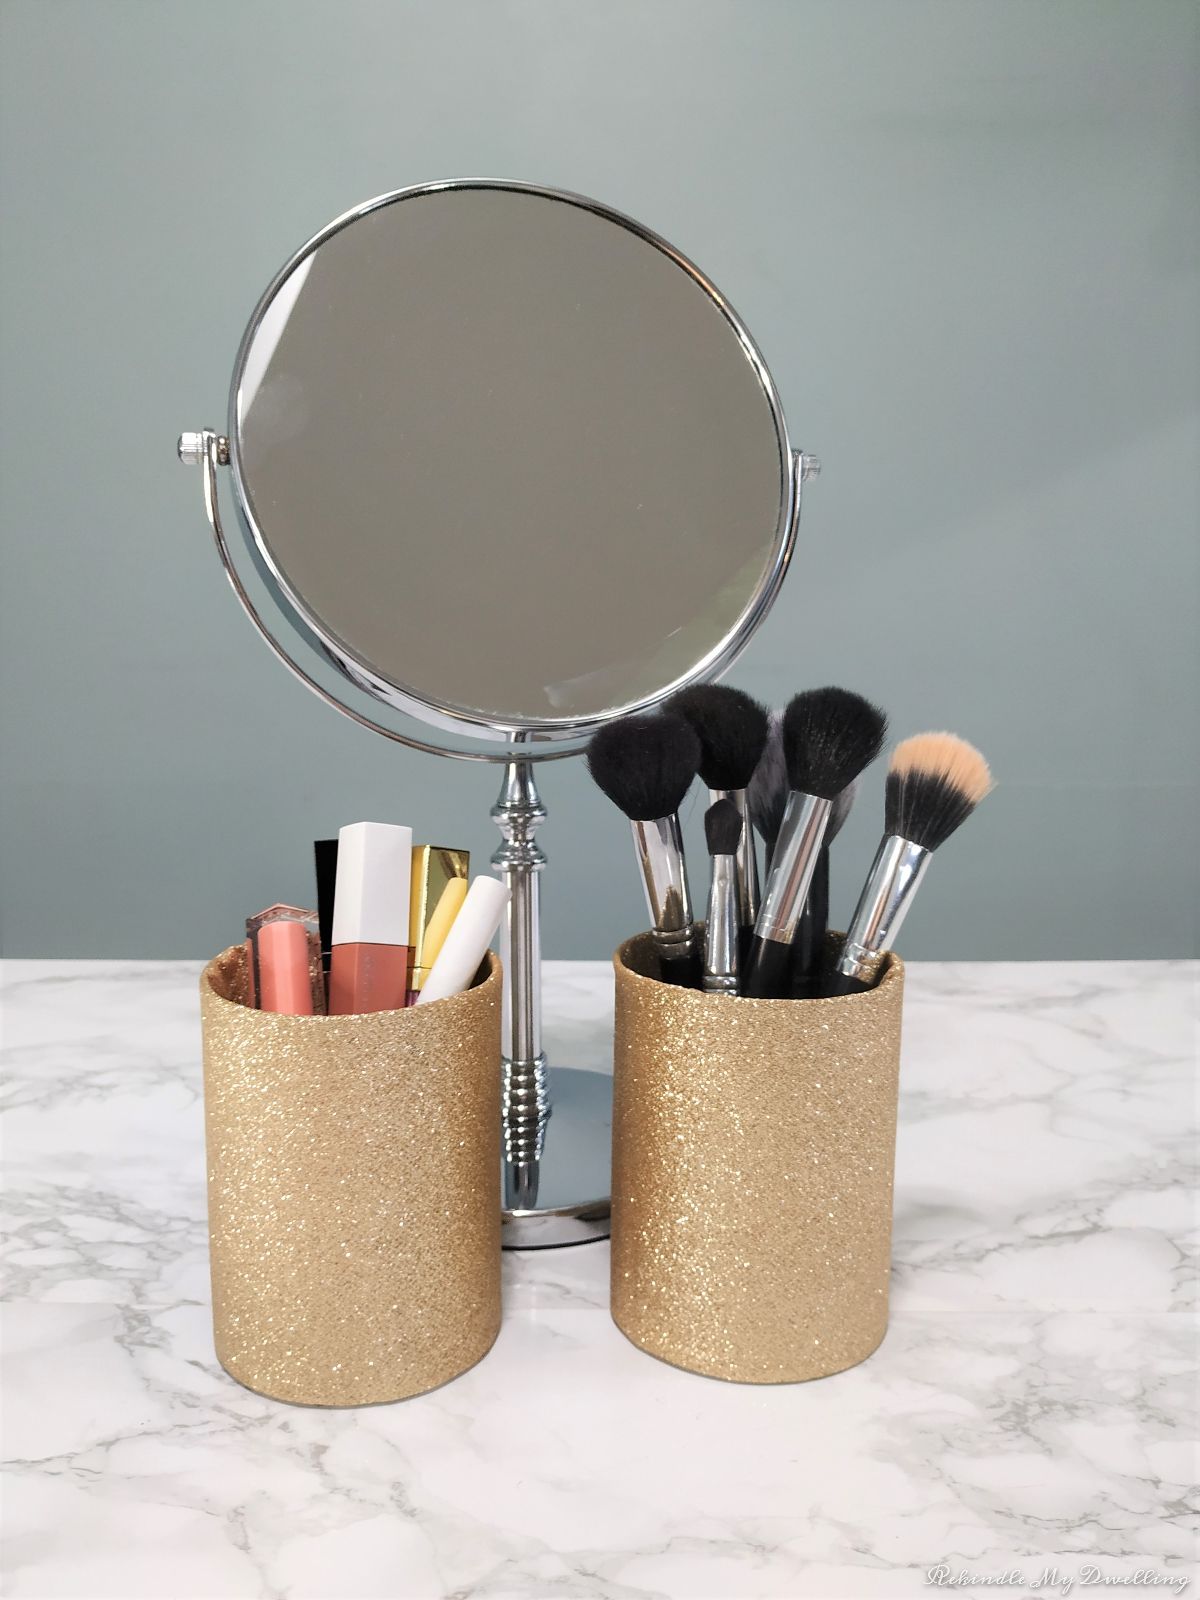
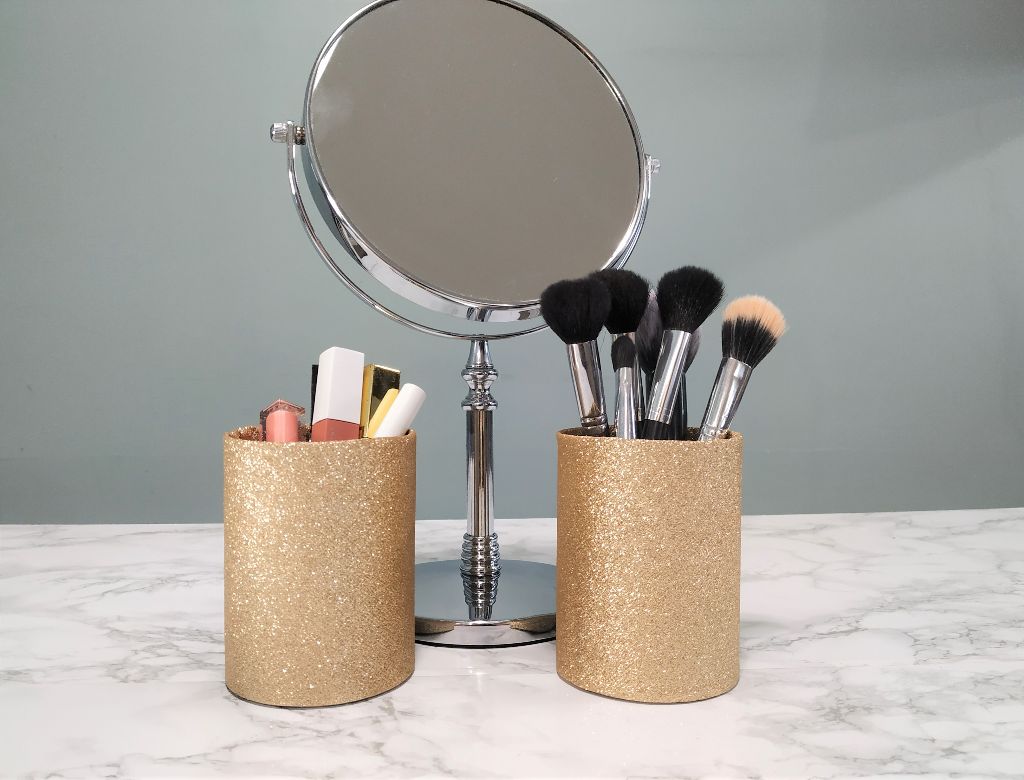
Voila! You’re done! Now you just have to fill your makeup organizers with your makeup and put it where you want to display it. This project was so simple and took no time at all. So, save your tin cans and try this for yourself.

Melissa Kerr
June 2, 2021 at 10:30 AMI love this idea. This would be a fun activity for kids as well to keep some of their school supplies organized as well!
Kimberly
August 22, 2023 at 9:05 PMThese are beautiful!!! I want to make some of my own now—thank you for sharing!
Found your site via the Cozy Little House blog today. 😃
Iva & Charra
September 1, 2023 at 10:58 AMThank you so much! I really appreciate you leaving a message!